We were able to get Rob’s parents to move down here to North Texas from Oklahoma several years ago. As they are aging, we want to help keep them as independent as possible and in their own home for as long as we can. It’s just best for everyone, all the way around.
Enter The Sandwich Generation. You would think this would be something awesome. I mean, who doesn’t love a good sandwich?! But being increasingly responsible for aging parents while trying to raise your own little (and not so little) rugrats can get stressful at times. Hence the term Sandwich…you’ve got it on both sides. 🙂
Thankfully, this was a super easy project and will go a long way in helping them keep them safe and independent!
My mother-in-law actually asked for grab bars for her shower for Christmas. She’s thinking ahead, which is so smart. My father-in-law was a little more hesitant about the idea (“I don’t need those!”) But here’s the thing, when you realize you actually need them, it might be too late, meaning you’re in the process of falling or losing your balance in the shower with nothing to grab onto. A fall like that can really be serious. Not that we’re trying to wrap our folks in bubble wrap, but we want to keep them safe.
Here’s how we went about the installation – your application may be different depending on the products you choose. (Apologies ahead of time for the sometimes blurry pics – I really need to get my eyes checked – they looked fine in my viewfinder.)
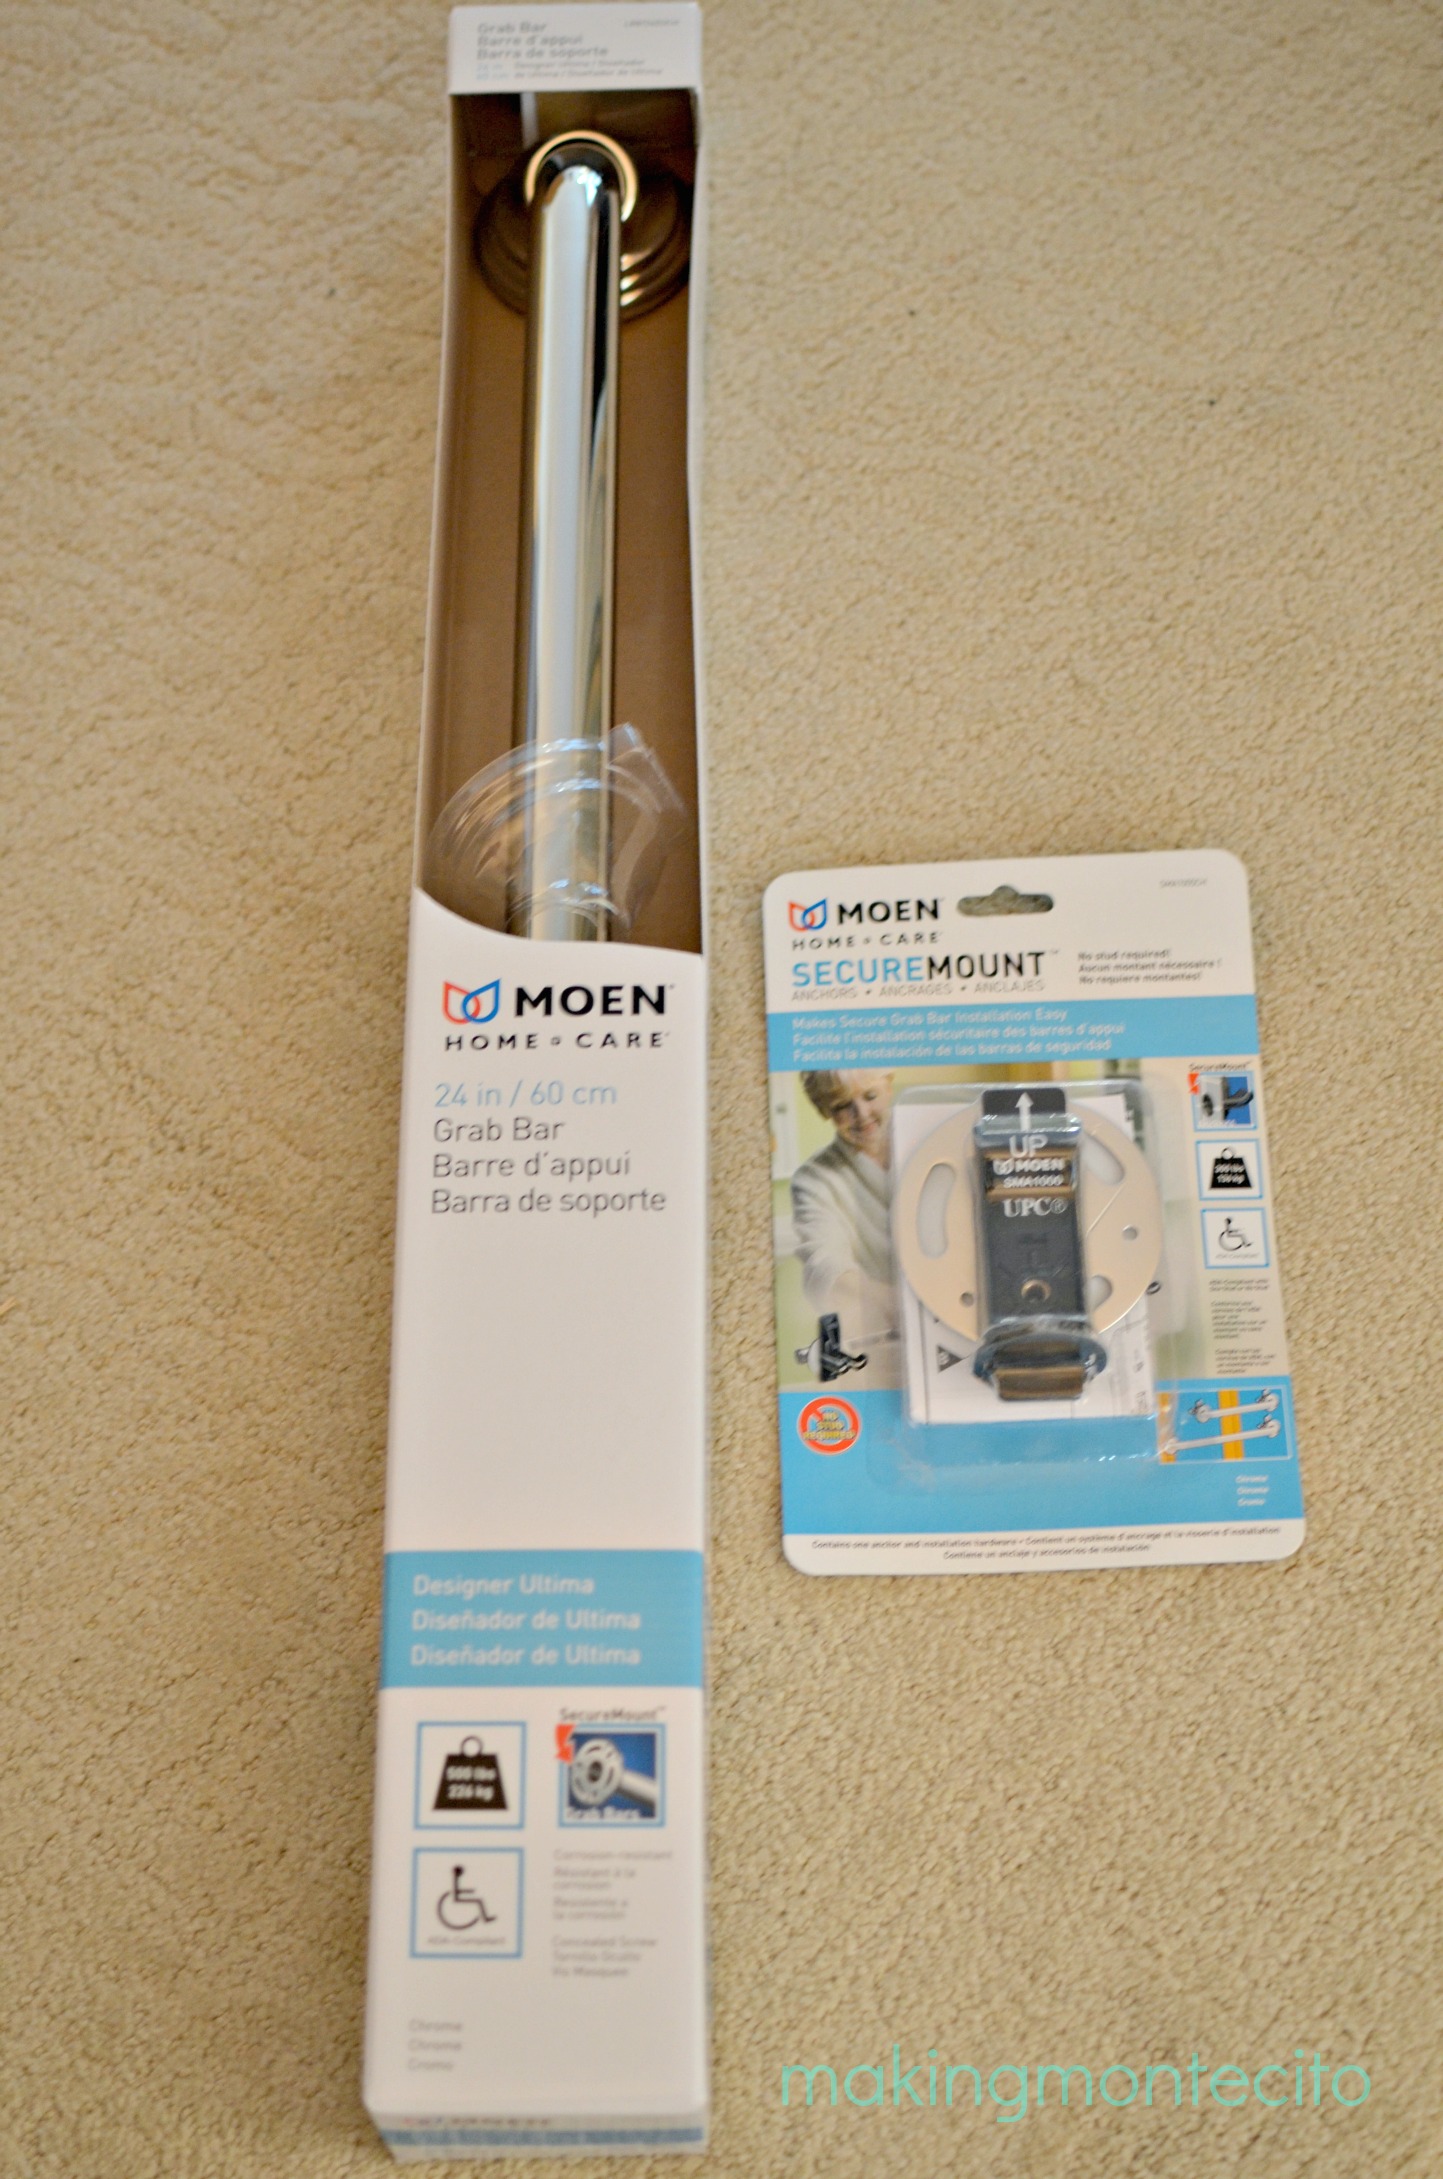
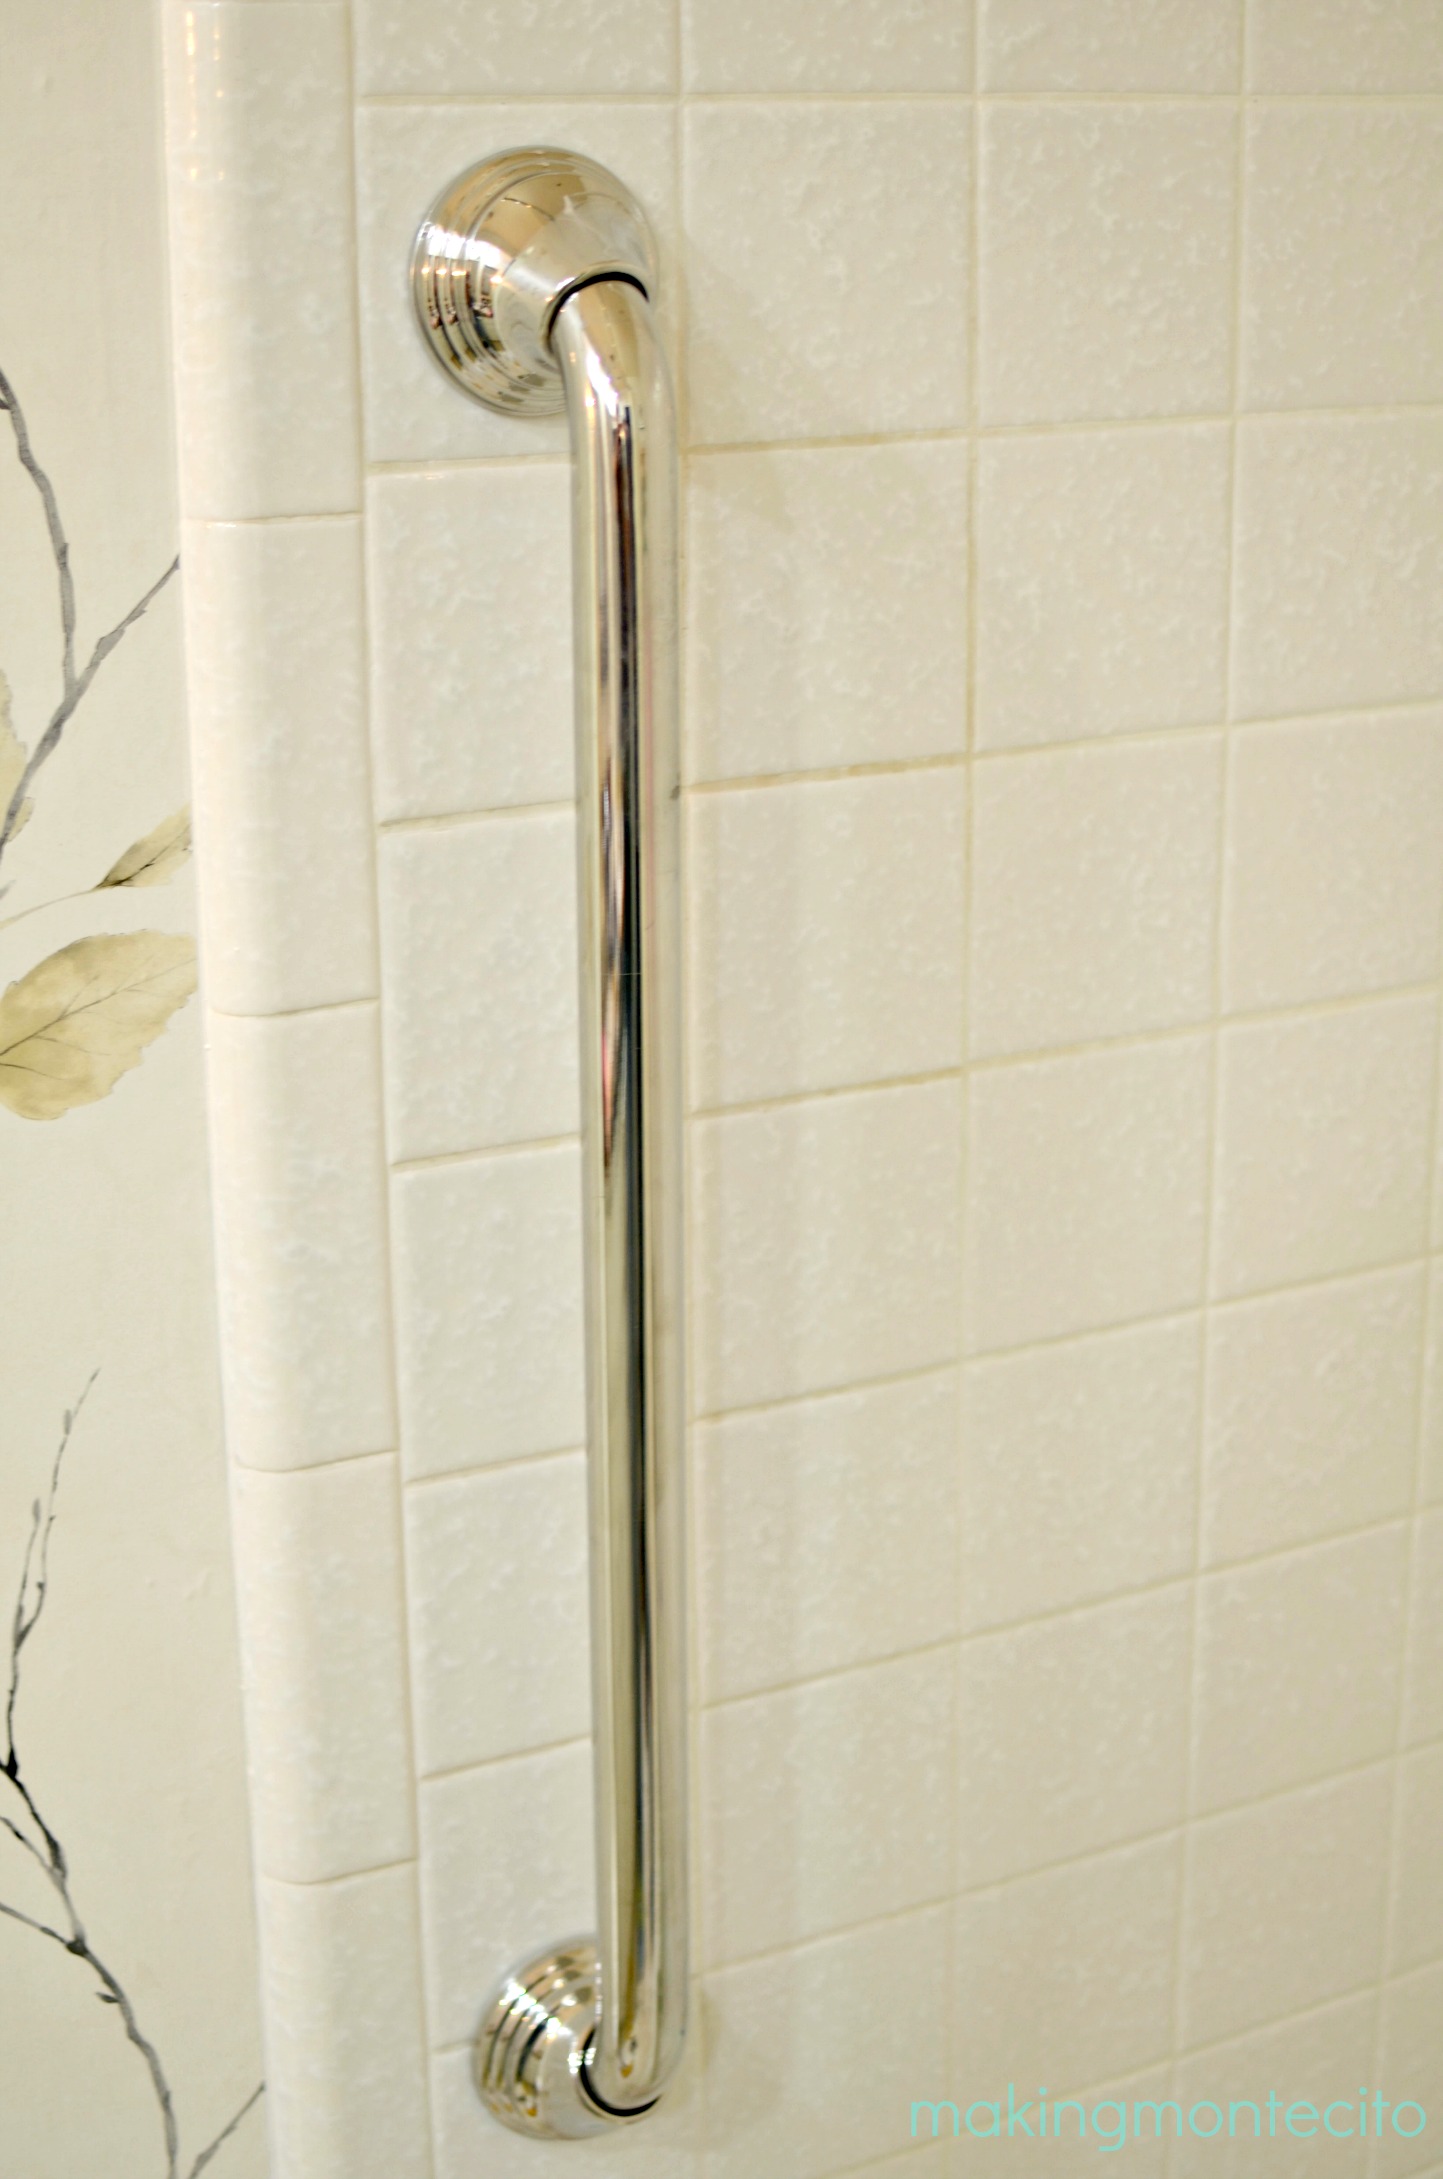
We ordered two bars from Lowe’s (we got the longer bars since they have a weird step down tub), but get the size you think would work for you. You can even take a piece of painter’s tape and mark off how each size might work. Here’s the cool thing, we ordered the Moen brand because they have special grab bar anchors to help secure these in place if you don’t hit a stud. They are rated for like 300lbs. and are super easy to install. Talk about a lifesaver.
Once you have the bars, step in the shower (or tub) to figure out where would be a good place to locate the bars. Even better, have whoever is going to be using them get in and help with placement. Sounds silly, but just do it. It’s kind of like measure twice, cut once.
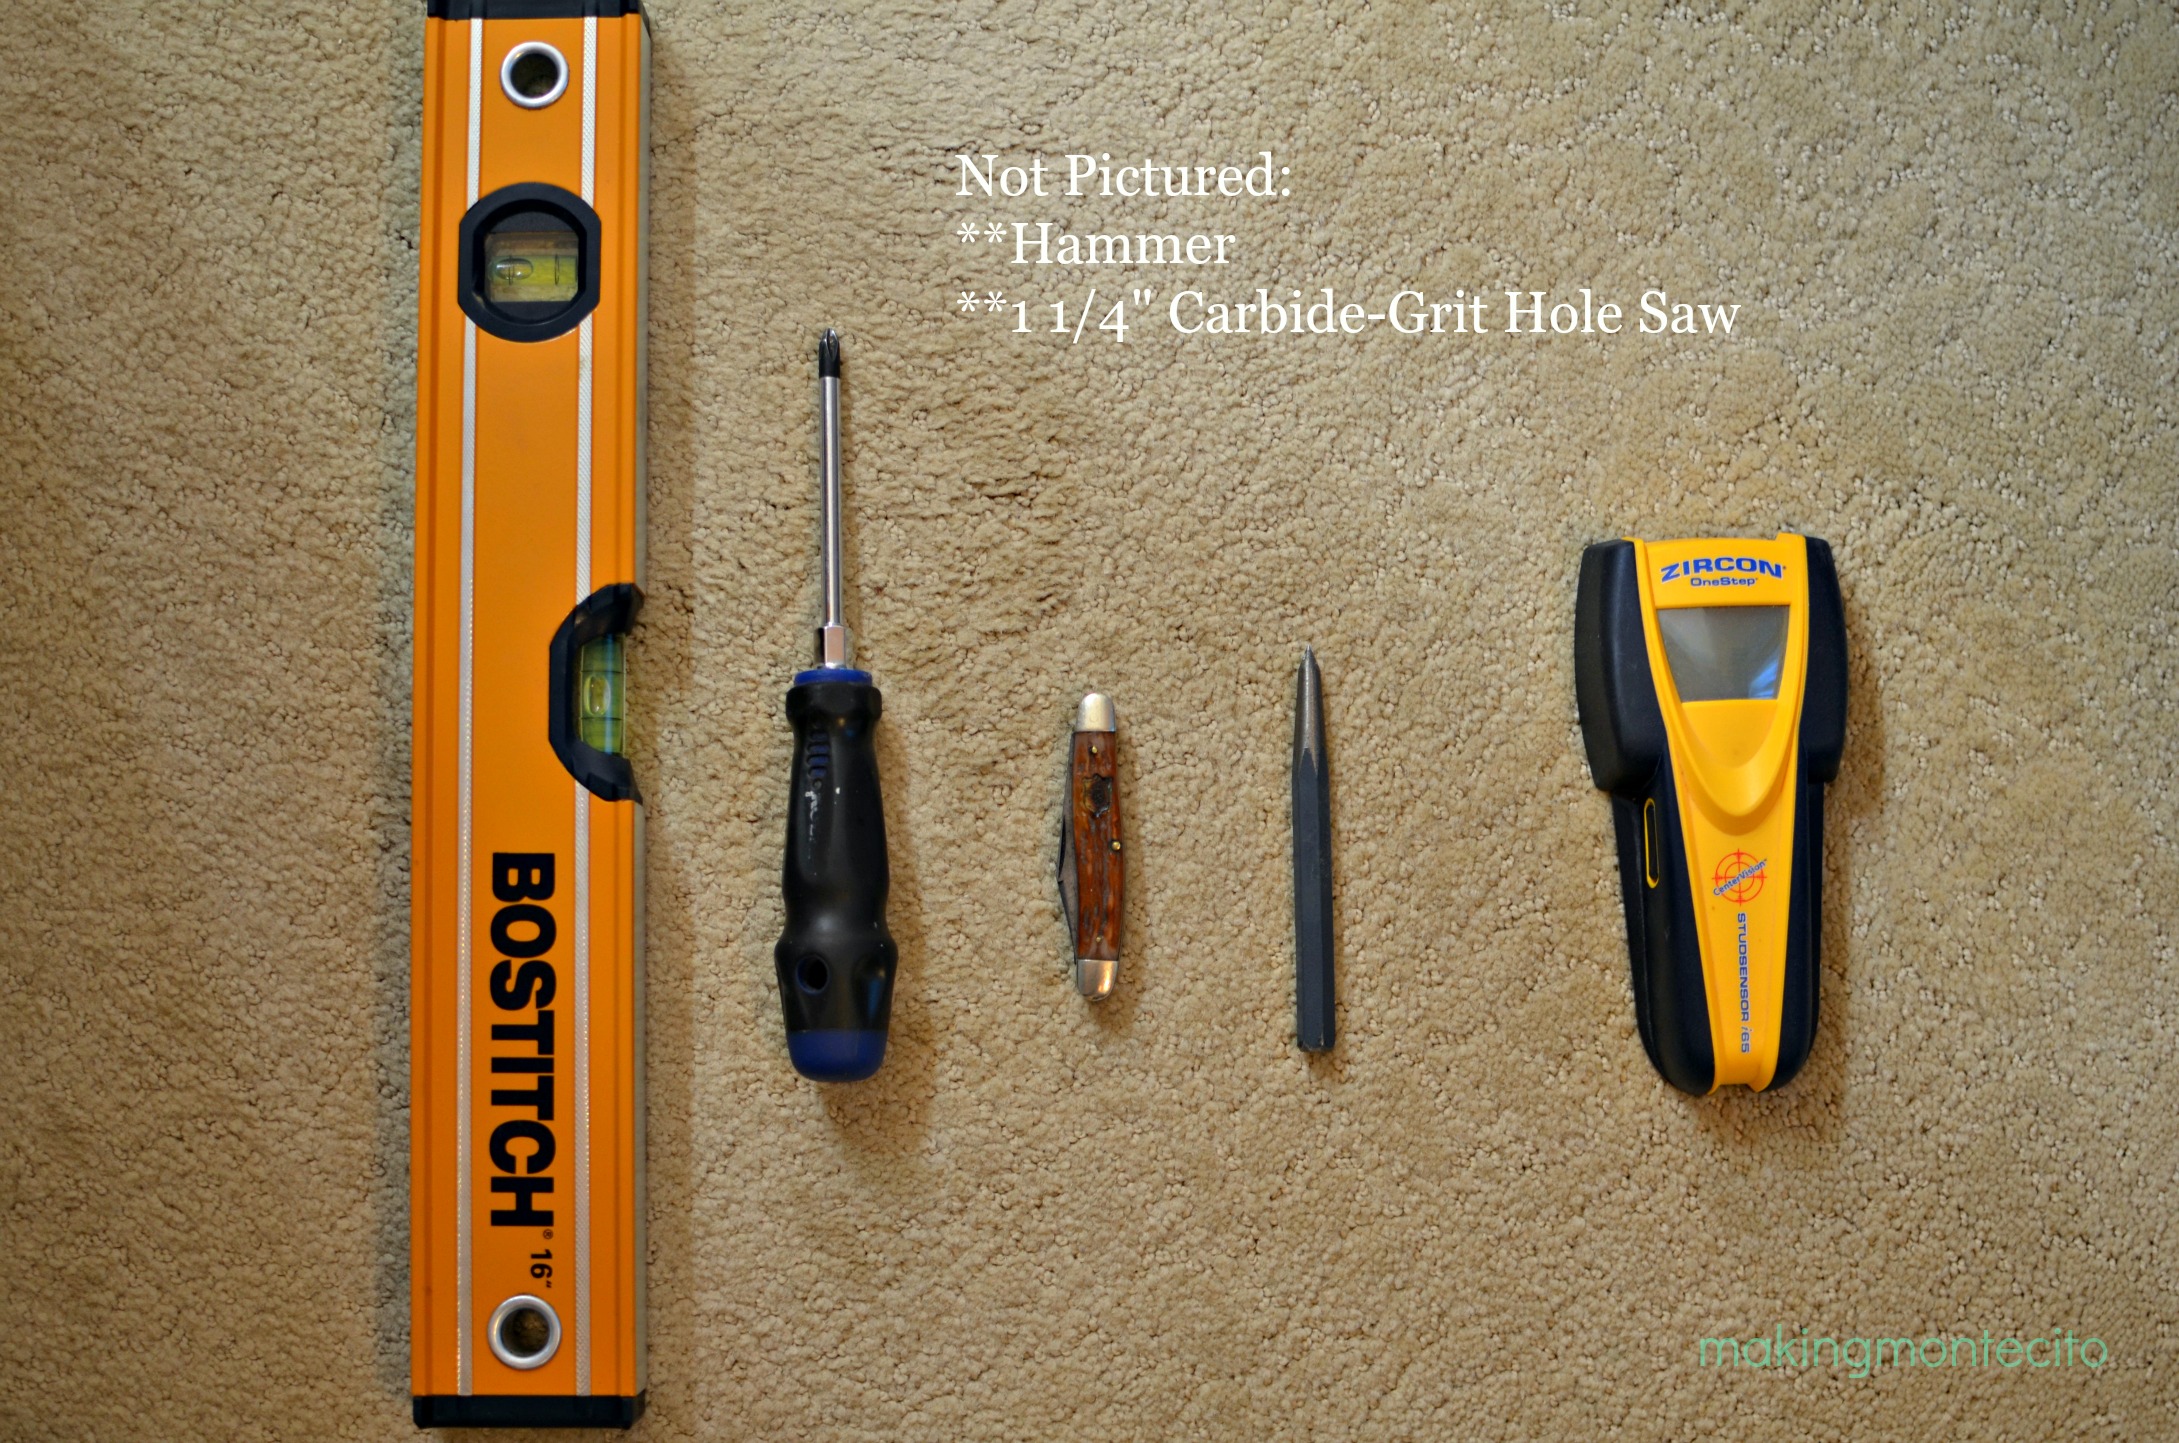
Get all your tools together.
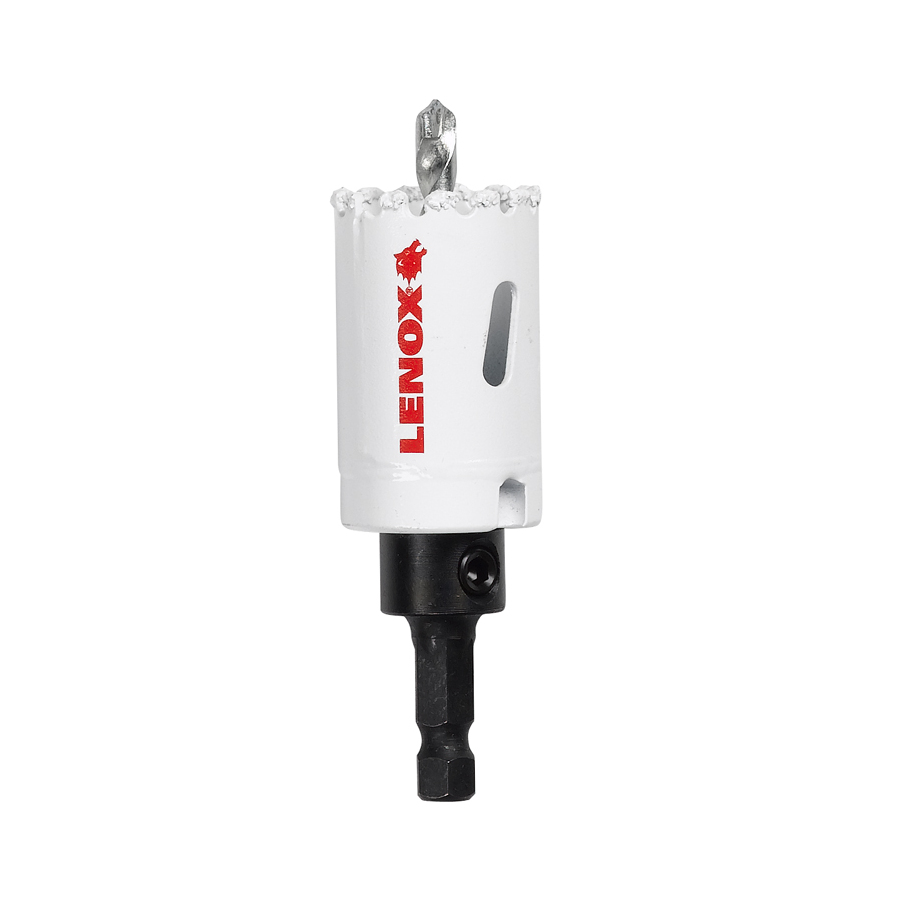
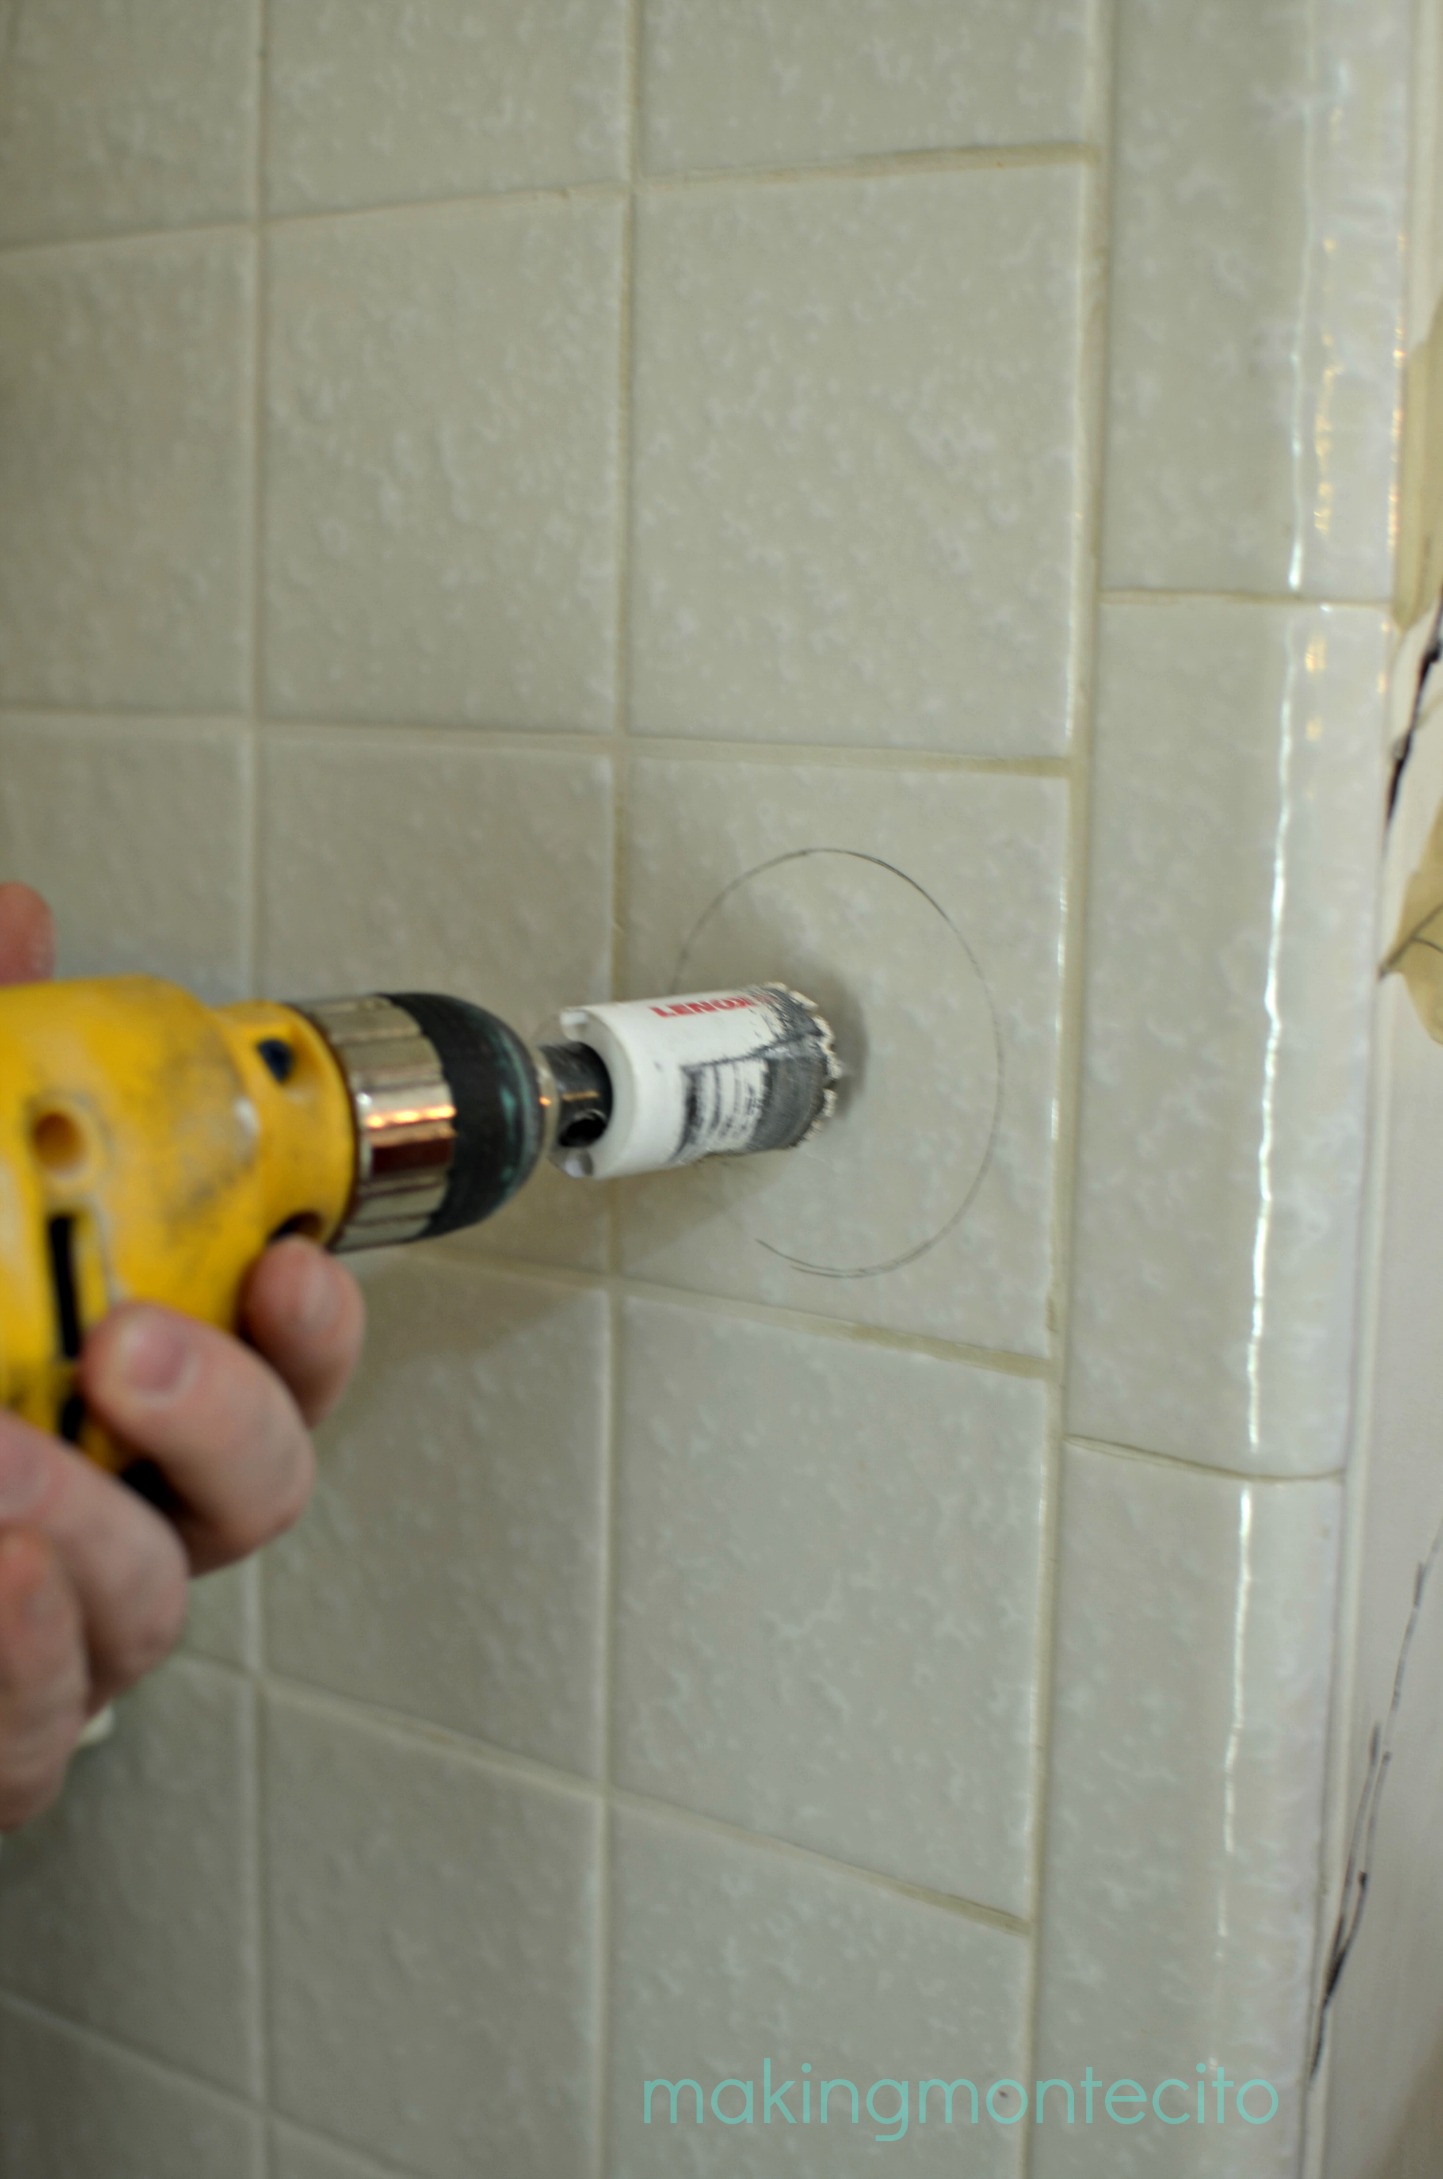
Some tools you might need to go buy are the Center Punch (like a nail set tool, but with a very sharp tip – of course my FIL had one – he has about everything) and if you’re going through tile, a 1 1/4″ Carbide -Grit Hole Saw. It was about $10 at Lowe’s. Here’s what it looks like up close.
(Photo: Lowes.com)
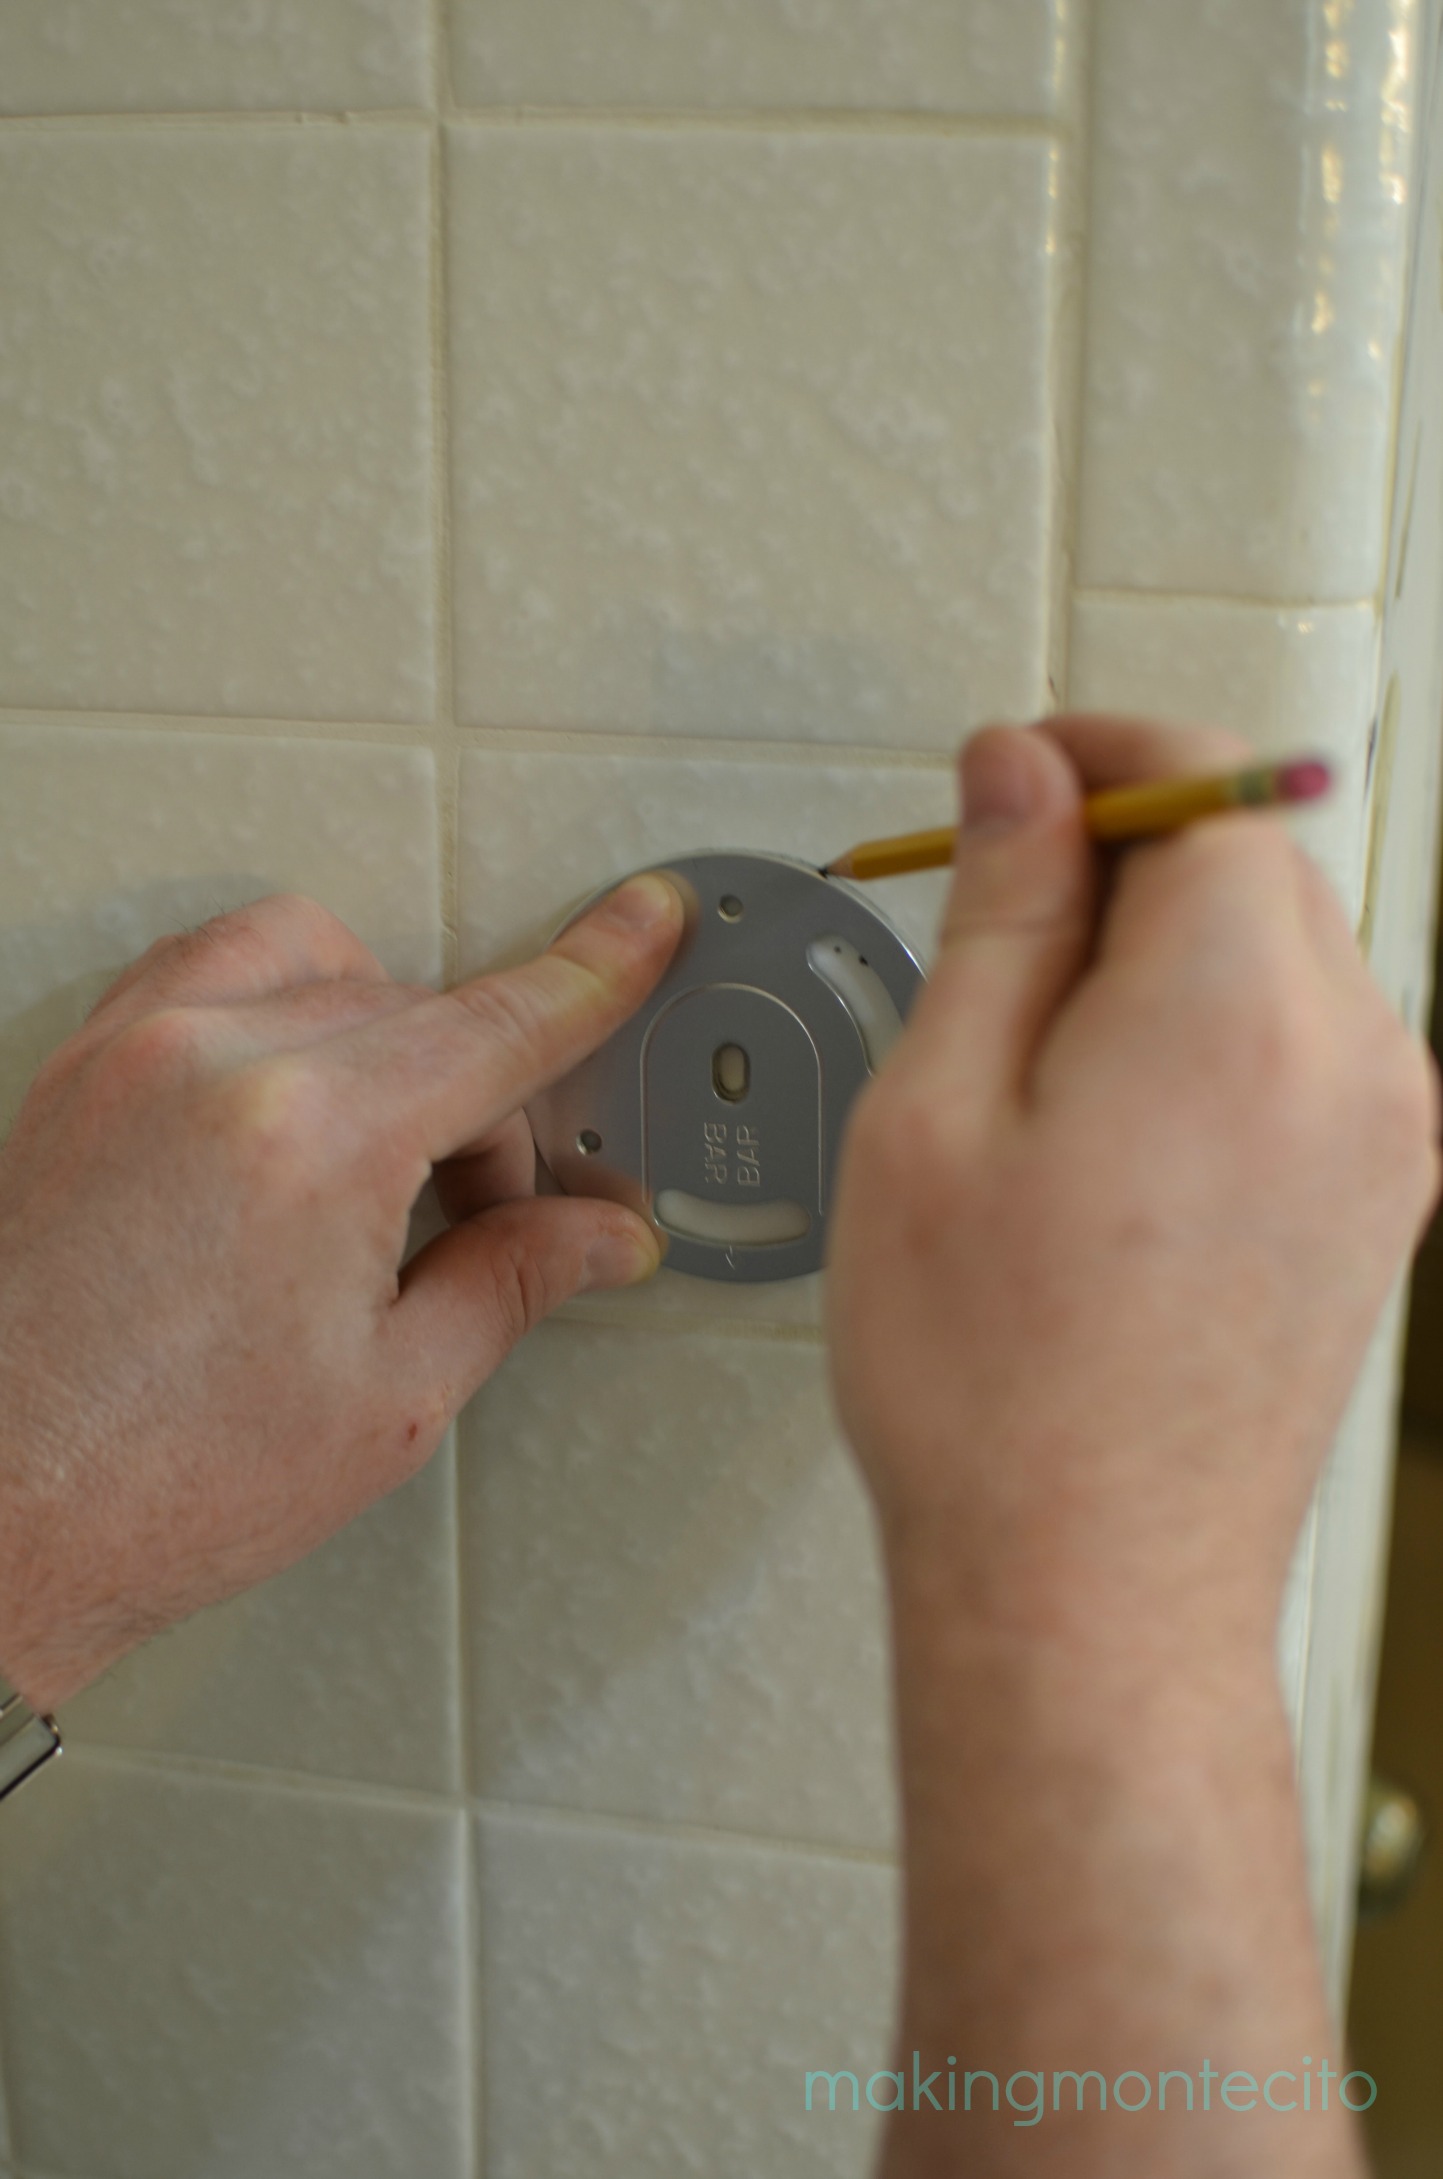
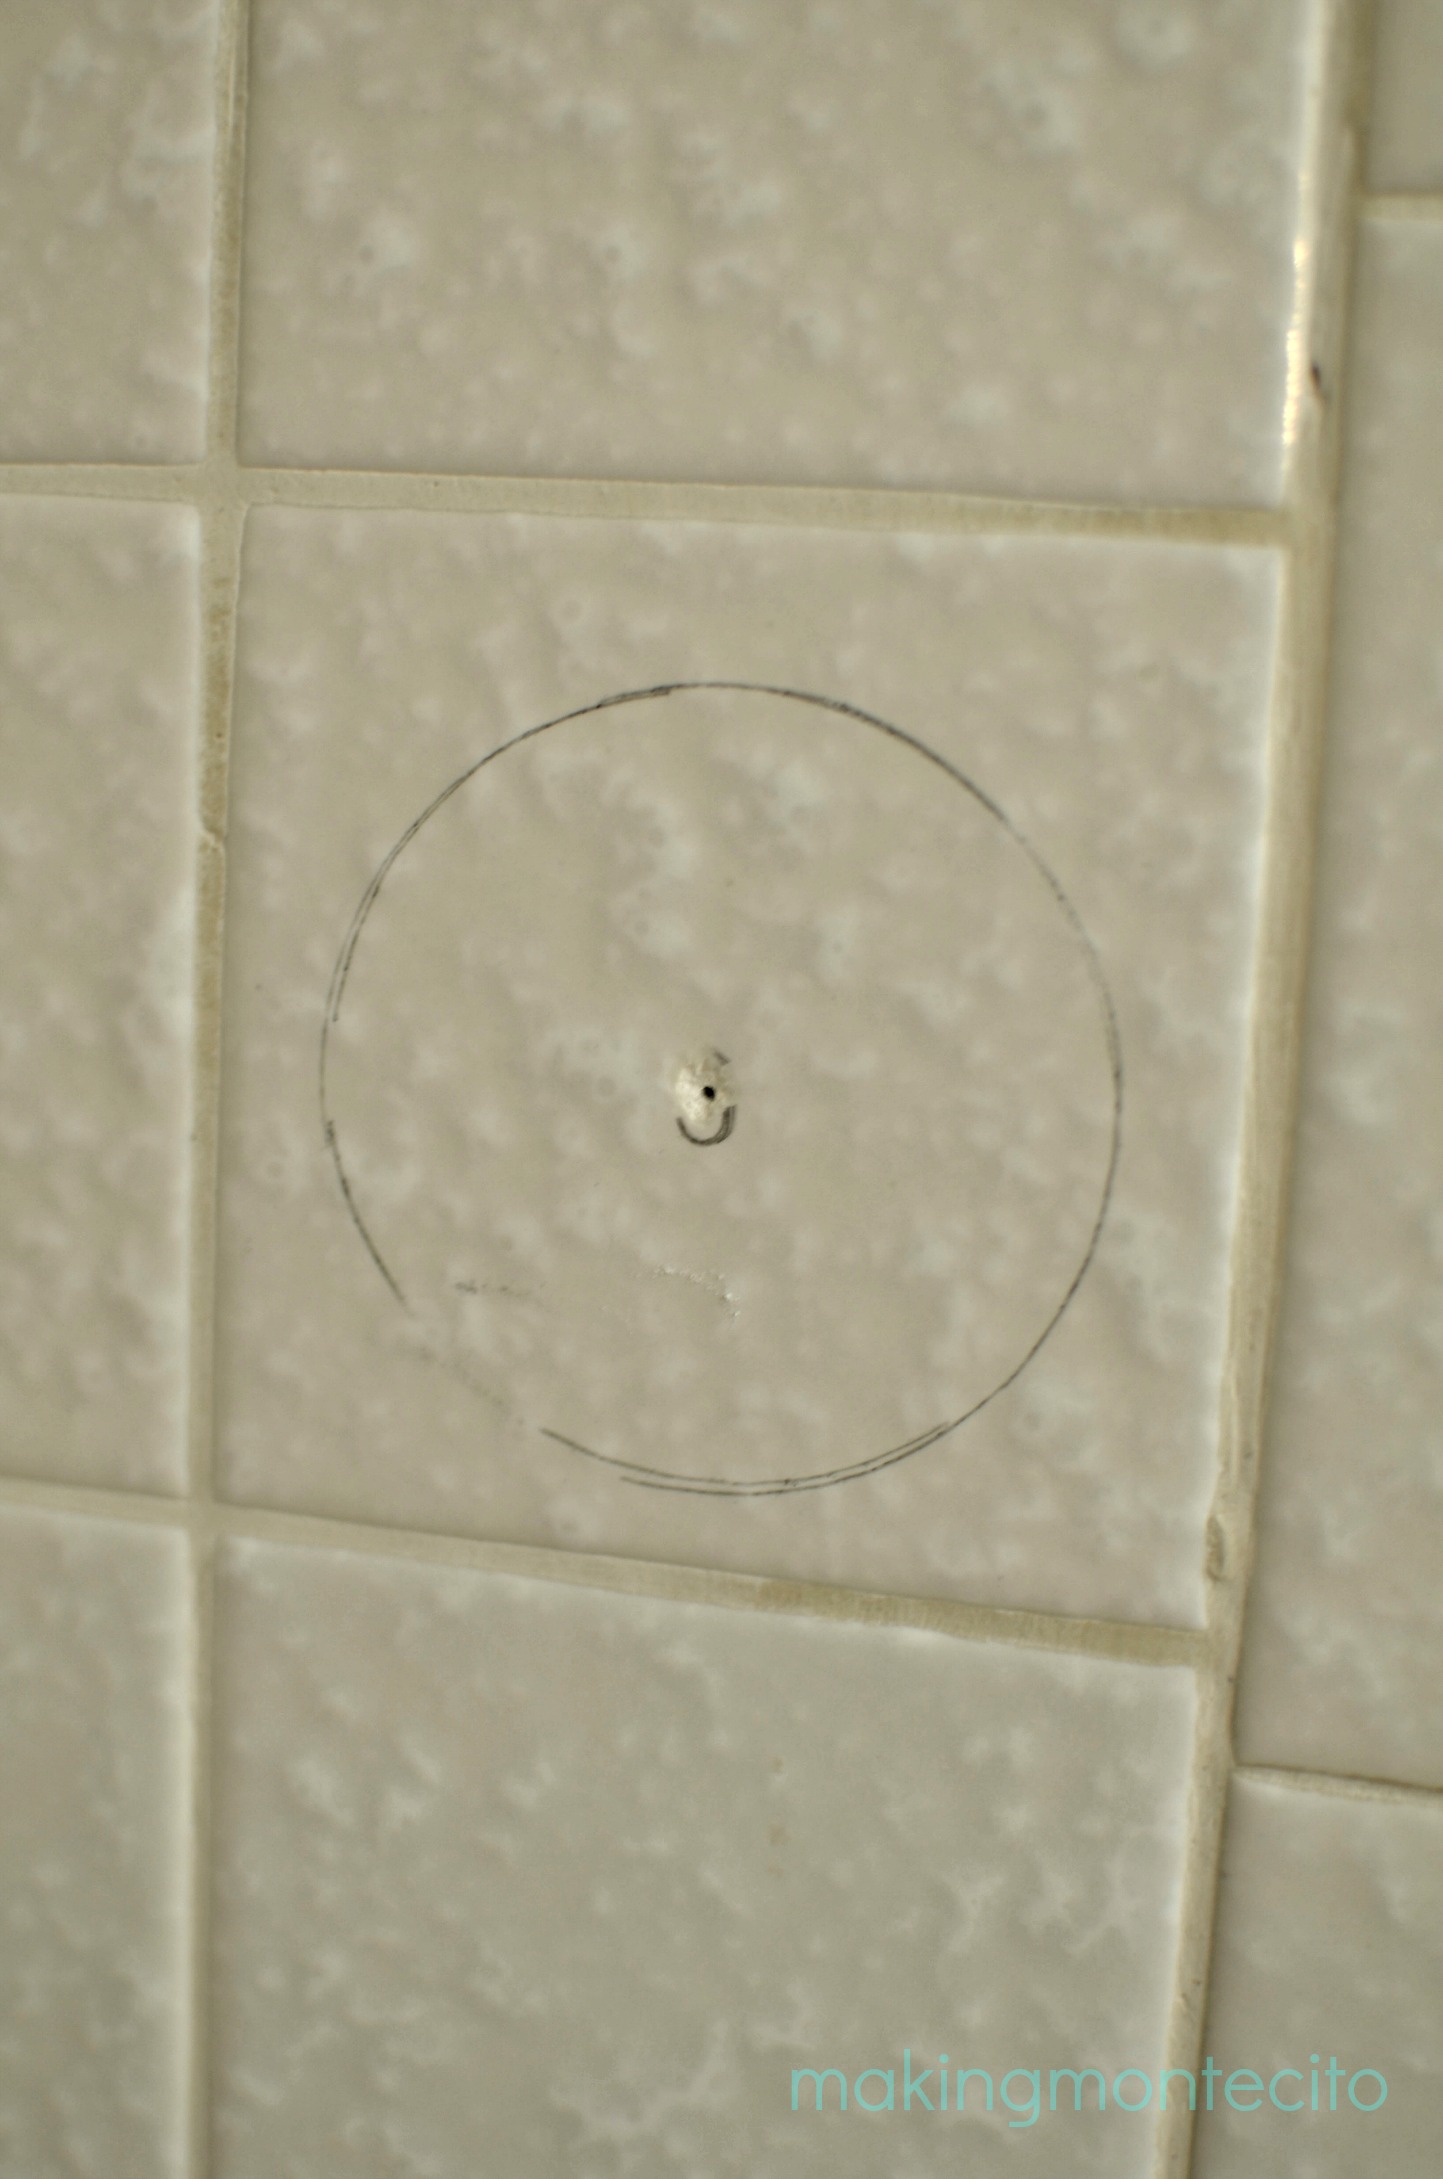
Remove the flange-like covers on the ends of the bars, and level and mark where they’ll be going (we used the knife to slide under and pop them off). Then take out the backing of the Secure Mount Anchors, line them up and mark around the back and also the center hole.
Next take your center punch and hammer a little divot out of the center mark. This is what will help your hole saw bit line up where you want it.
Now drill baby, drill!
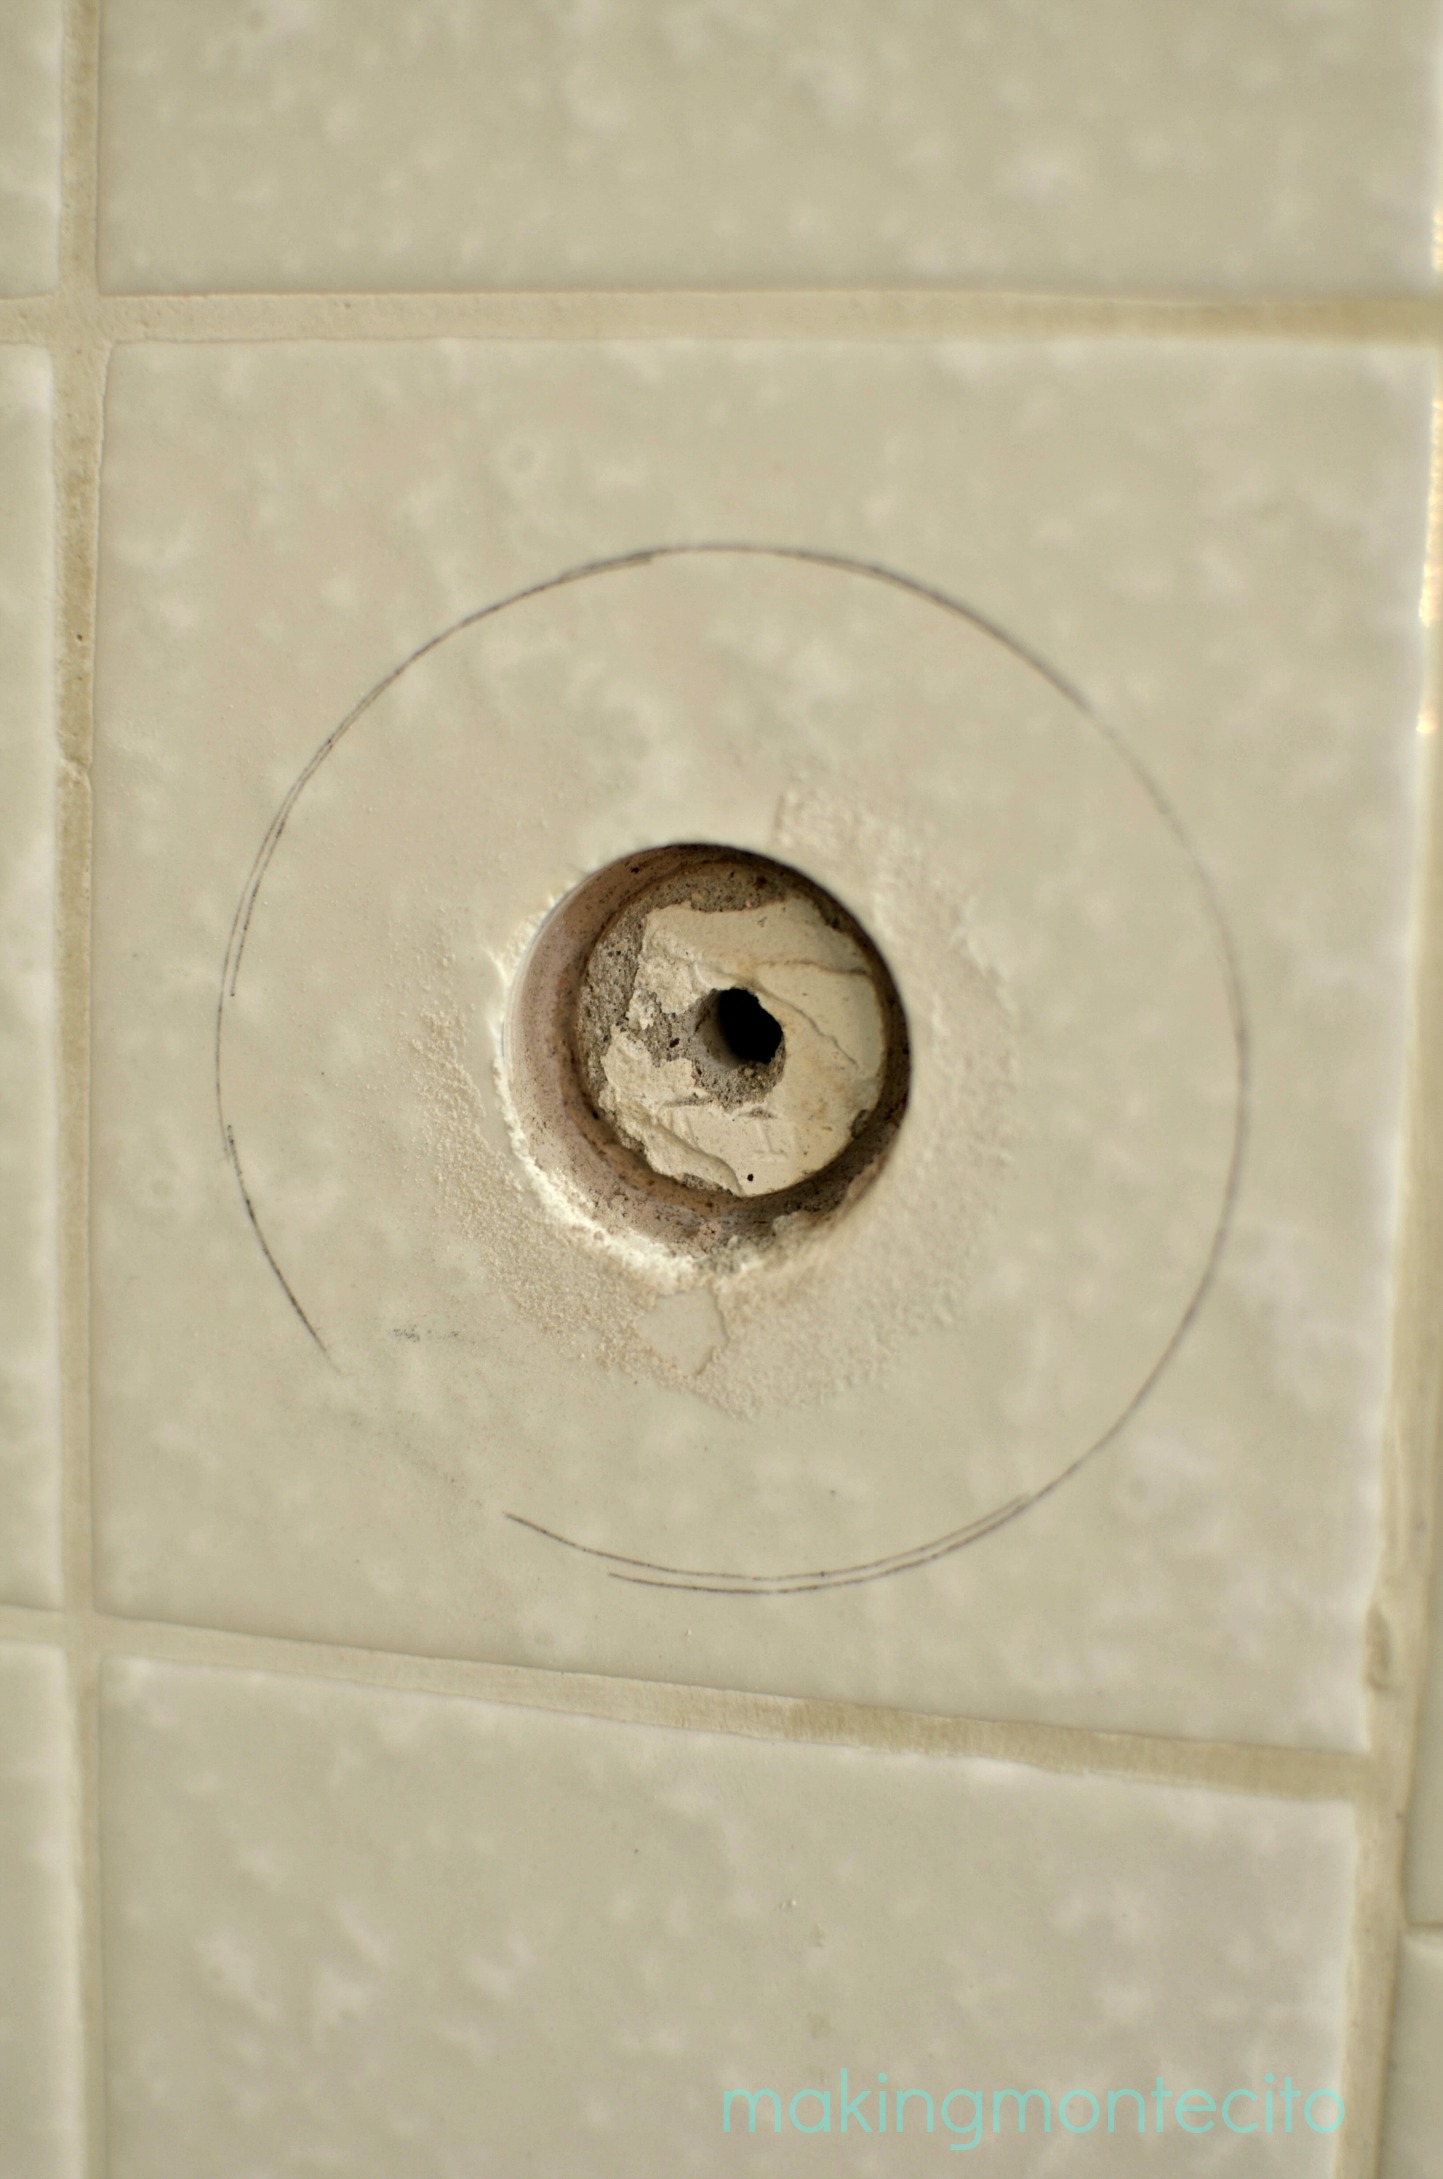
Important Note: This will take a while to drill and your tile WILL get hot. By the last hole, we were making such slow progress and it was getting so hot, I went and got a spray bottle of water to spray the hole when he stopped and a cup of water to dip his bit into. I can’t tell you how much this helped move things along. We should have been using it to begin with. Don’t be like us. Use water to help this process along from the start.
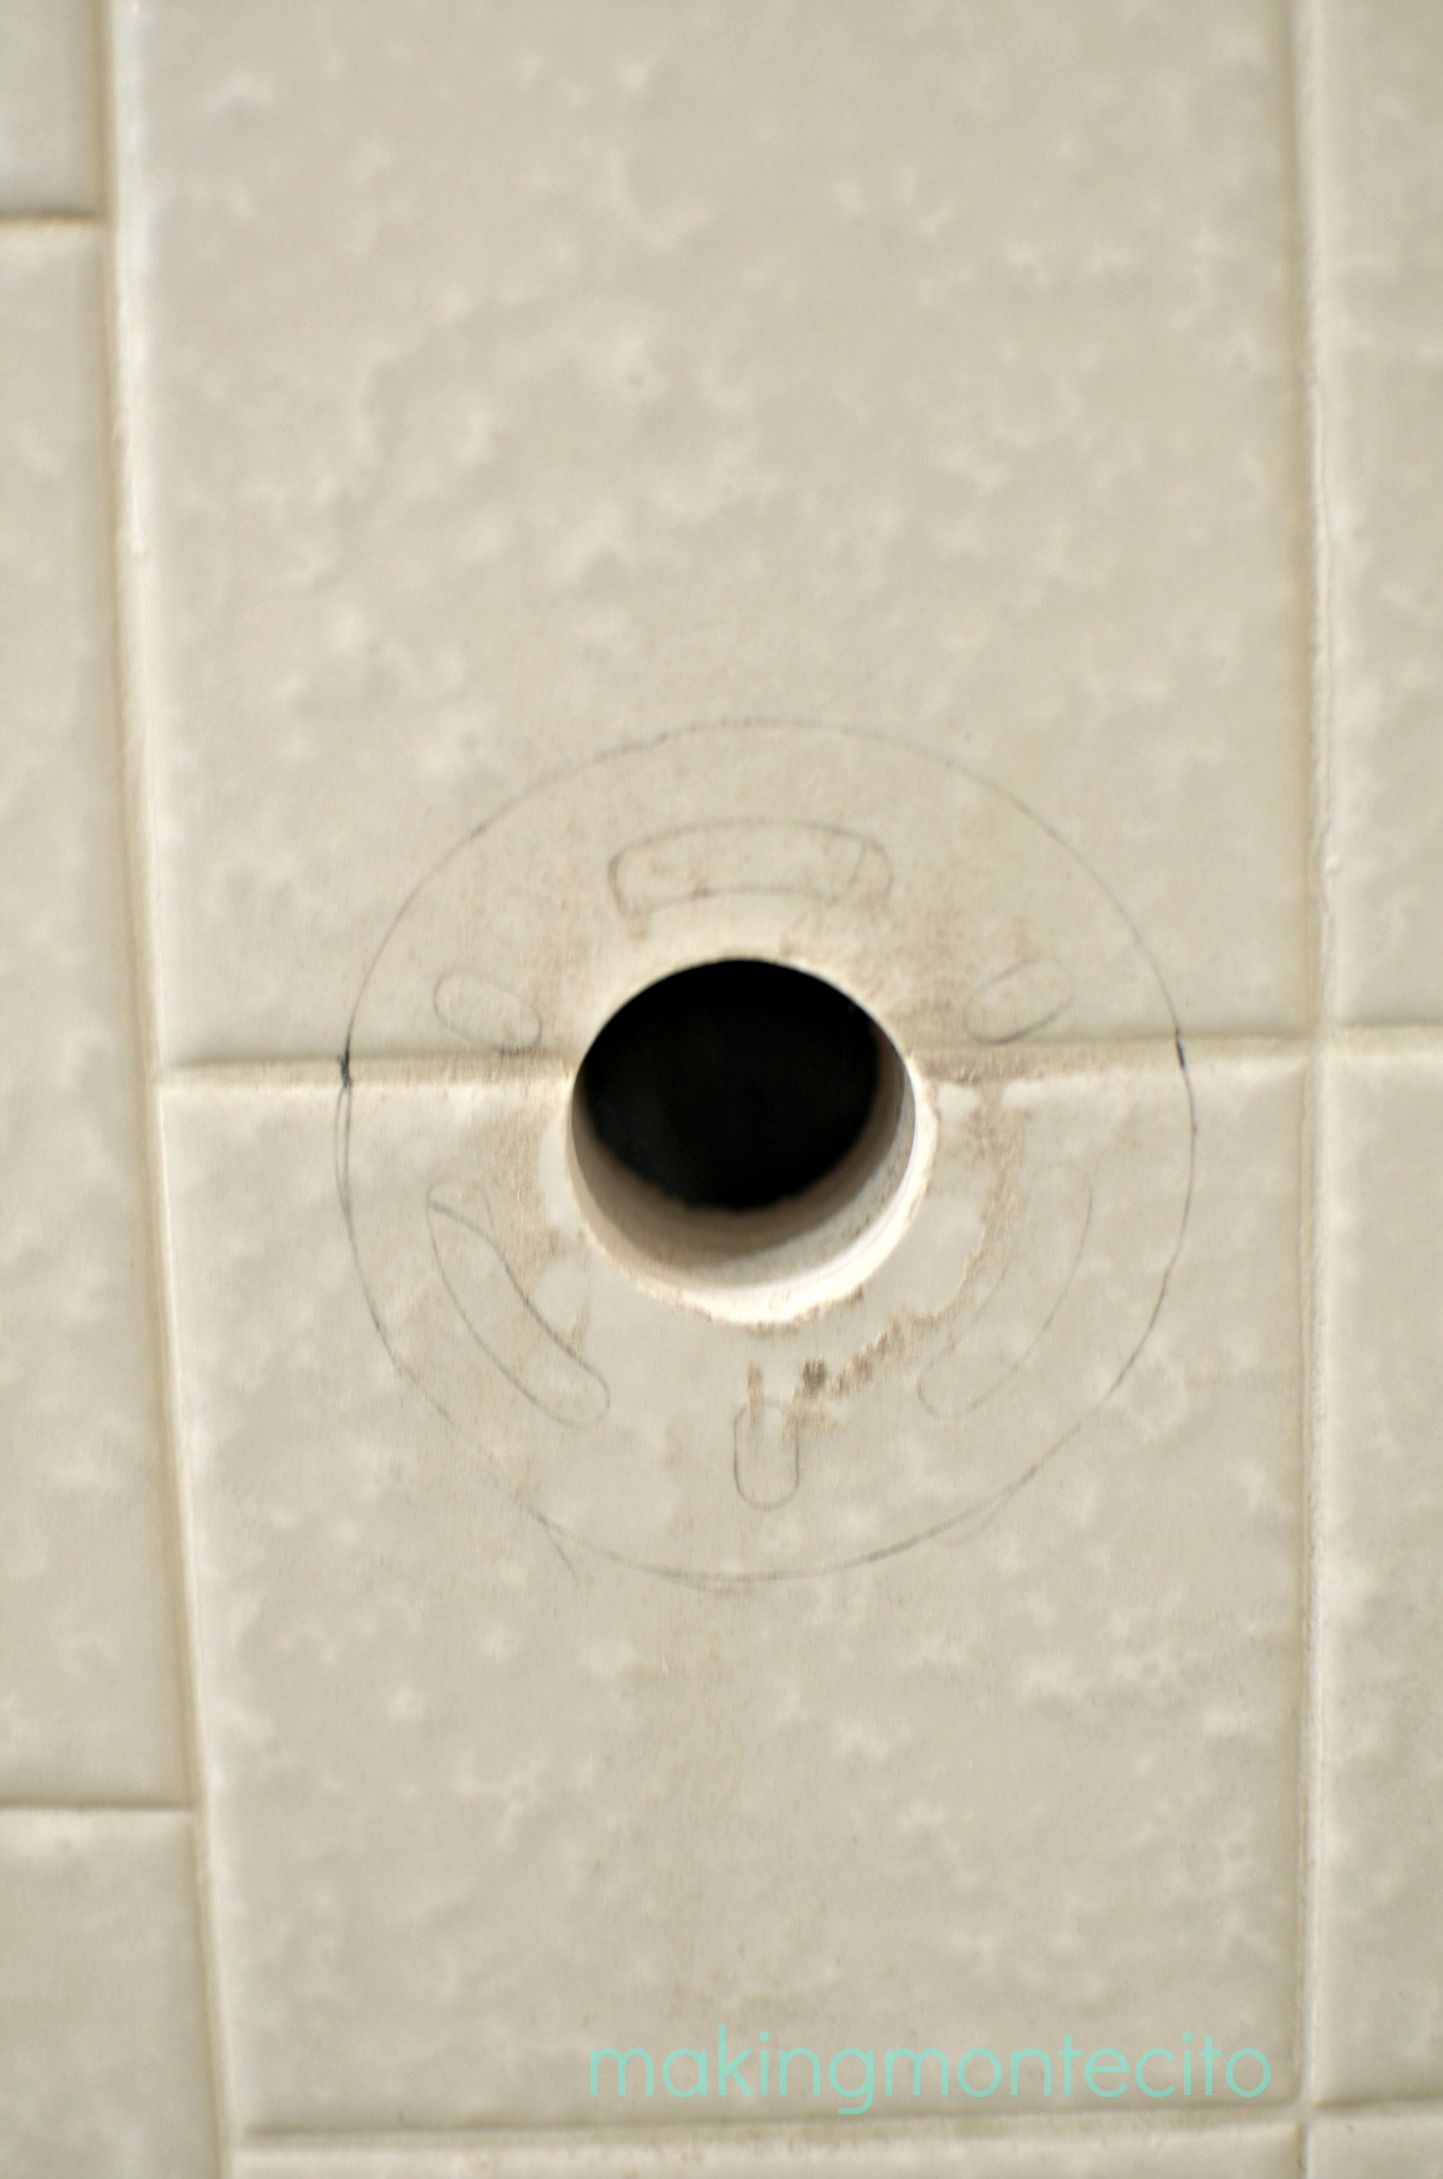
Finally!
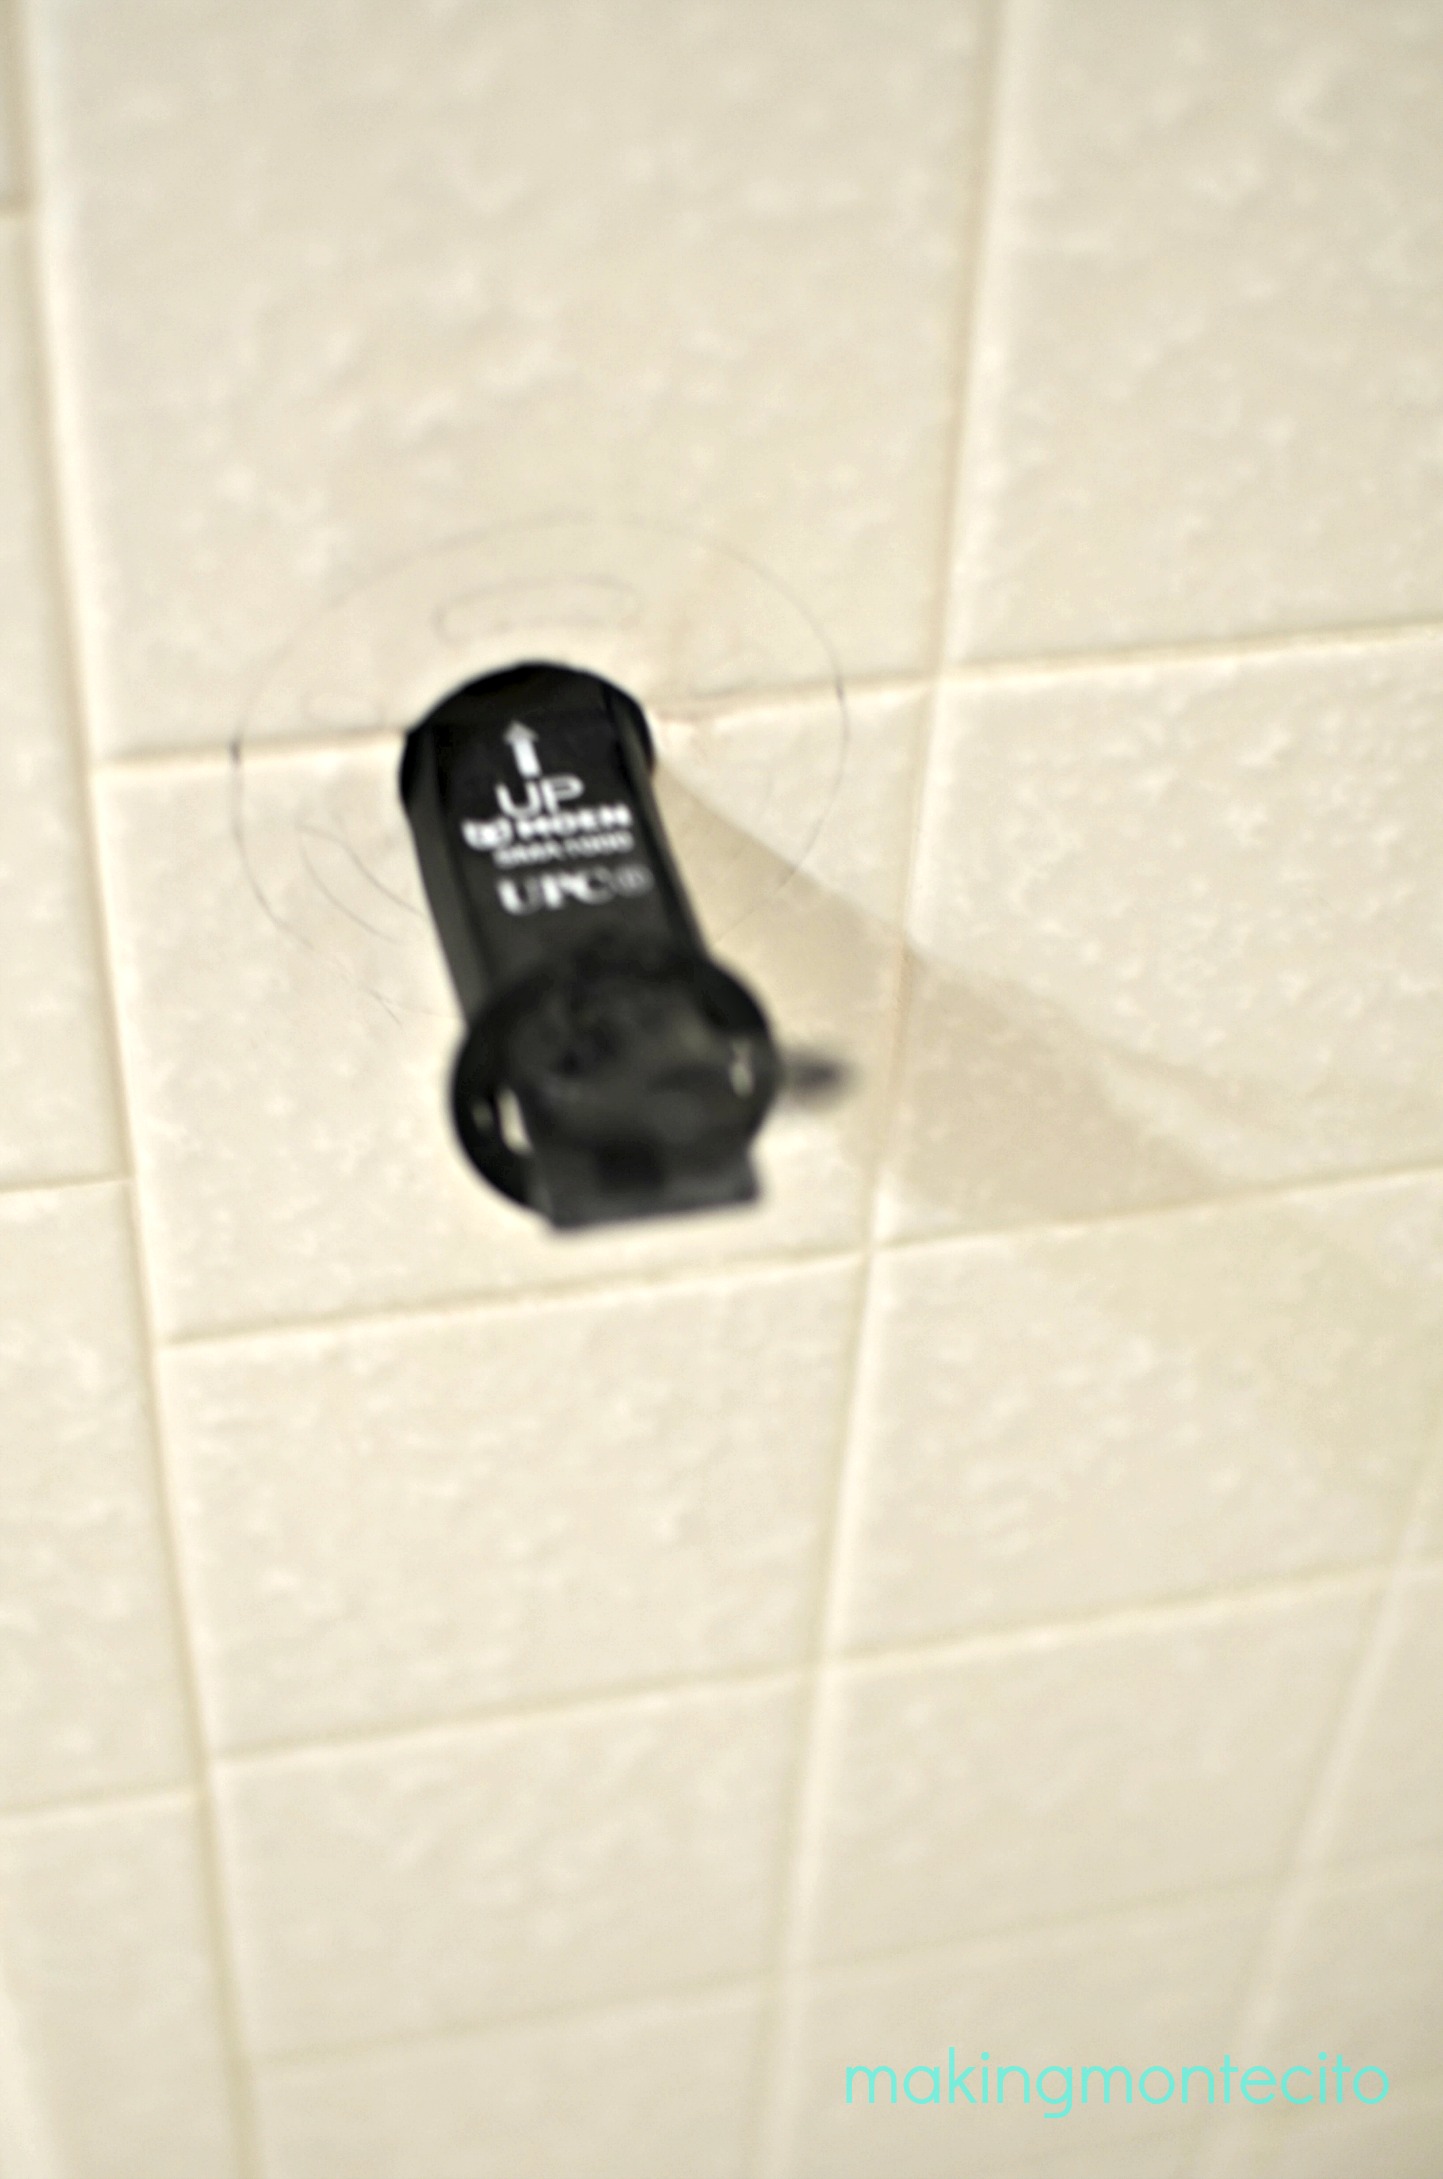
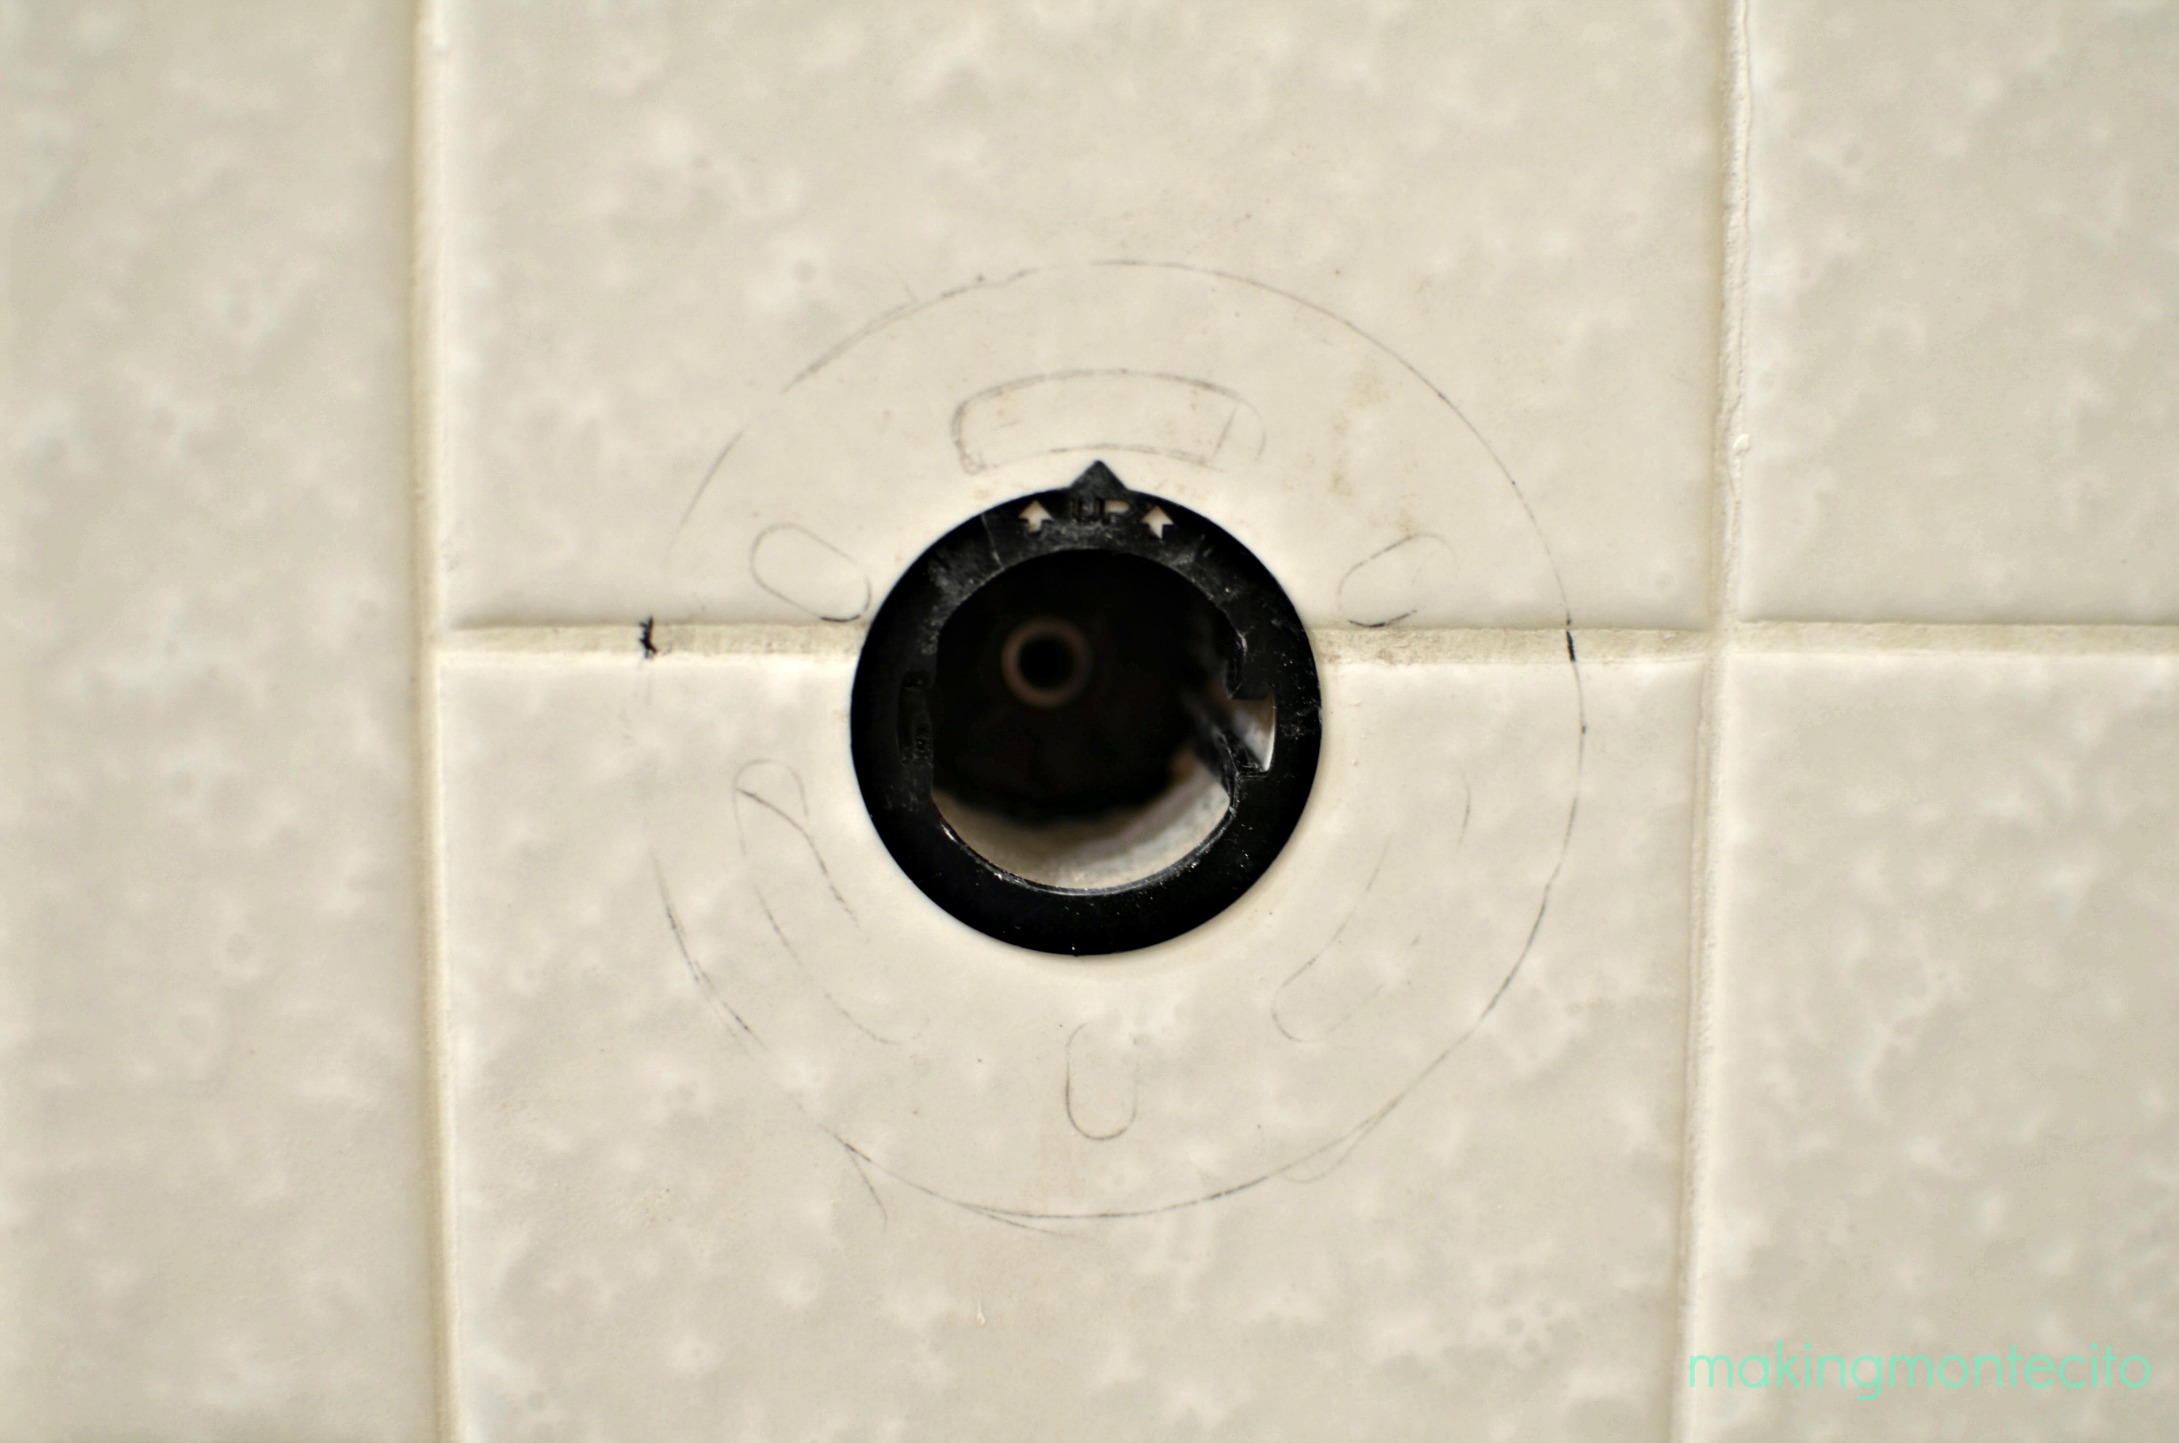
Take the anchor and attach the little clip to it and slide it into the hole, making sure the up arrow is actually pointing up.
At first I was worried about the anchor part of this falling into the wall, but when you look at it, there’s really no way for that to happen. After you push it all the way back and pull it forward, pop the clip up and off the anchor. This is what you’re left with.
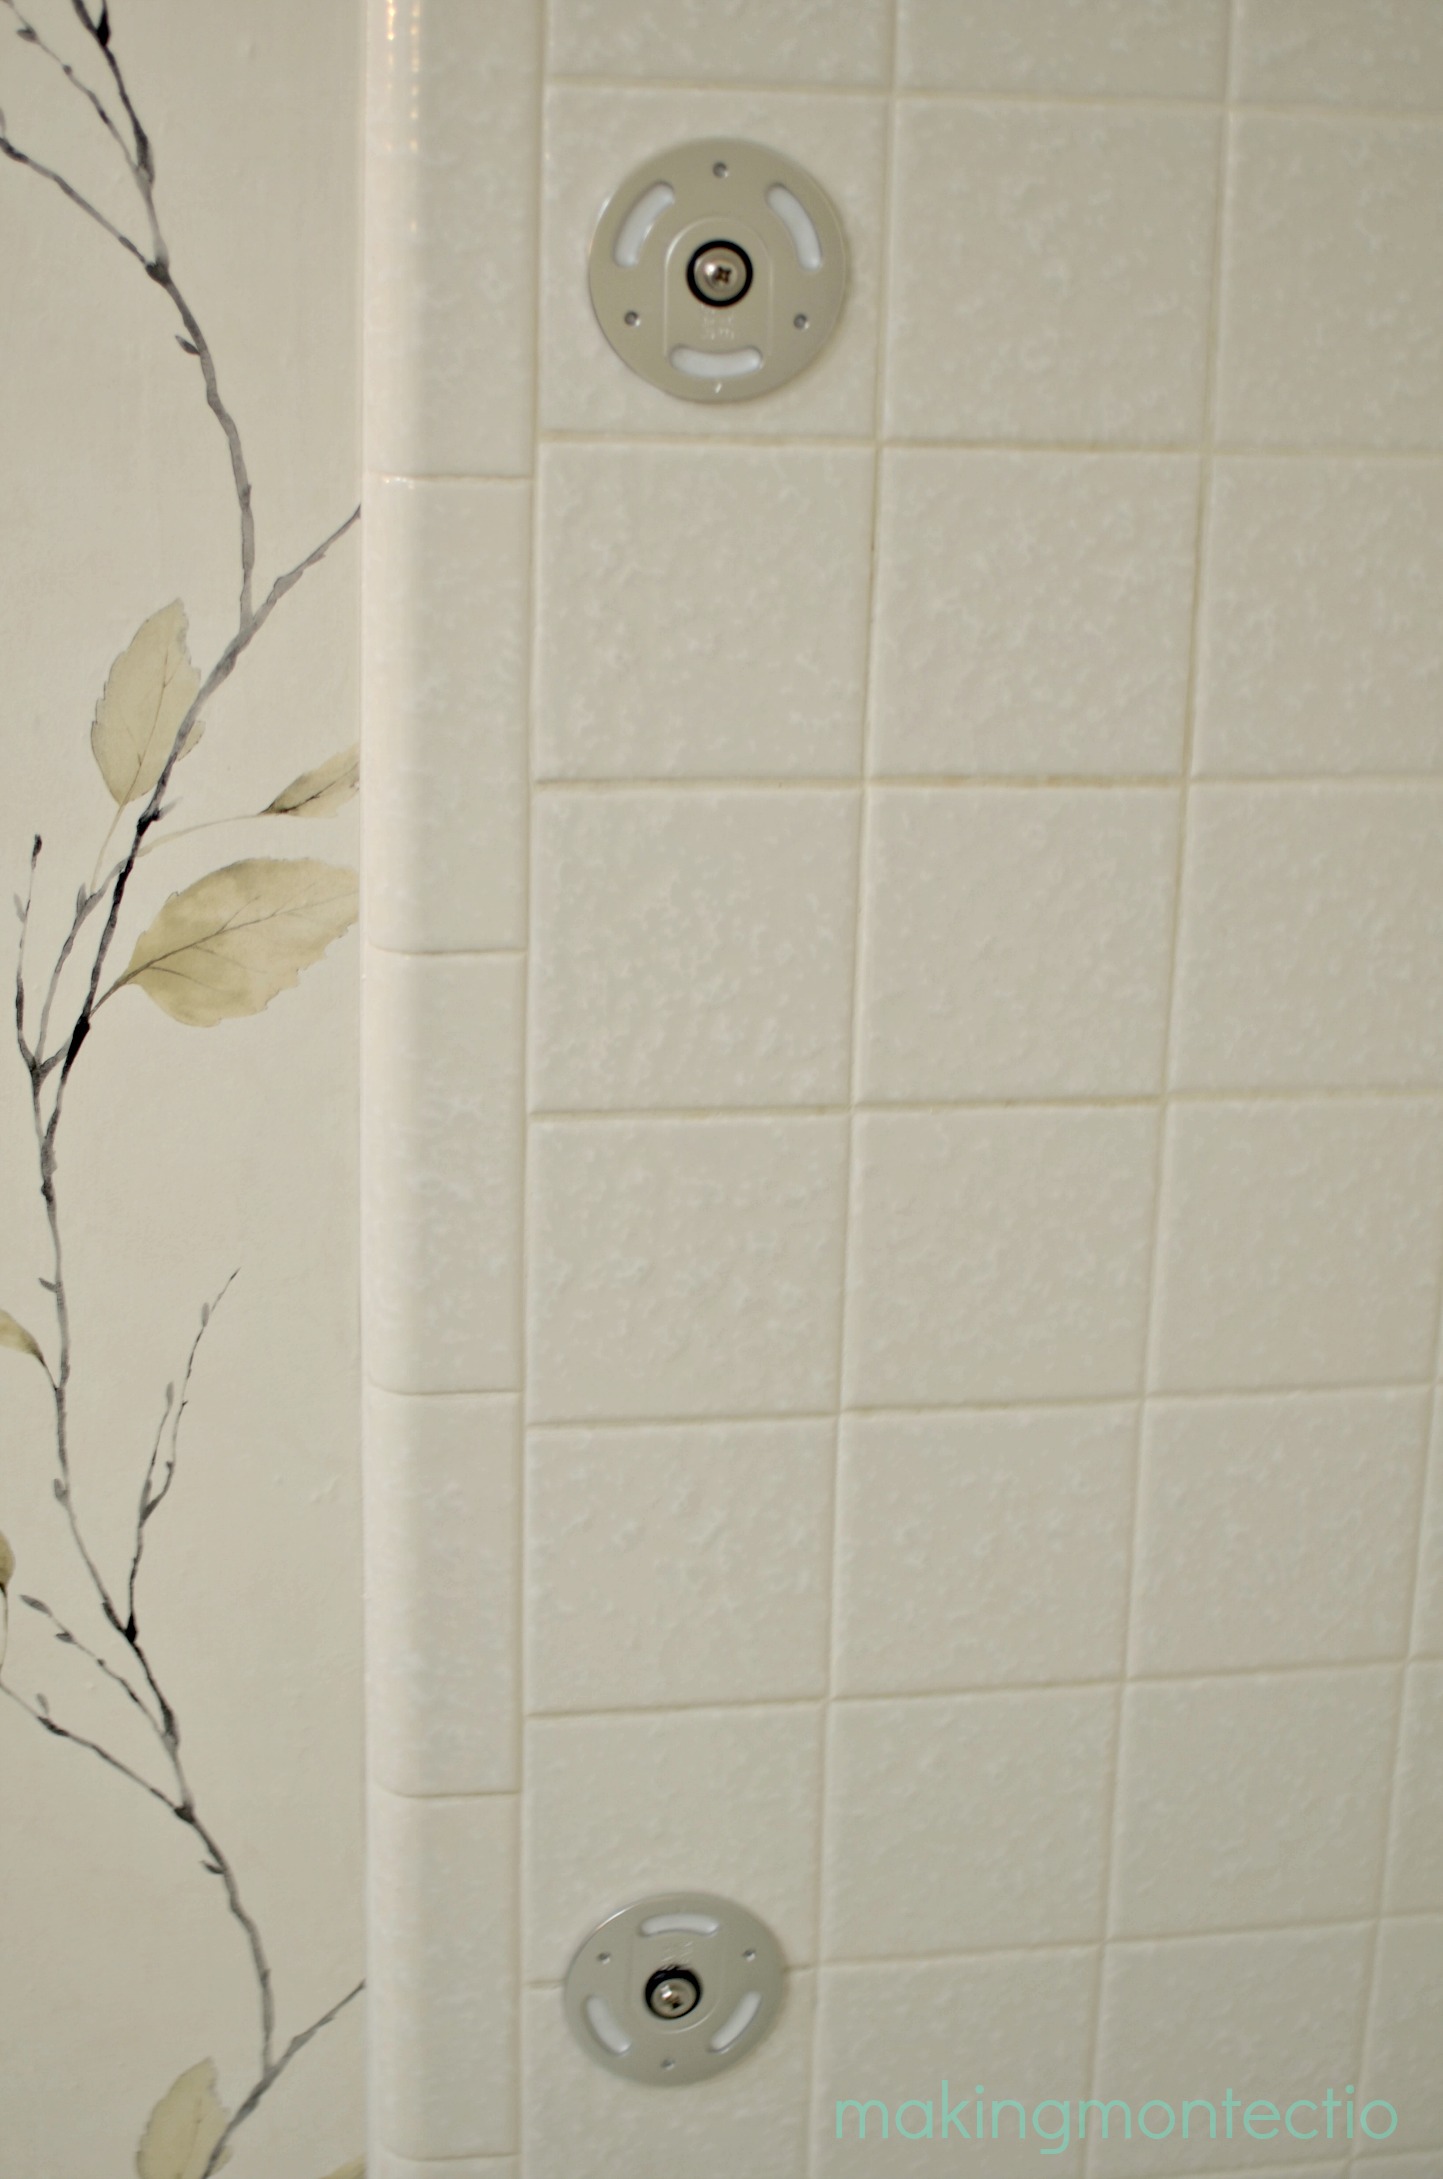
When you attach the next piece, it screws right into that center hole in the back and pulls everything nice and secure. Attach the top mounting plate and repeat the above steps for the bottom hole.
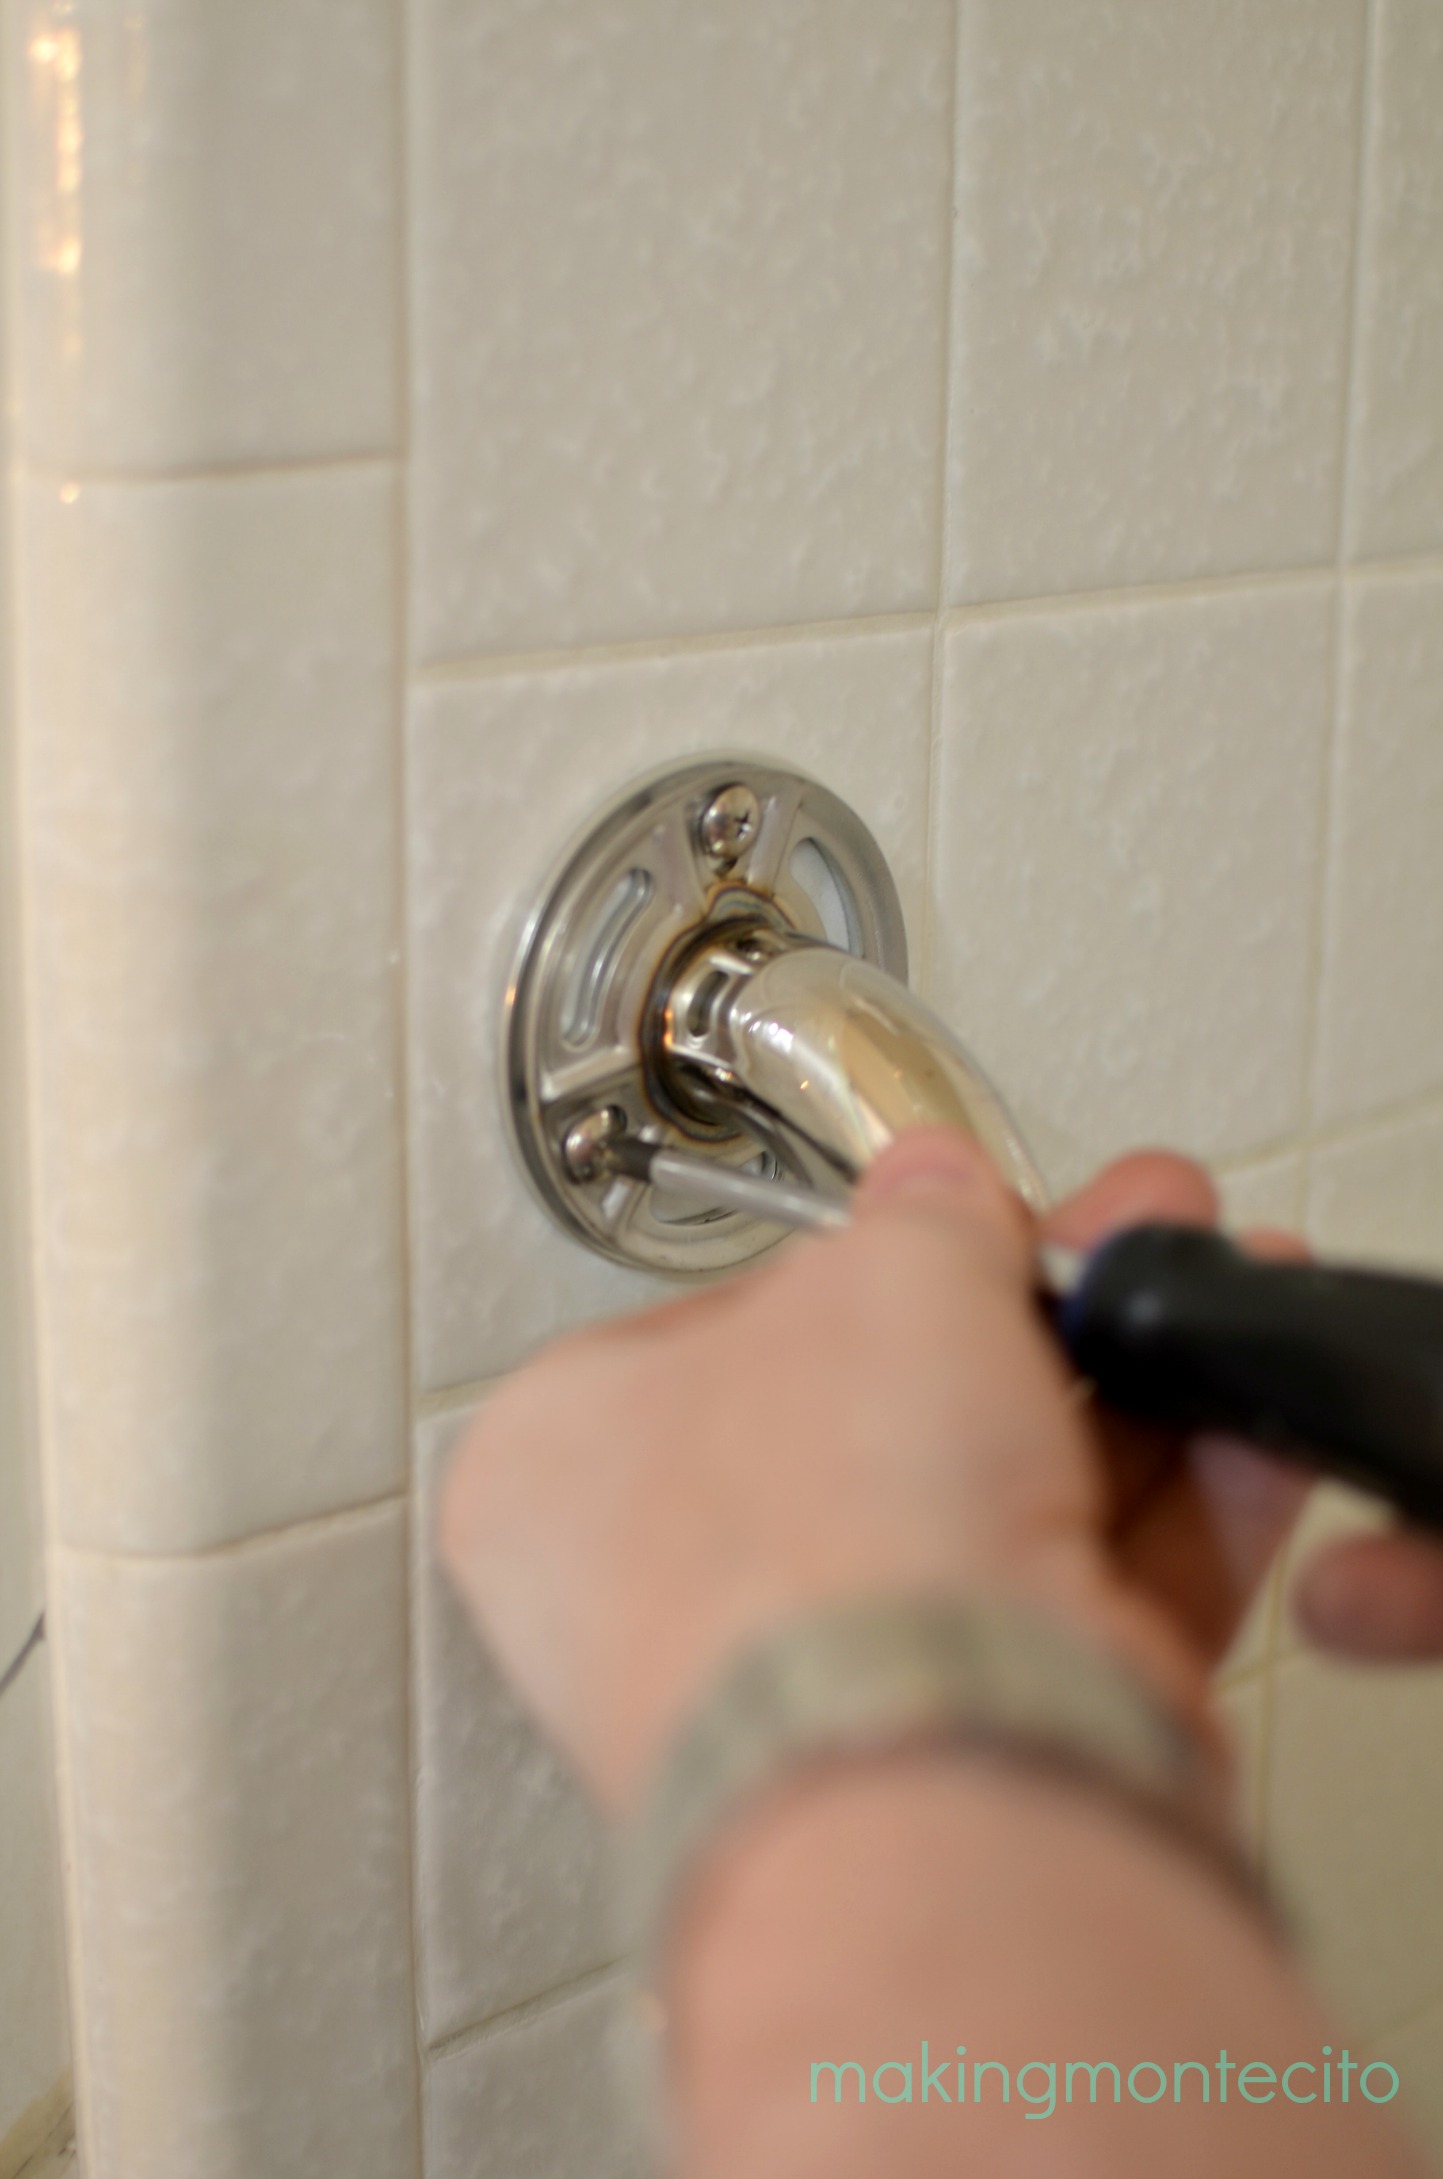
Once both mounting plates are on, use the small screws that came with the secure anchor and attach your grab bar. These are short screws and only go into the mounting plate, not through the tile.
Slide the cover up and pop it back on. Do the same for the bottom part of the bar and there you go. Ready for prime time. 🙂
Until our next project…
