Note: Since my original post here got crazy-long, I decided to break these up into smaller, hopefully easier to read, posts.
Resources: (Some of these are affiliate links. I will use any money this might earn to buy unicorn tears to sprinkle on the girls bows next year):
- Green Spandex: Fabrictopia Dallas www.fabrictopia.com I ended up getting several yards because the pre-cut piece was the same price as the yardage I needed, so we ended up having extra for future projects. Or a mermaid costume for me. Whatever.
- 3″ Black Grosgrain Ribbon: Amazon – Since we were making several bows using black ribbon, I bought a 50yd spool, but they seem to go on backorder quite a bit. This 10yd spool of 3″ grosgrain ribbon is in stock right now. Just look around on Amazon and price it out per yard to fit your needs. (Note…this is pronounced “Grow-grain” I’ve heard several tutorials calling it “gross” or ”gros” grain. Not being snobbish – just thought I’d let you know if you needed to ask someone in a store for it.)
- Wonder-Under: Walmart – Fusible webbing to be able to “glue” your spandex fabric front to your ribbon back. I paid $1.66/yd at the time
- Zipties: Amazon –200 CableTies Combo Pack White & Black
- Black 3/8″ Center Ribbon: Hobby Lobby, Michaels, Jo-Ann all carry it. I think I got mine at Michaels on sale for $1.00
- Elastics: Walmart
- Heat Transfer Vinyl: I’ve ordered most of my HTV from http://heattransfervinyl4u.com and have been very happy with their shipping turn around and product. If you spend over $35, it’s free shipping, which I can always seem to meet. 🙂
Directions:
Cut your 3″ ribbon to 28″ lengths for each bow you’ll be making.
Cut your spandex strips and Wonder Under strips slightly larger. I cut it in about 3.5″ widths and about 29″ long.
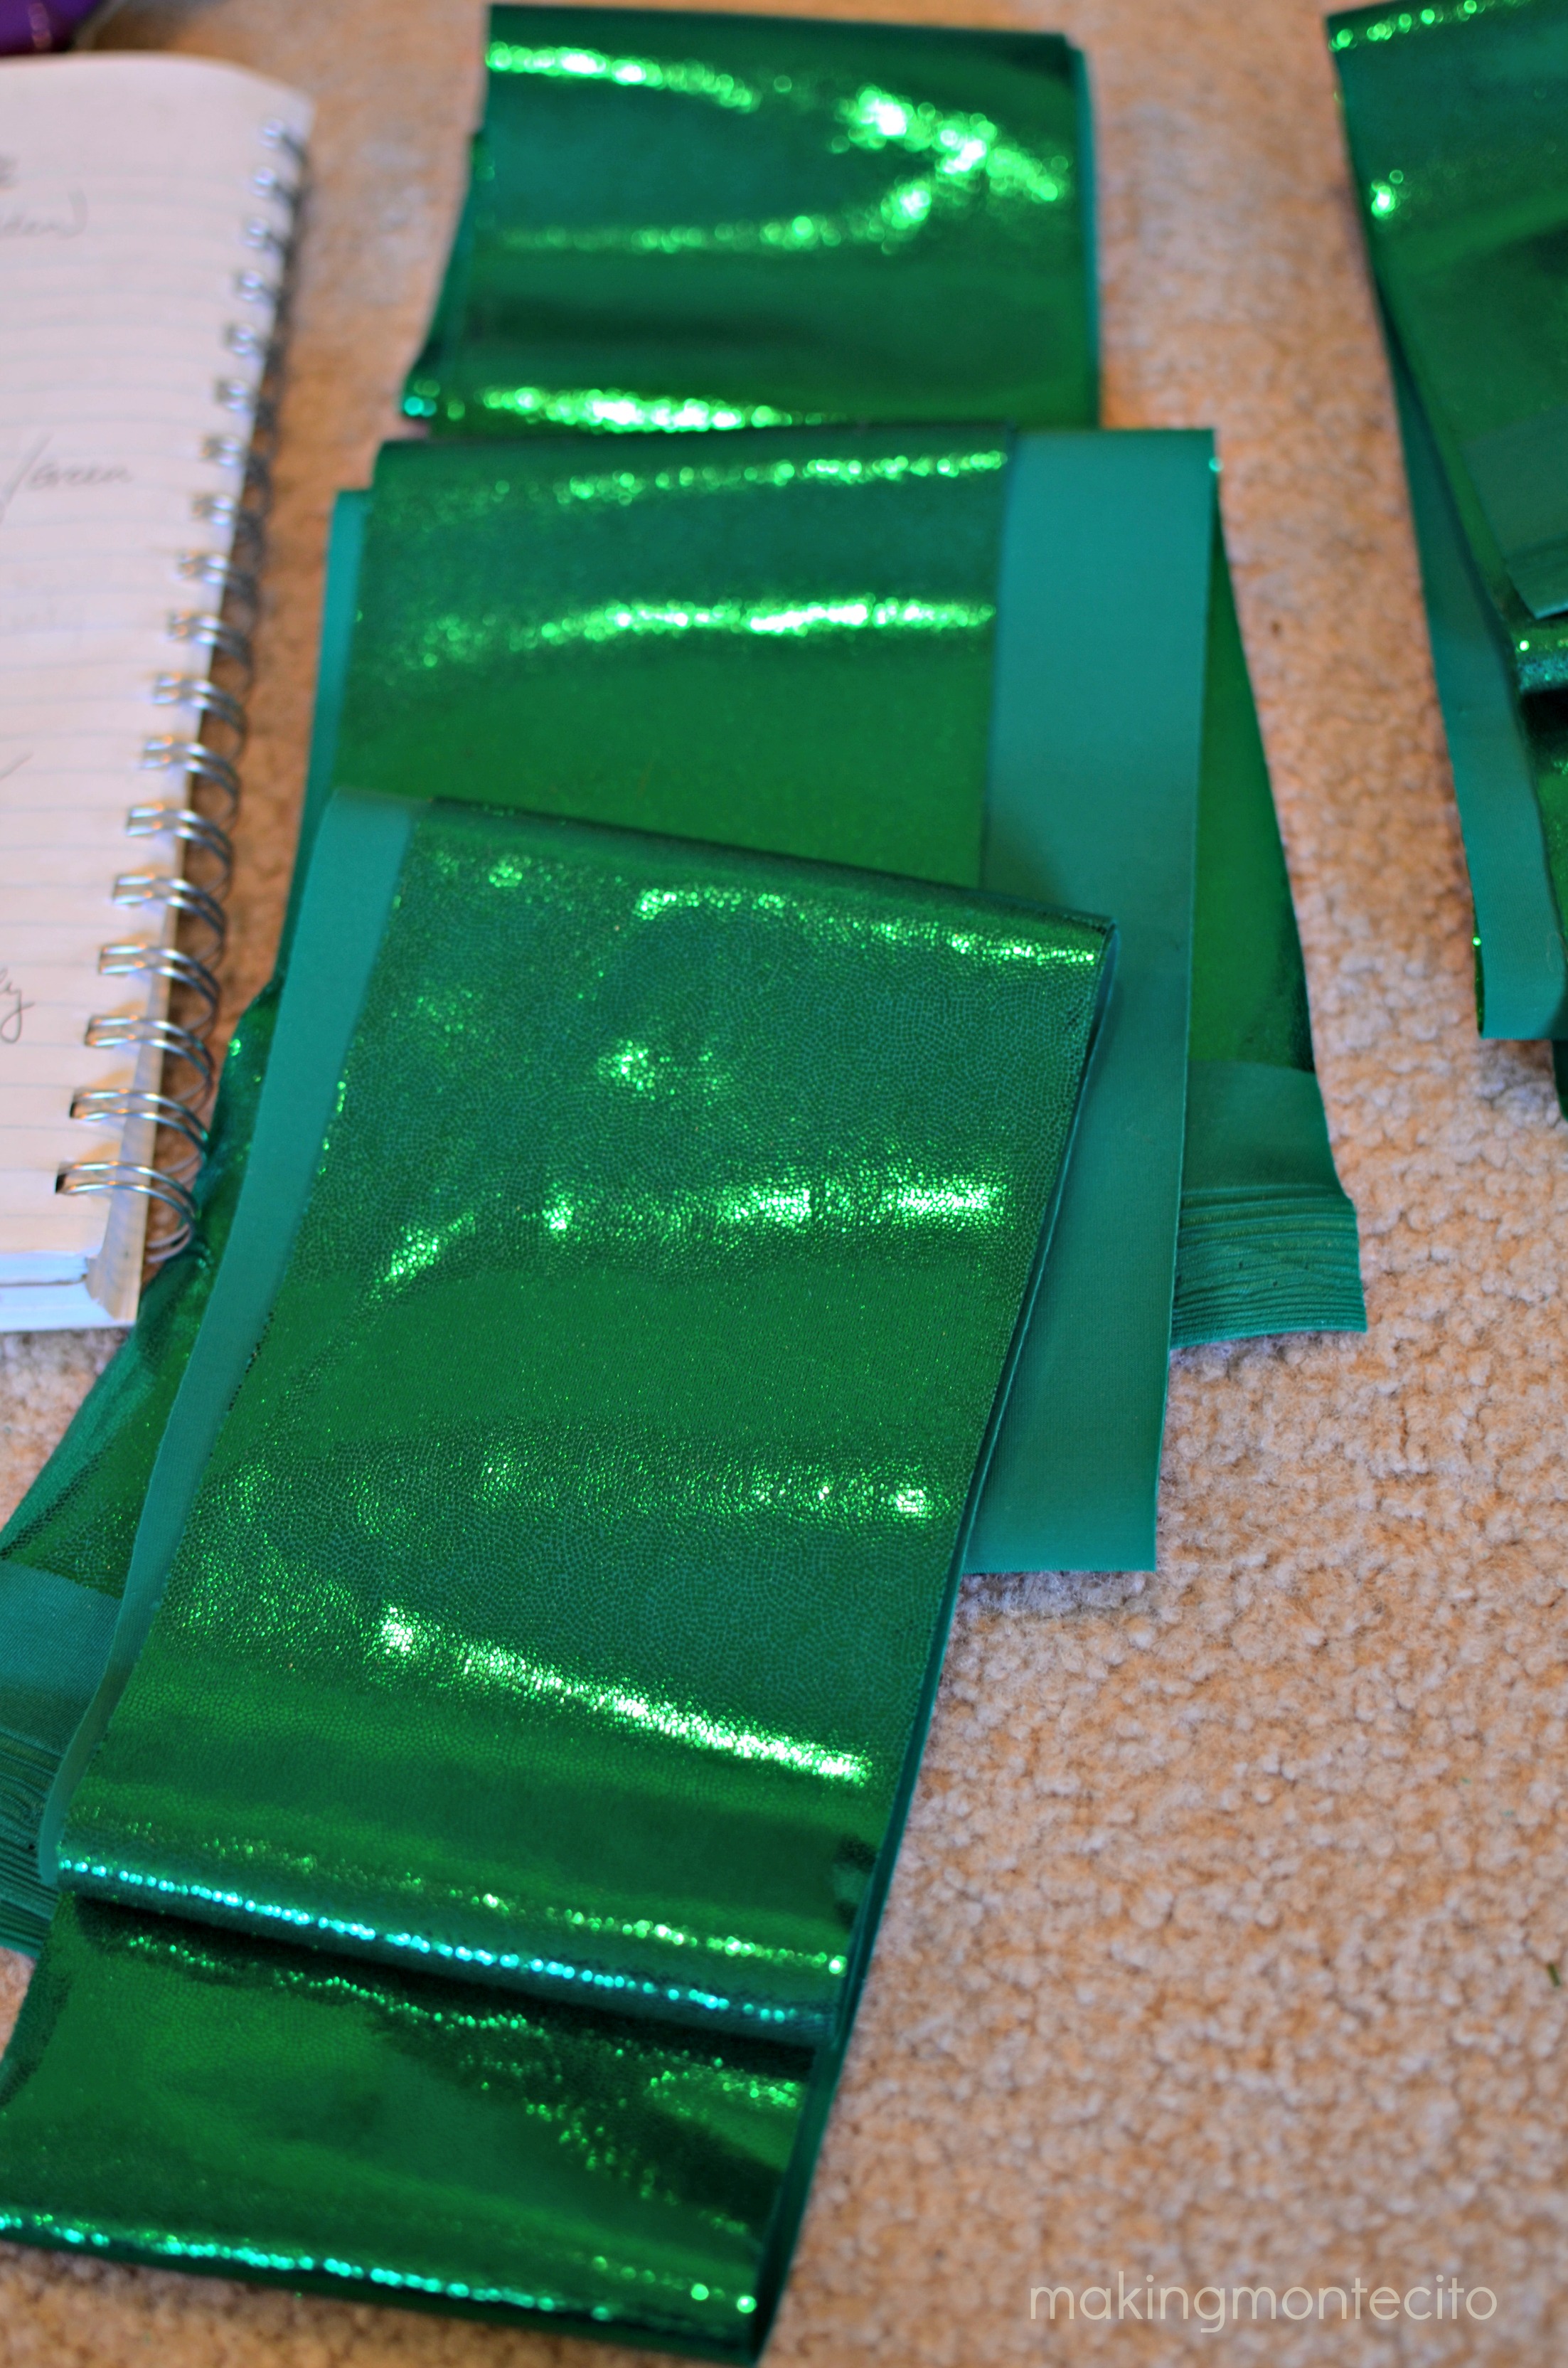
Iron on your Wonder Under strip onto your 3″ grosgrain ribbon following the directions that come with the Wonder Under. I used my iron for this part. If you use too much heat, the glue gets absorbed into the fabric too much and doesn’t fuse together as well as it should.
I also used a piece of parchment paper below and on top of what I was ironing. Just keeps the fuseable web from getting where it shouldn’t.
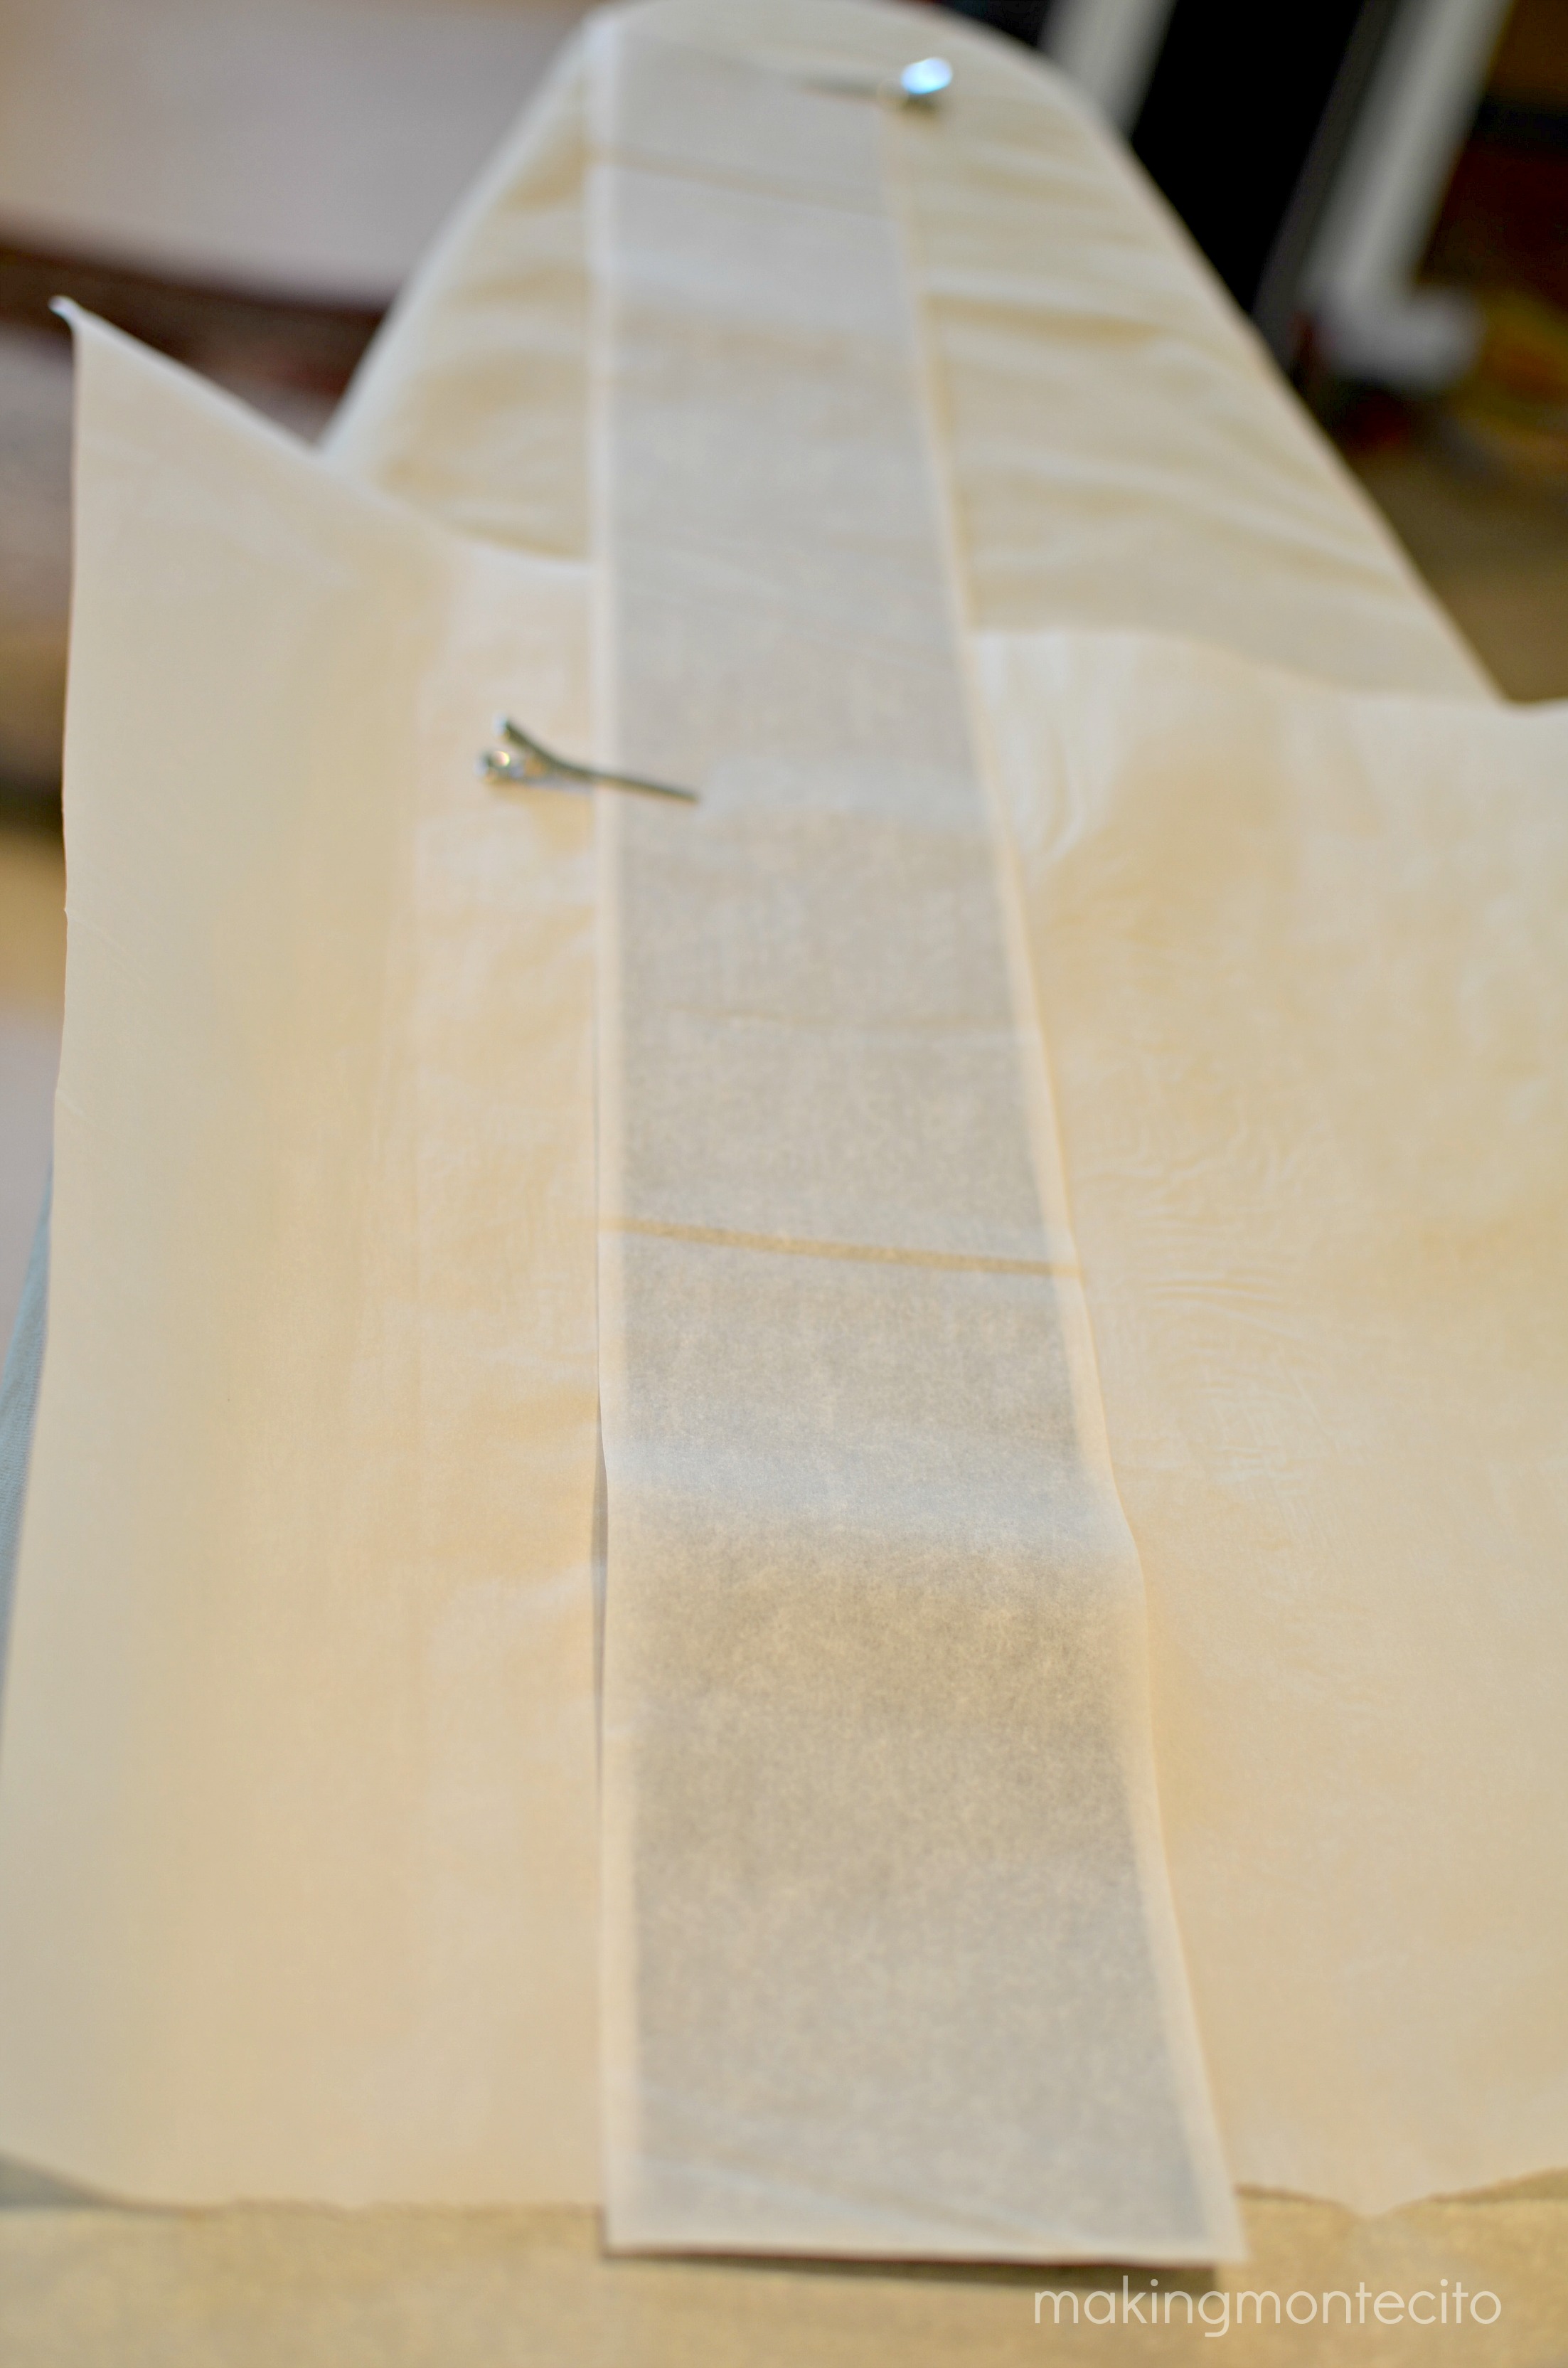
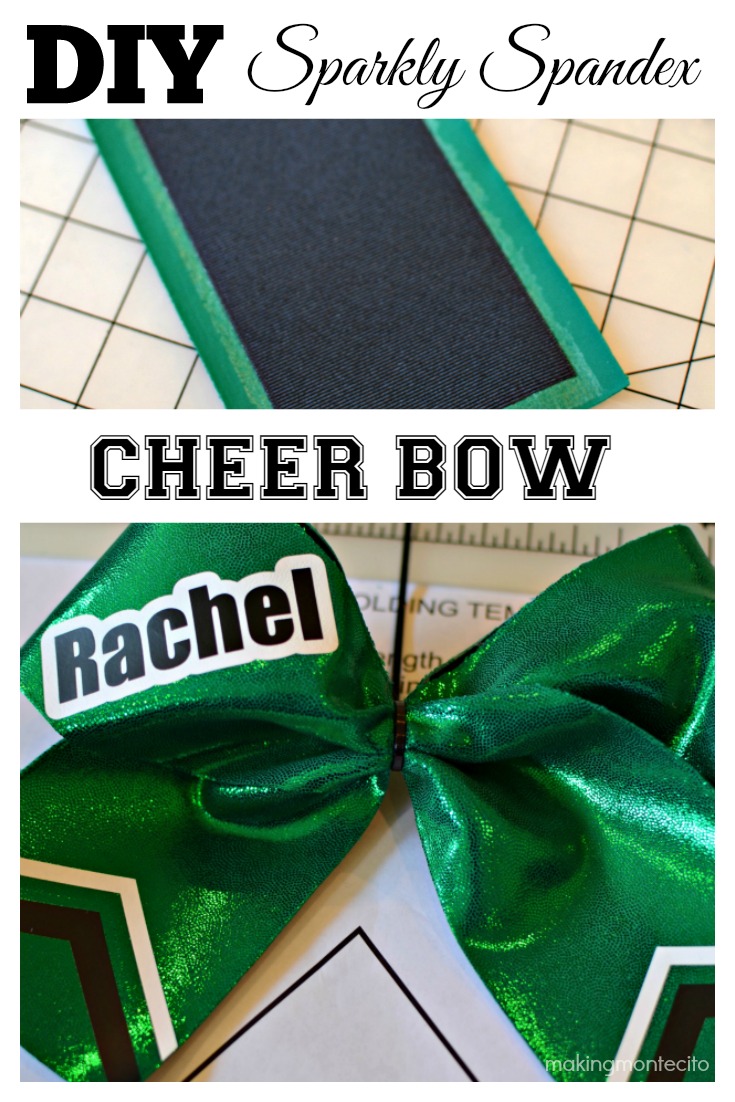
Let it cool completely before you try to remove the paper backing from the Wonder Under. This is what you’ll be left with.
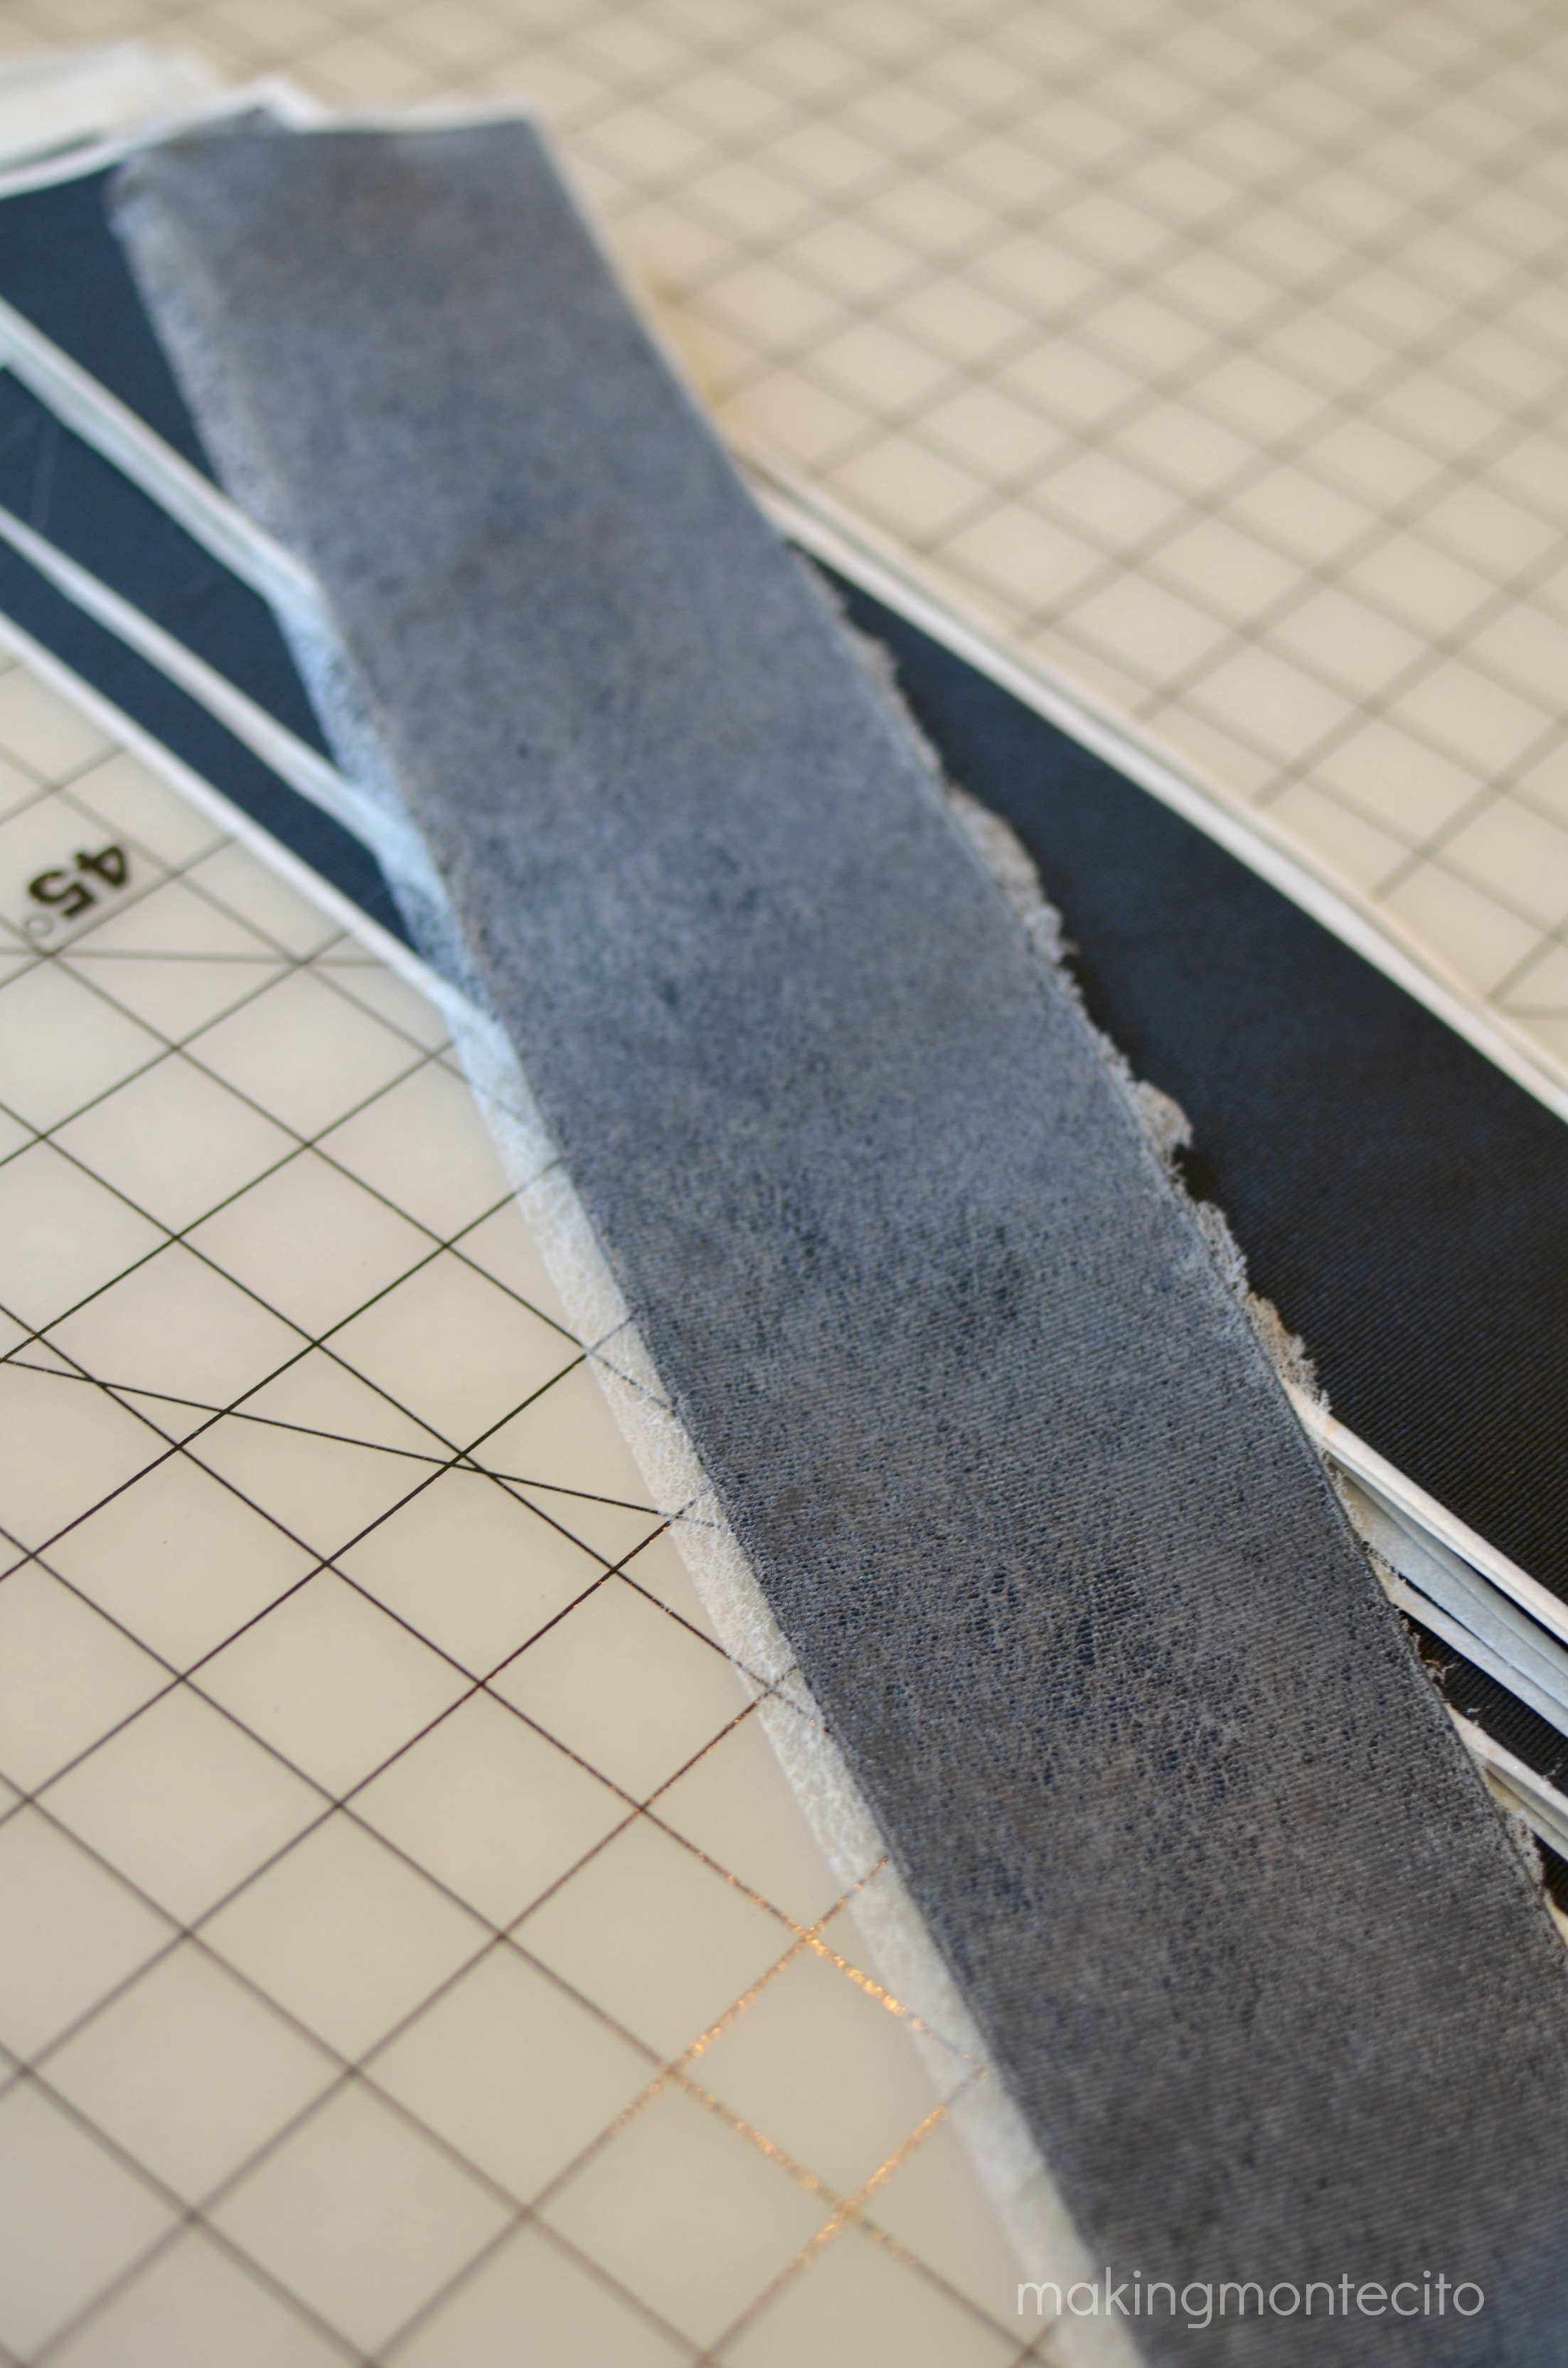
Now lay the spandex on top of this and iron or heat press for the same amount of time indicated on the Wonder Under directions. Make sure the fuseable web isn’t folded over on your ribbon back (the black ribbon in this case) or you will see it after you press it.
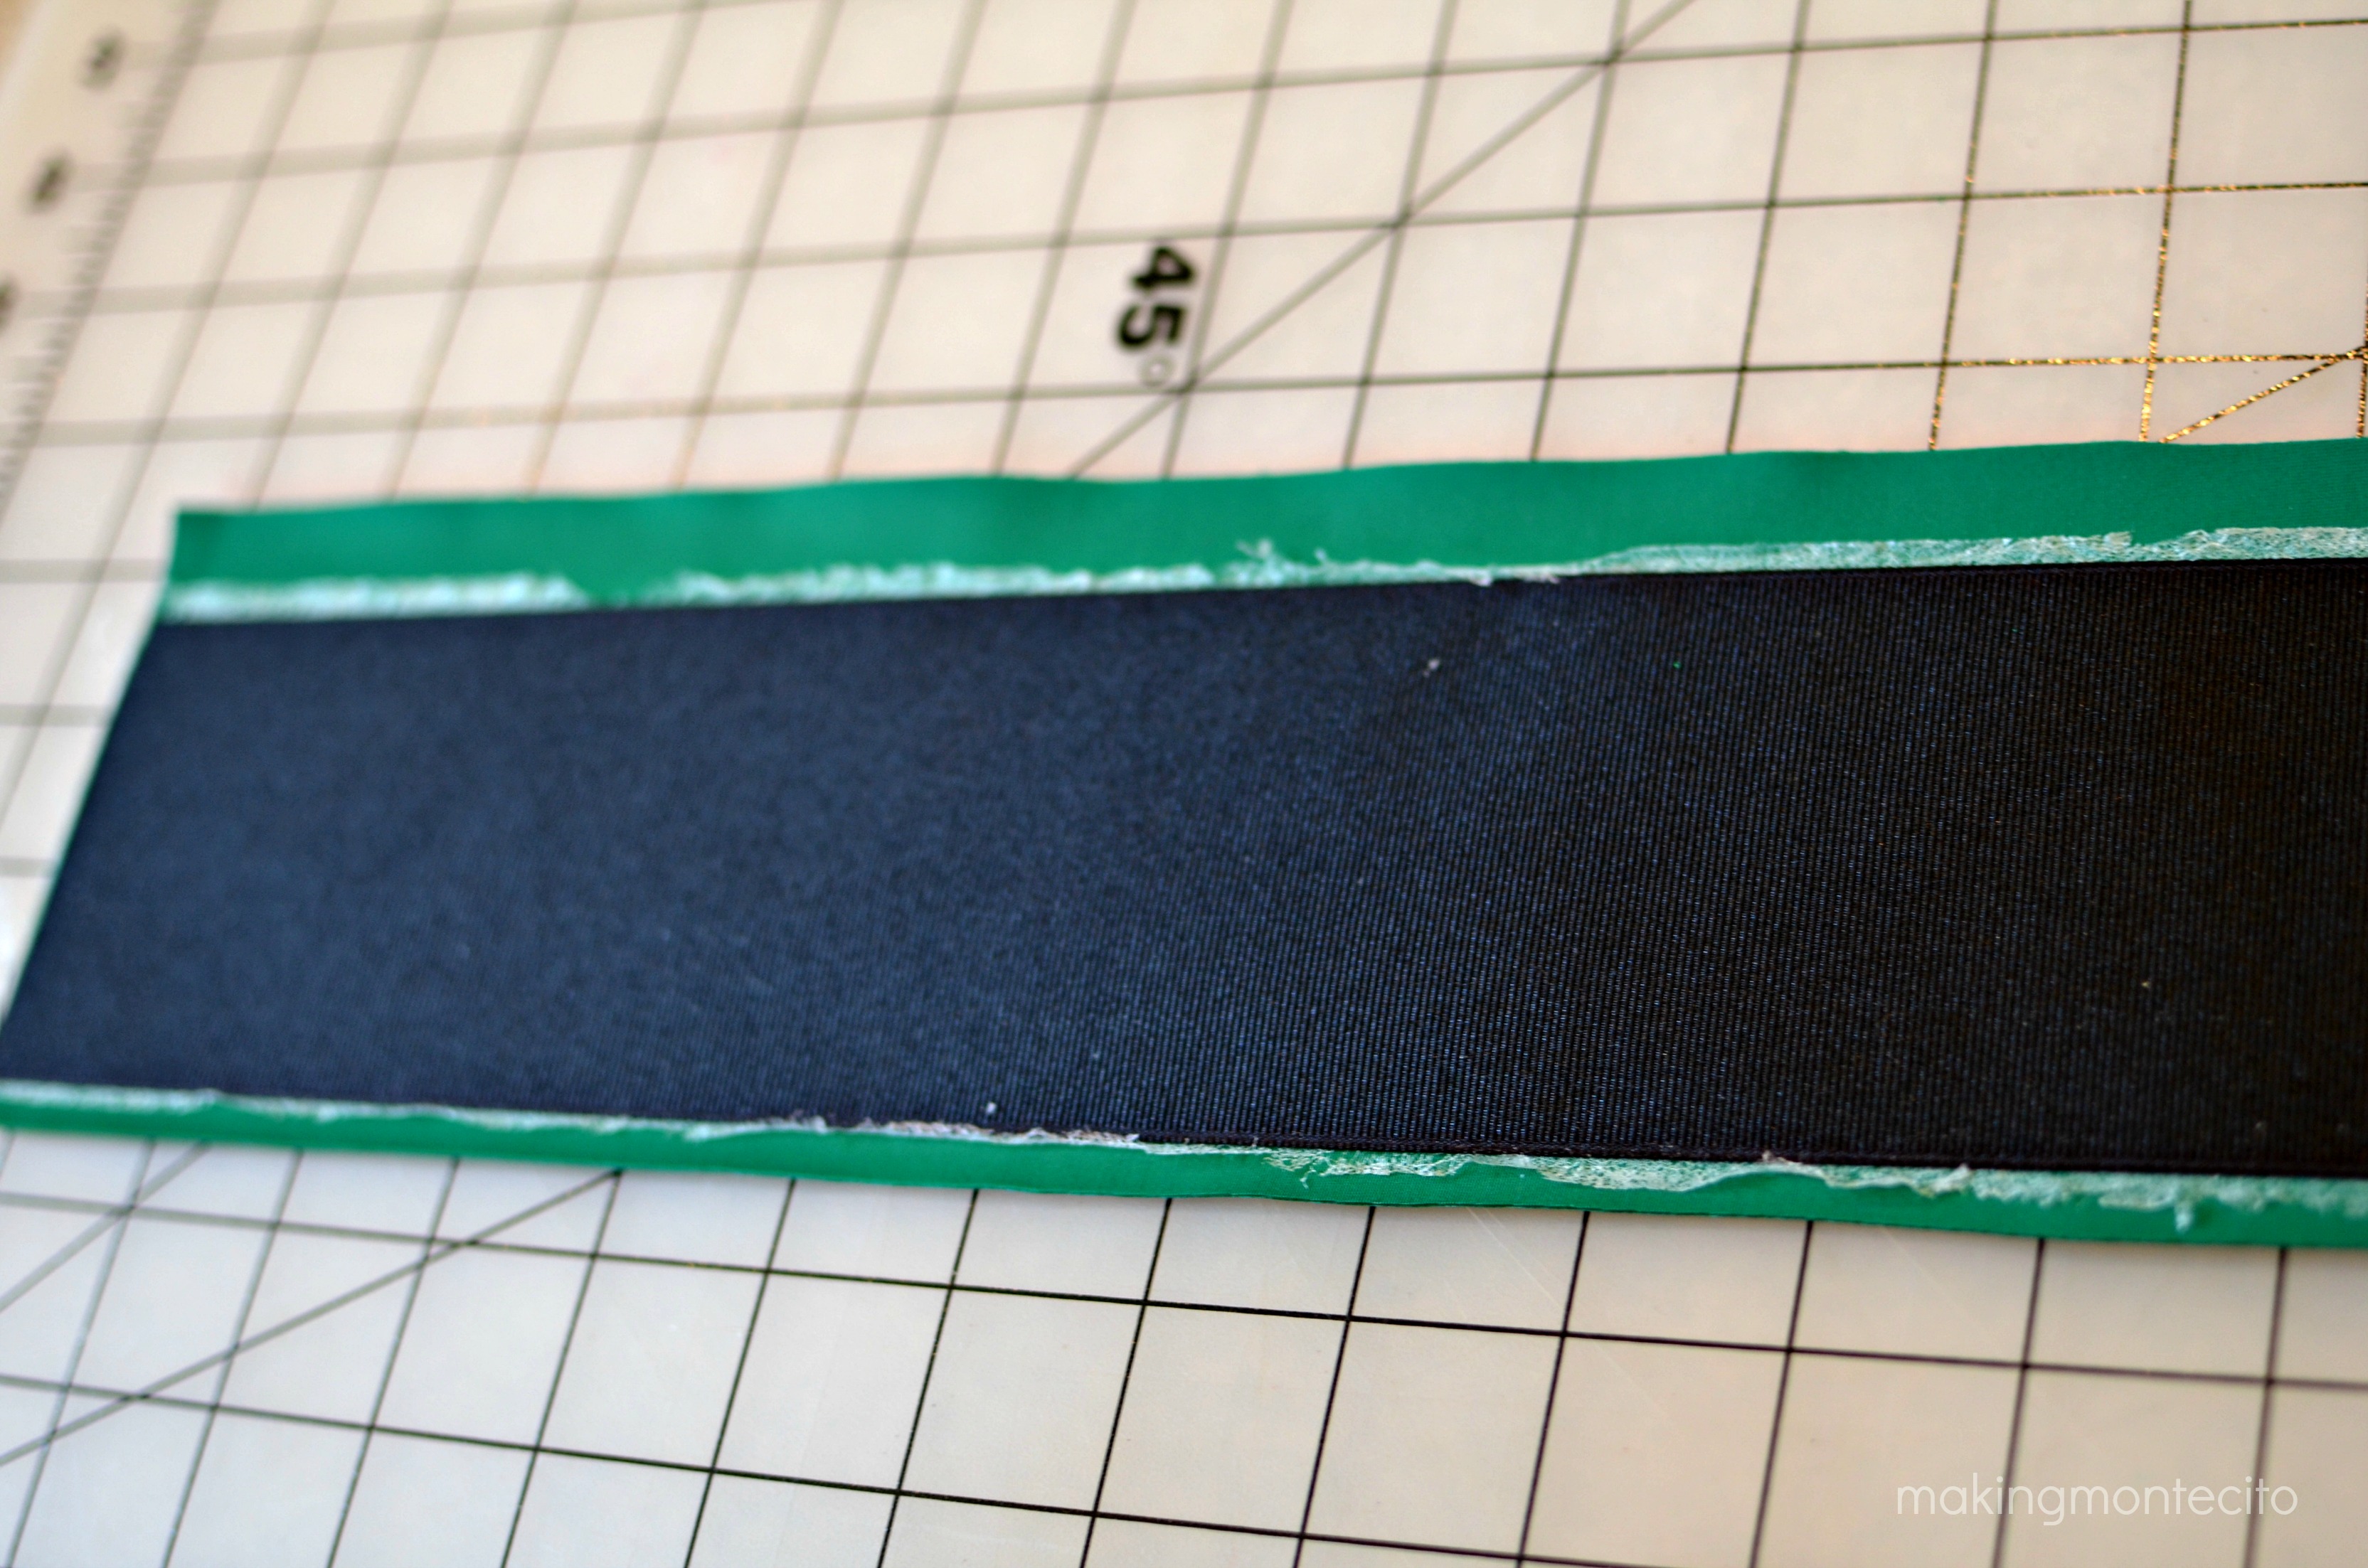
I used the heat press for this part since I was now gluing the pieces of fabric together. Still totally do-able with an iron. See the Wonder Under is no longer white, and for the most part laying flat on the spandex below?
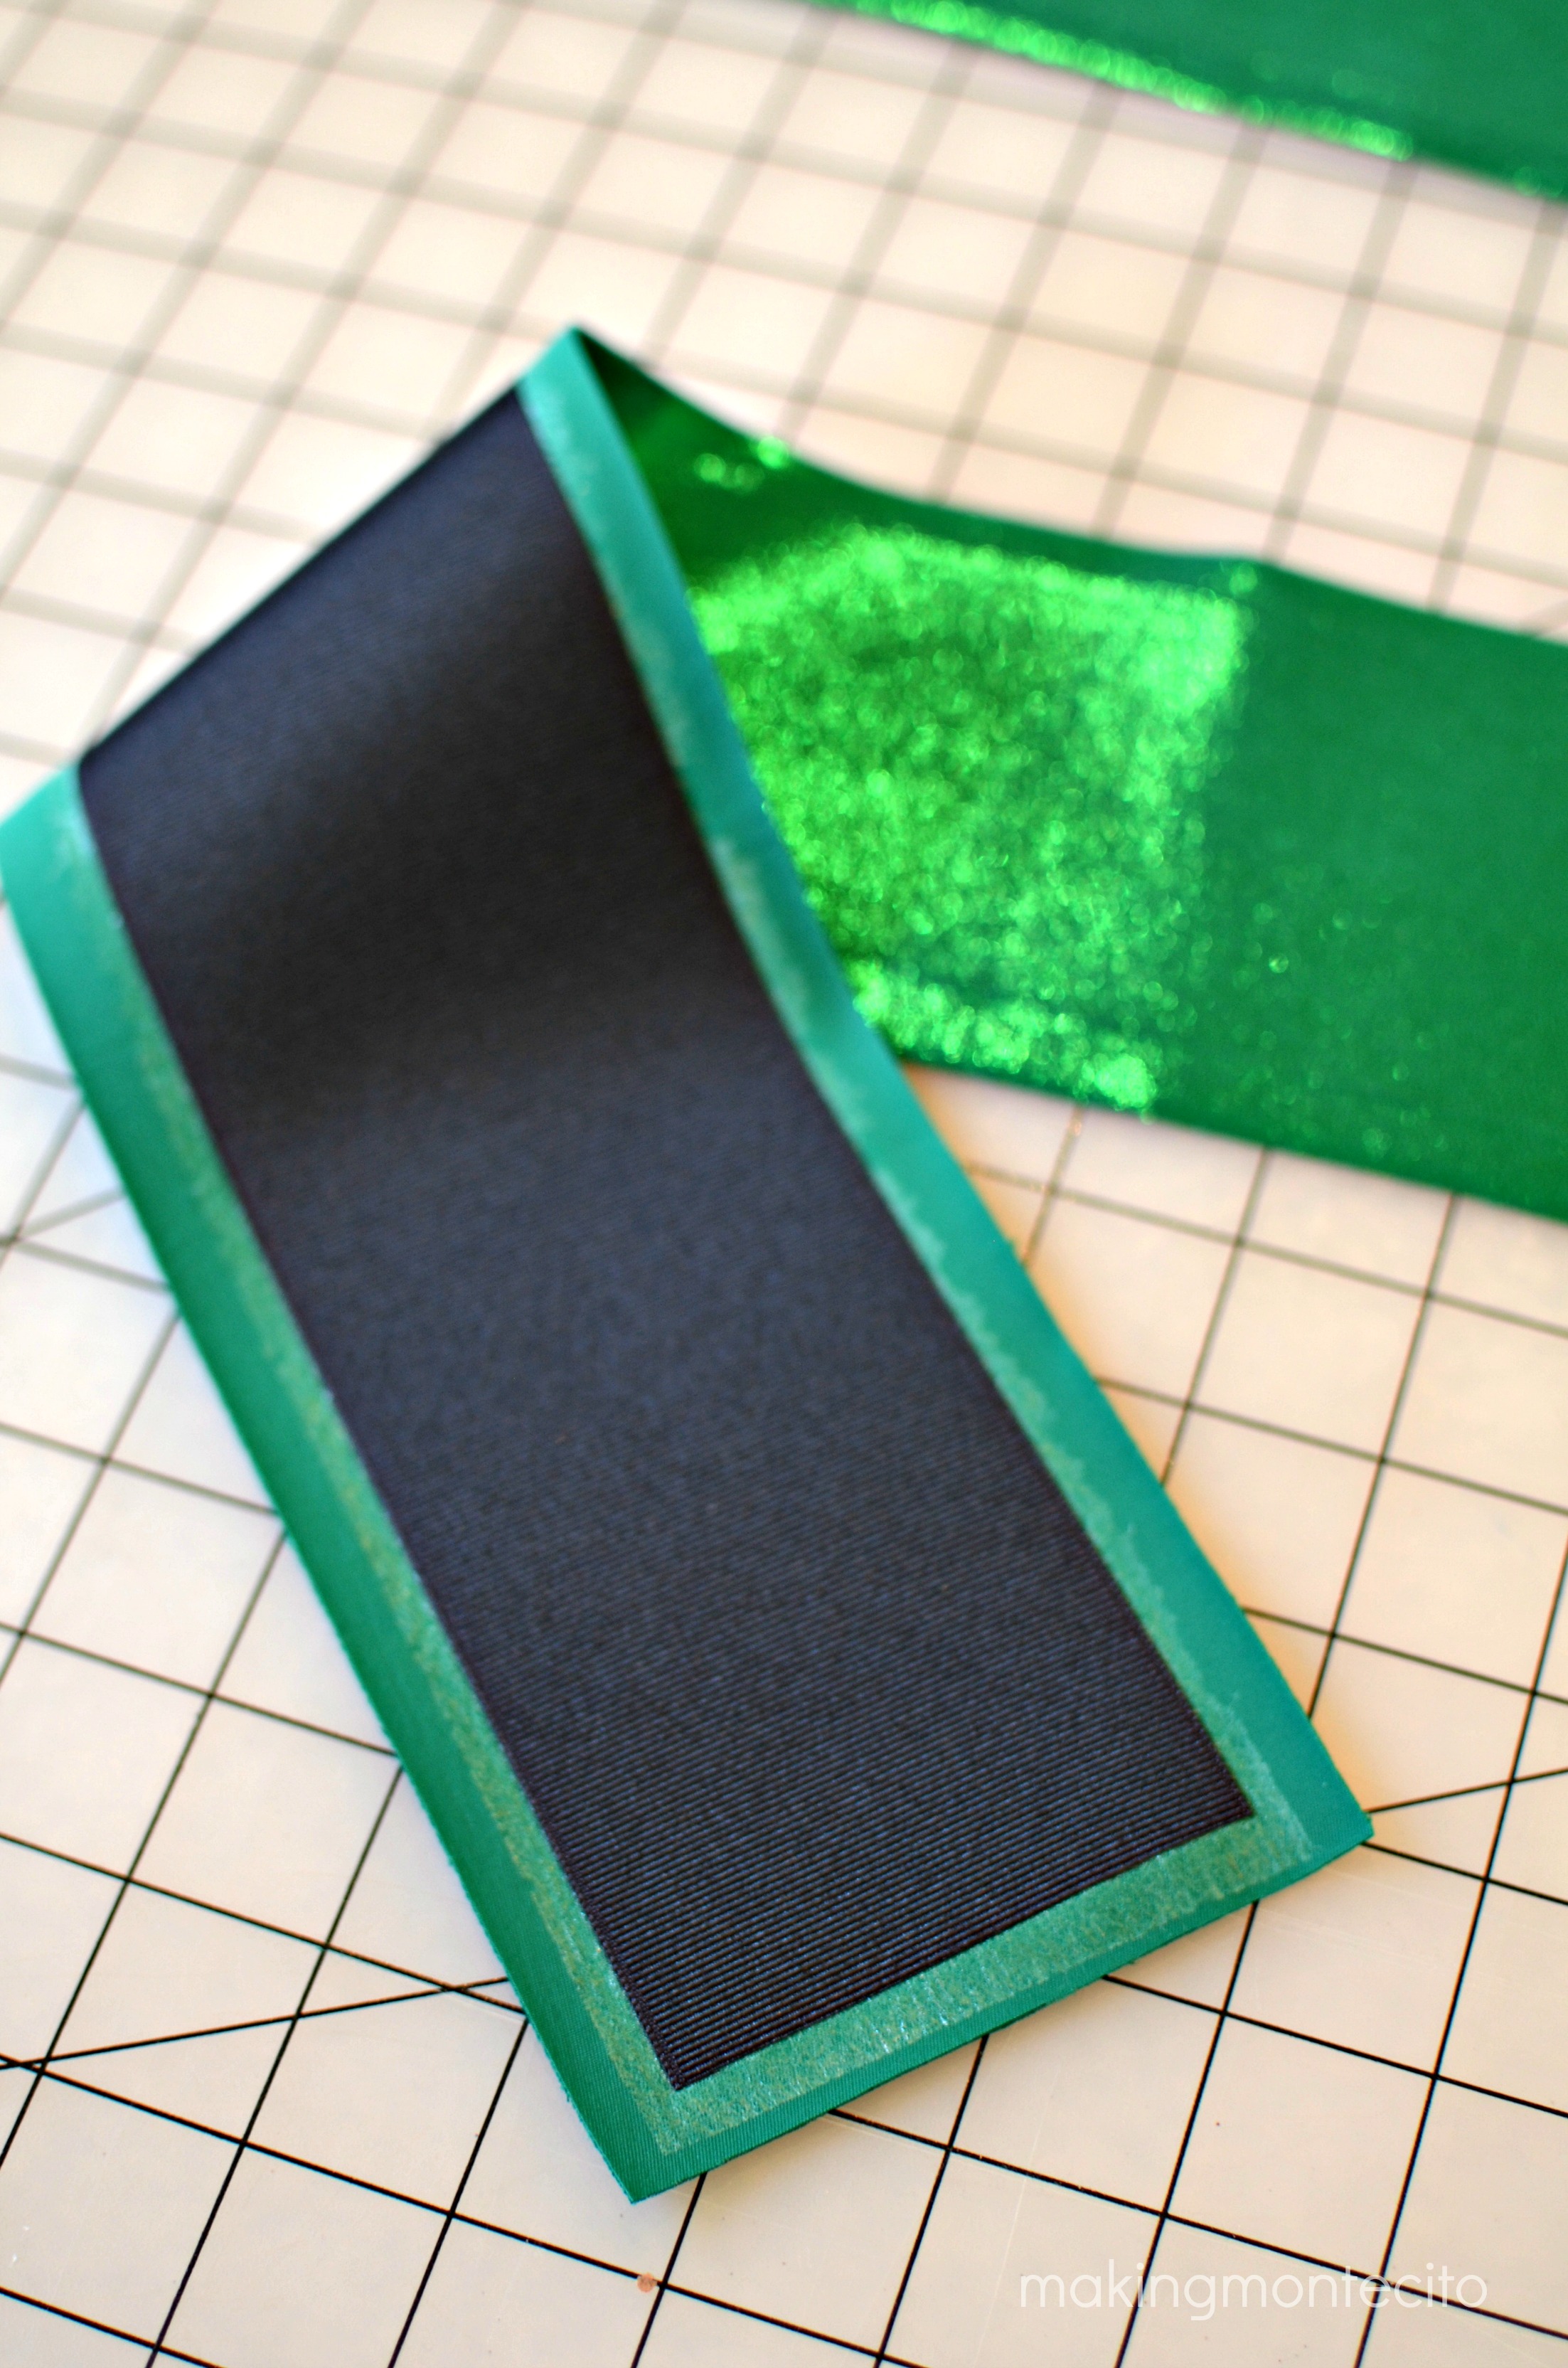
Perfect, because now we’ll trim that part off.
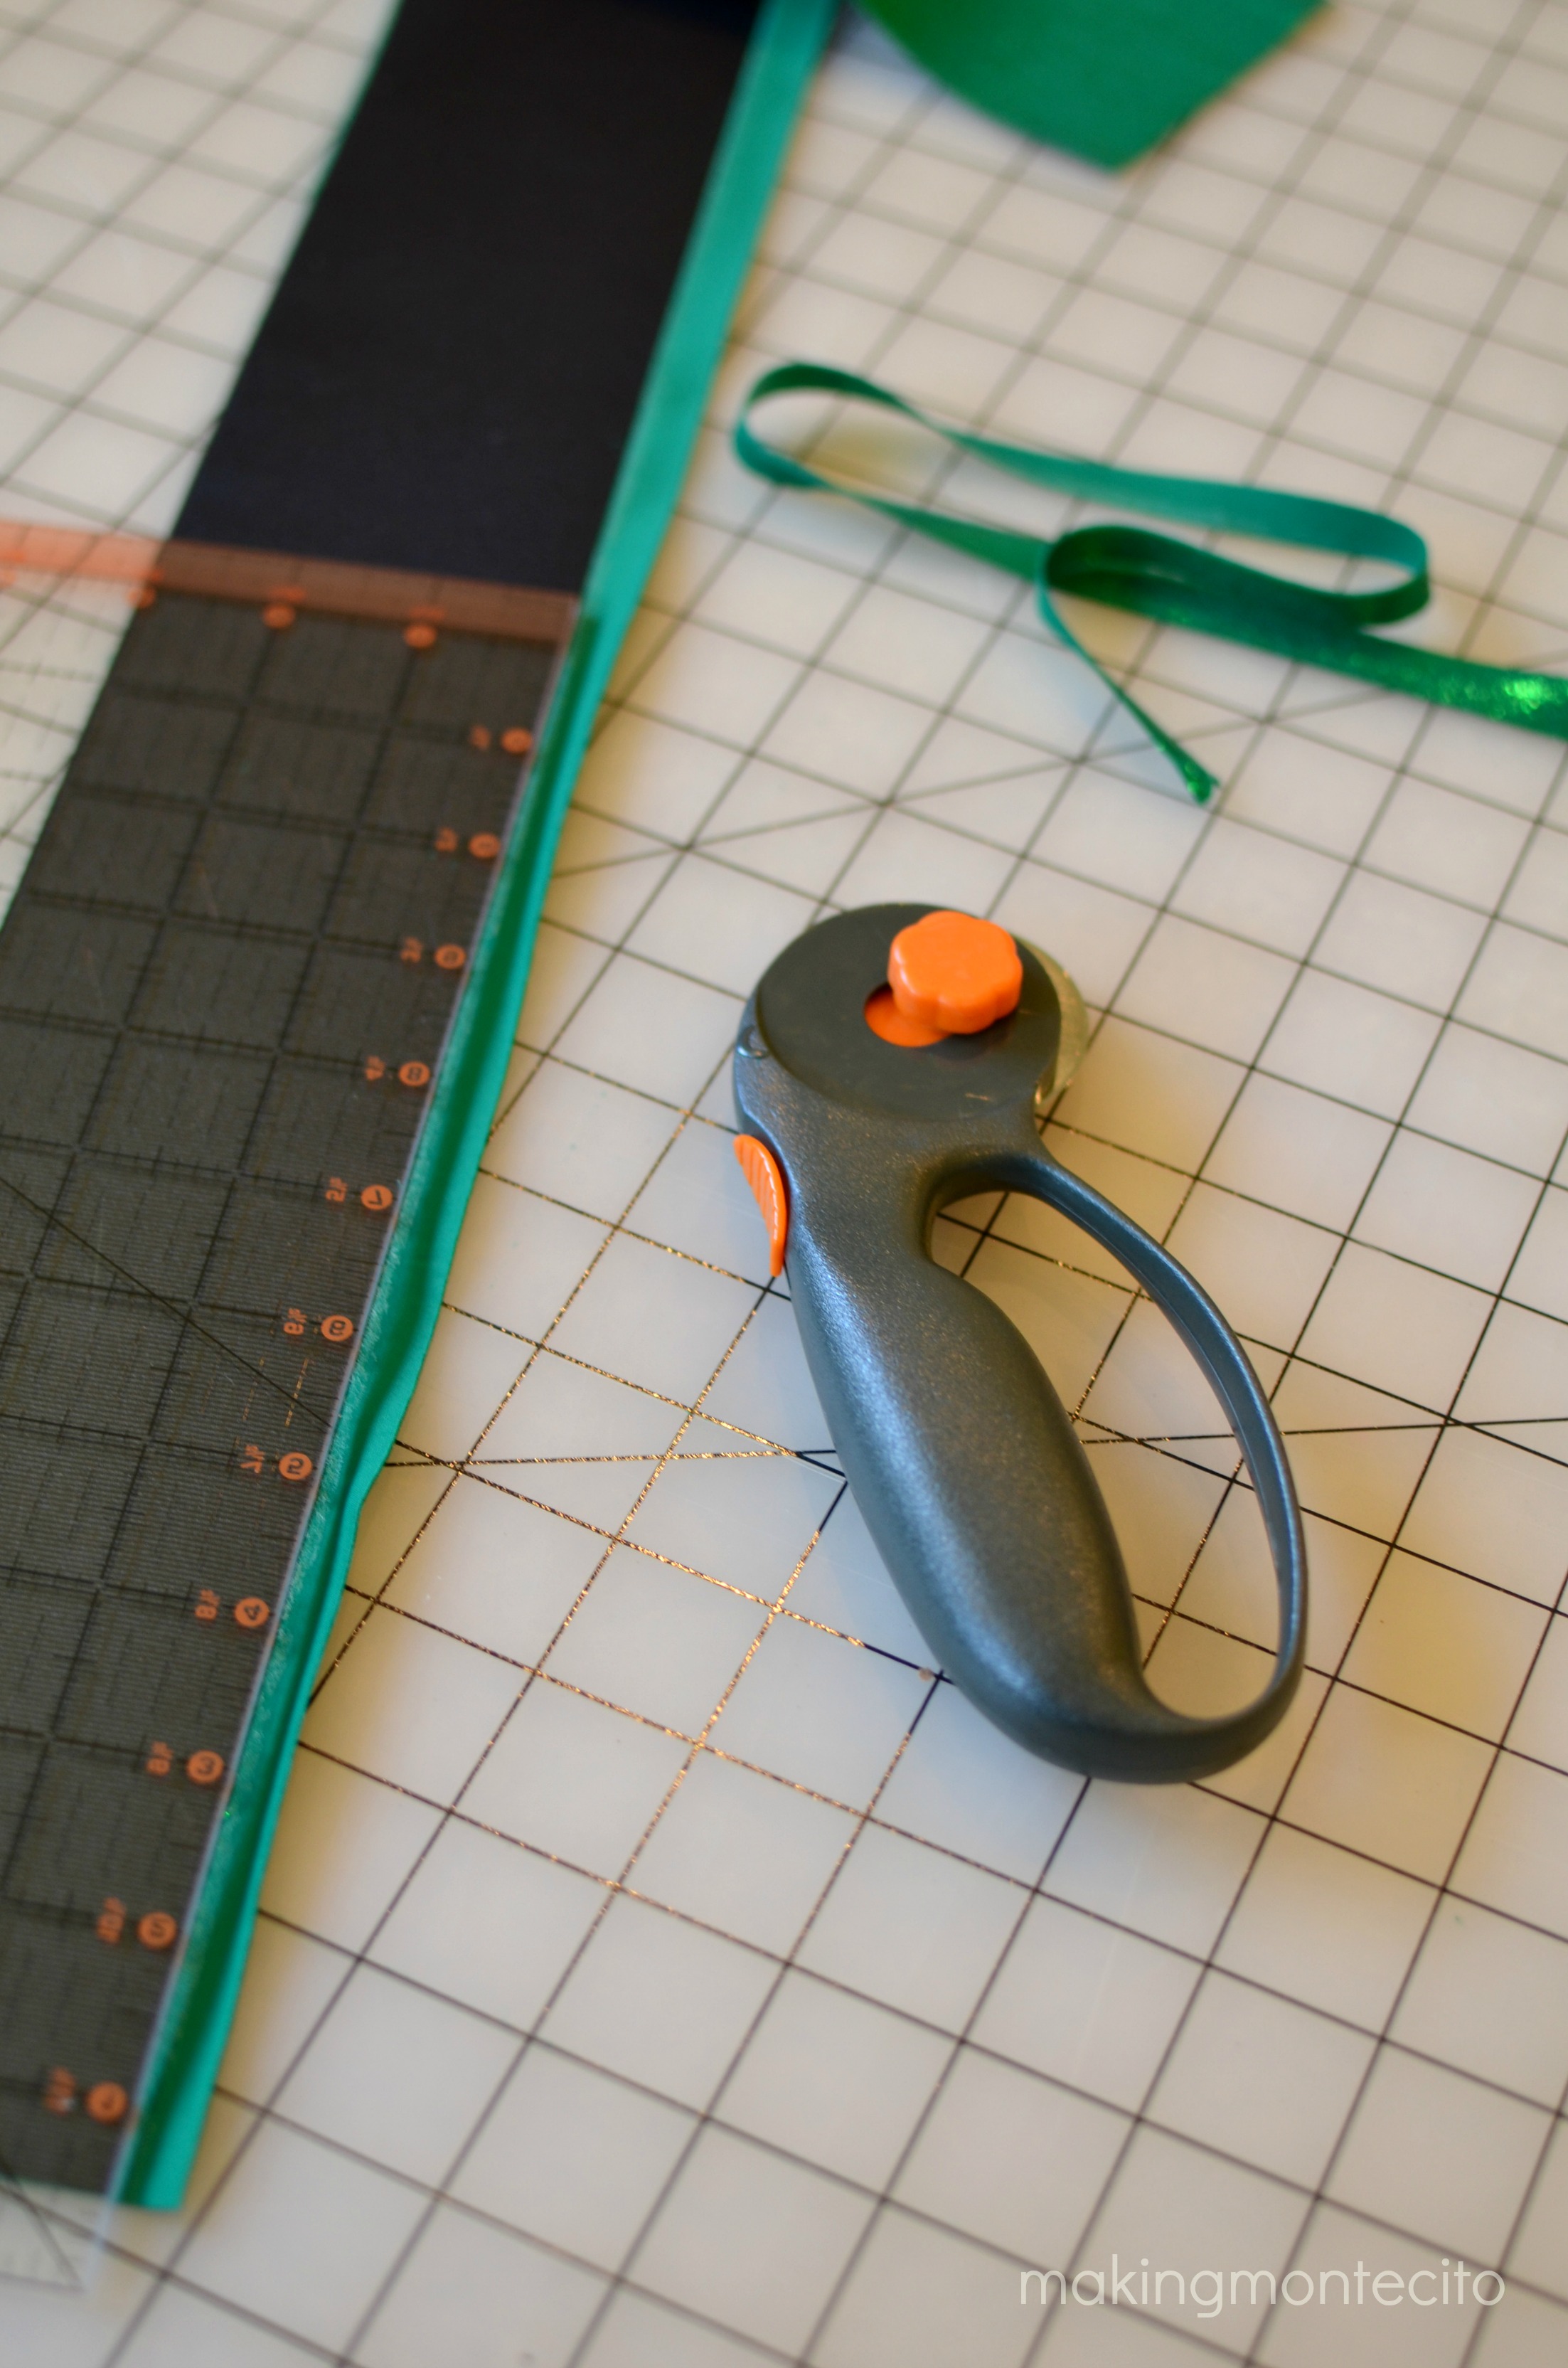
I used my rotary cutter and a straight edge for this, but you can also use scissors. Whatever you do, just be careful not to nick the ribbon or it will start to fray over time. If you do happen to accidentally nick it, take a lighter and very carefully run it along the area on that edge to heat seal it.
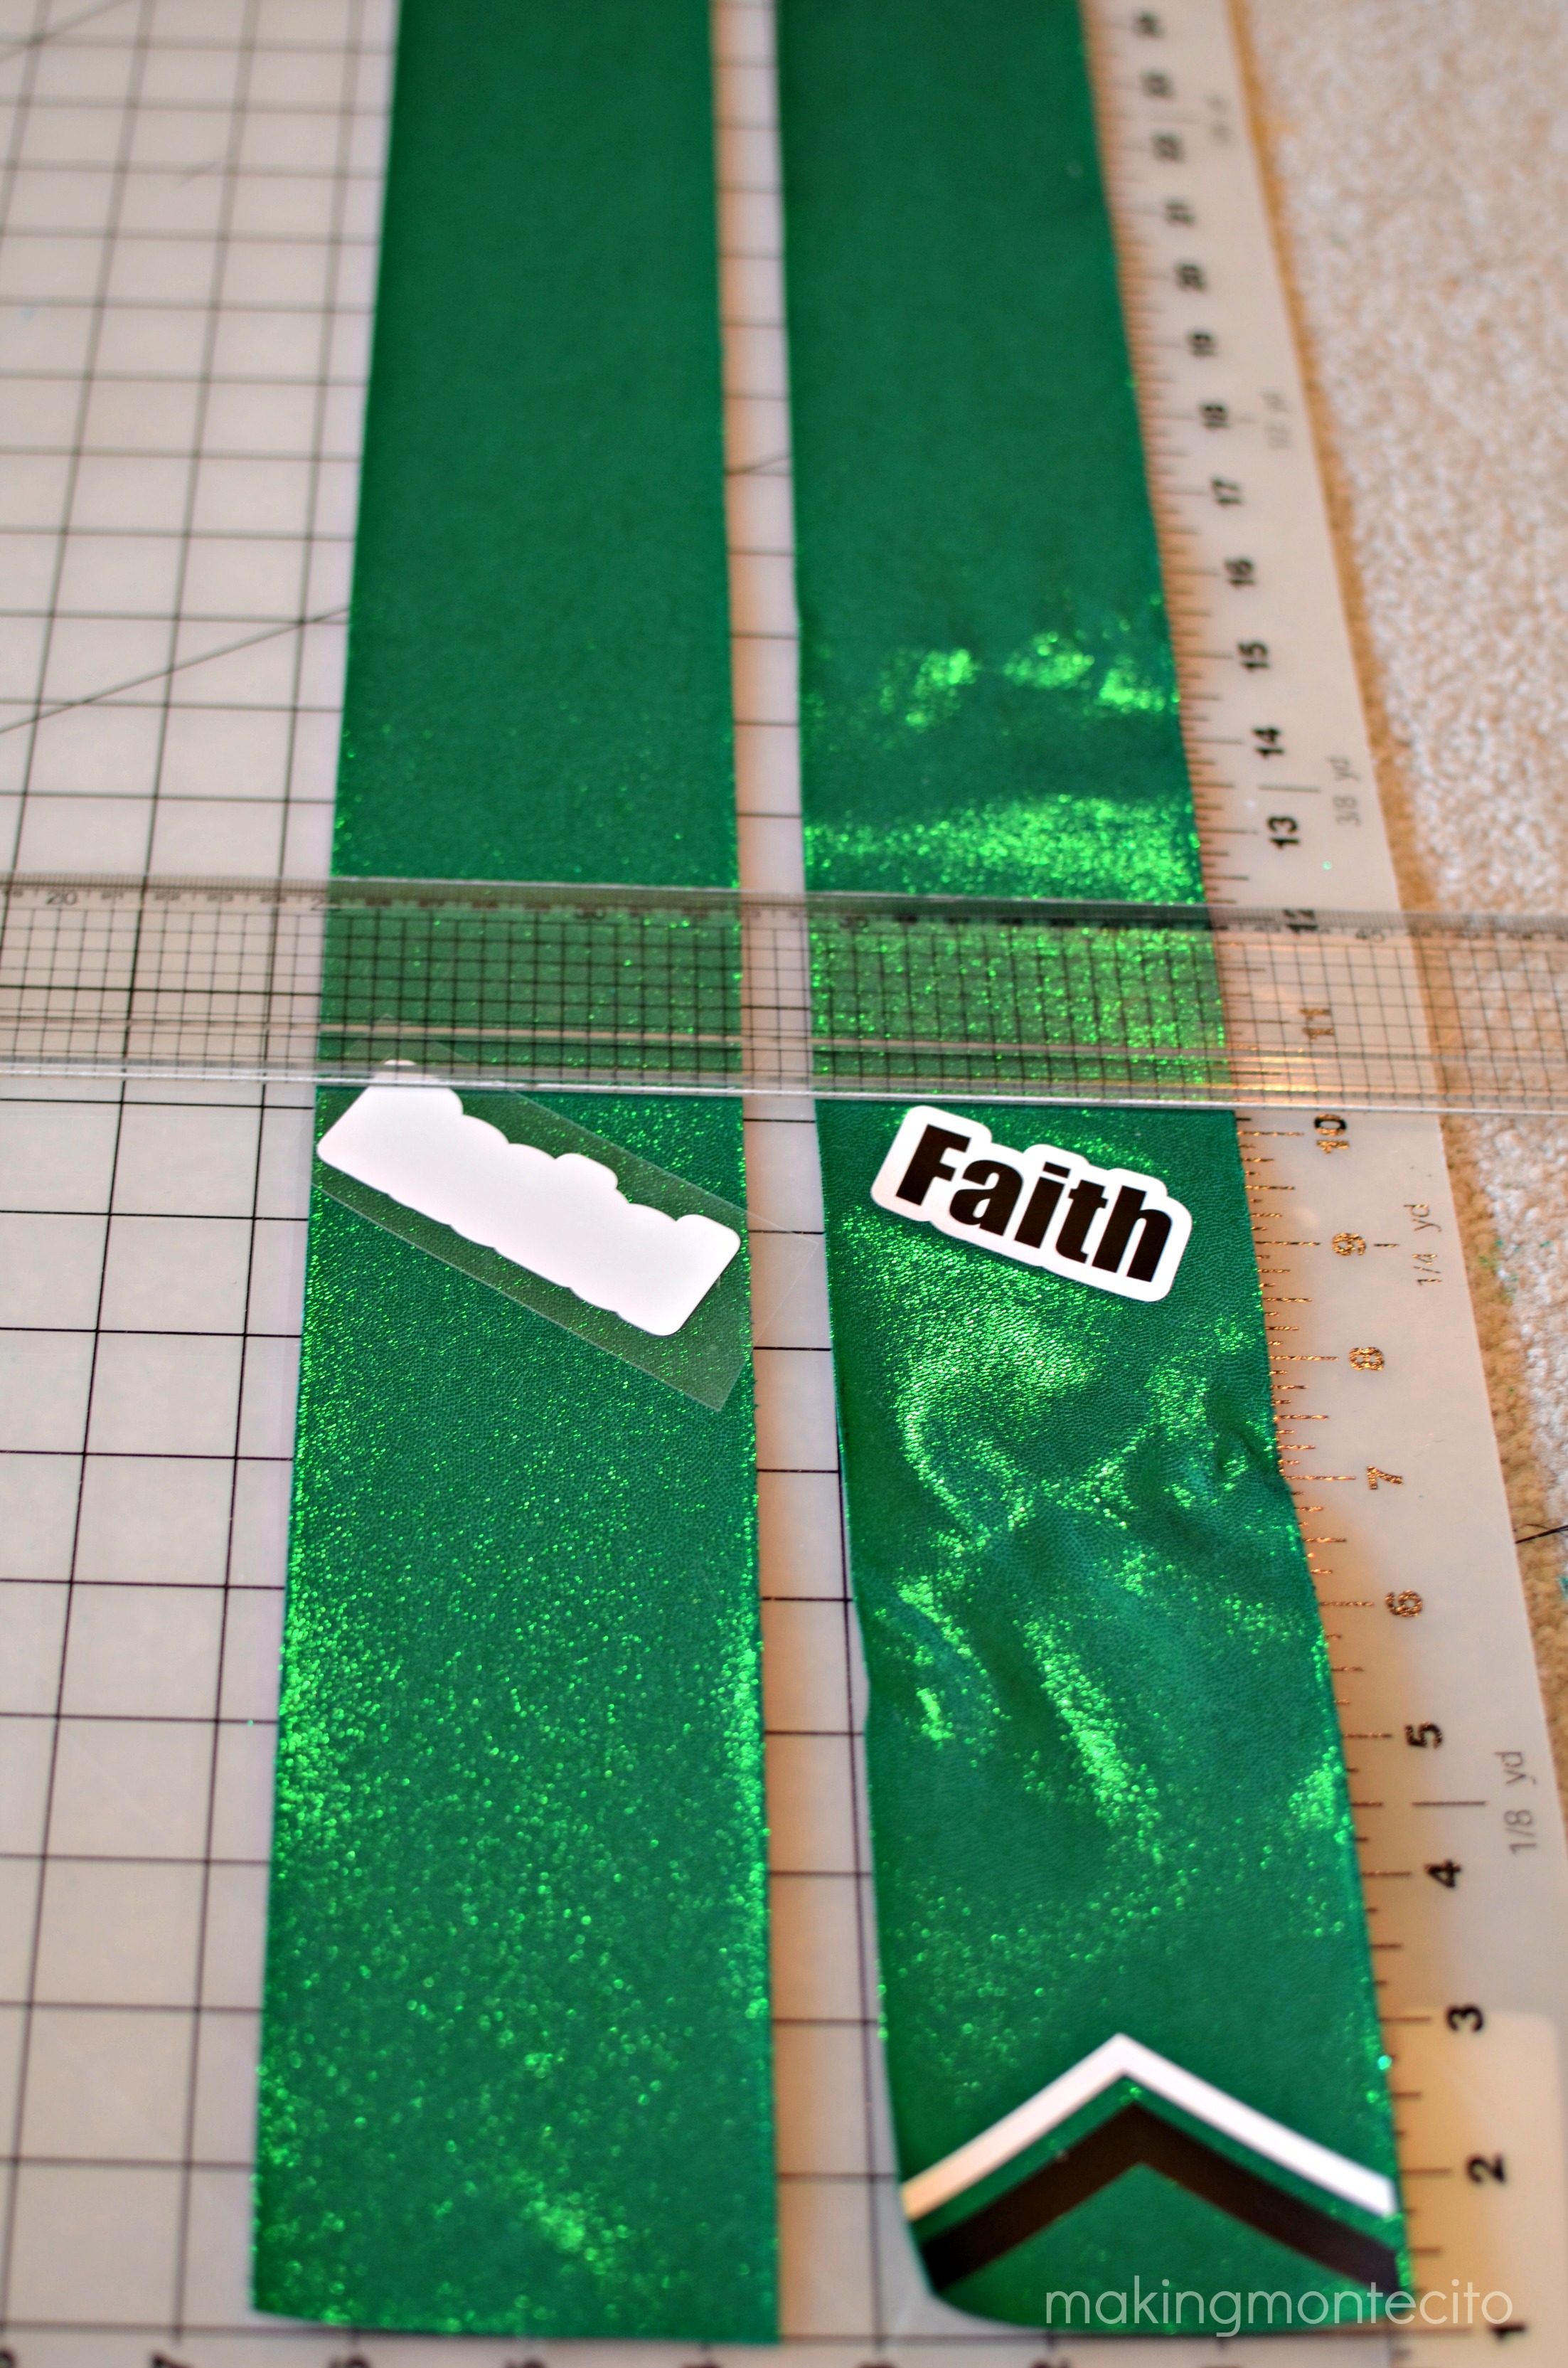
I cut out names (and the offset shadow/bubble behind them) on my Silhouette. I also used this cheer bow chevron I found on the Silhouette design store and paid $0.99 for. If you don’t have a Silhouette, this is where Etsy is your friend. There are so many creative people on there charging reasonable prices for their designs.
Note: If you use an iron and not a heat press for your vinyl, it’s best to use a hard surface underneath to press on. Not your ironing board. You need the pressure between your iron and the hard surface (hence the term “heat press”.) I’ve used a wood cutting board in the past with great success.
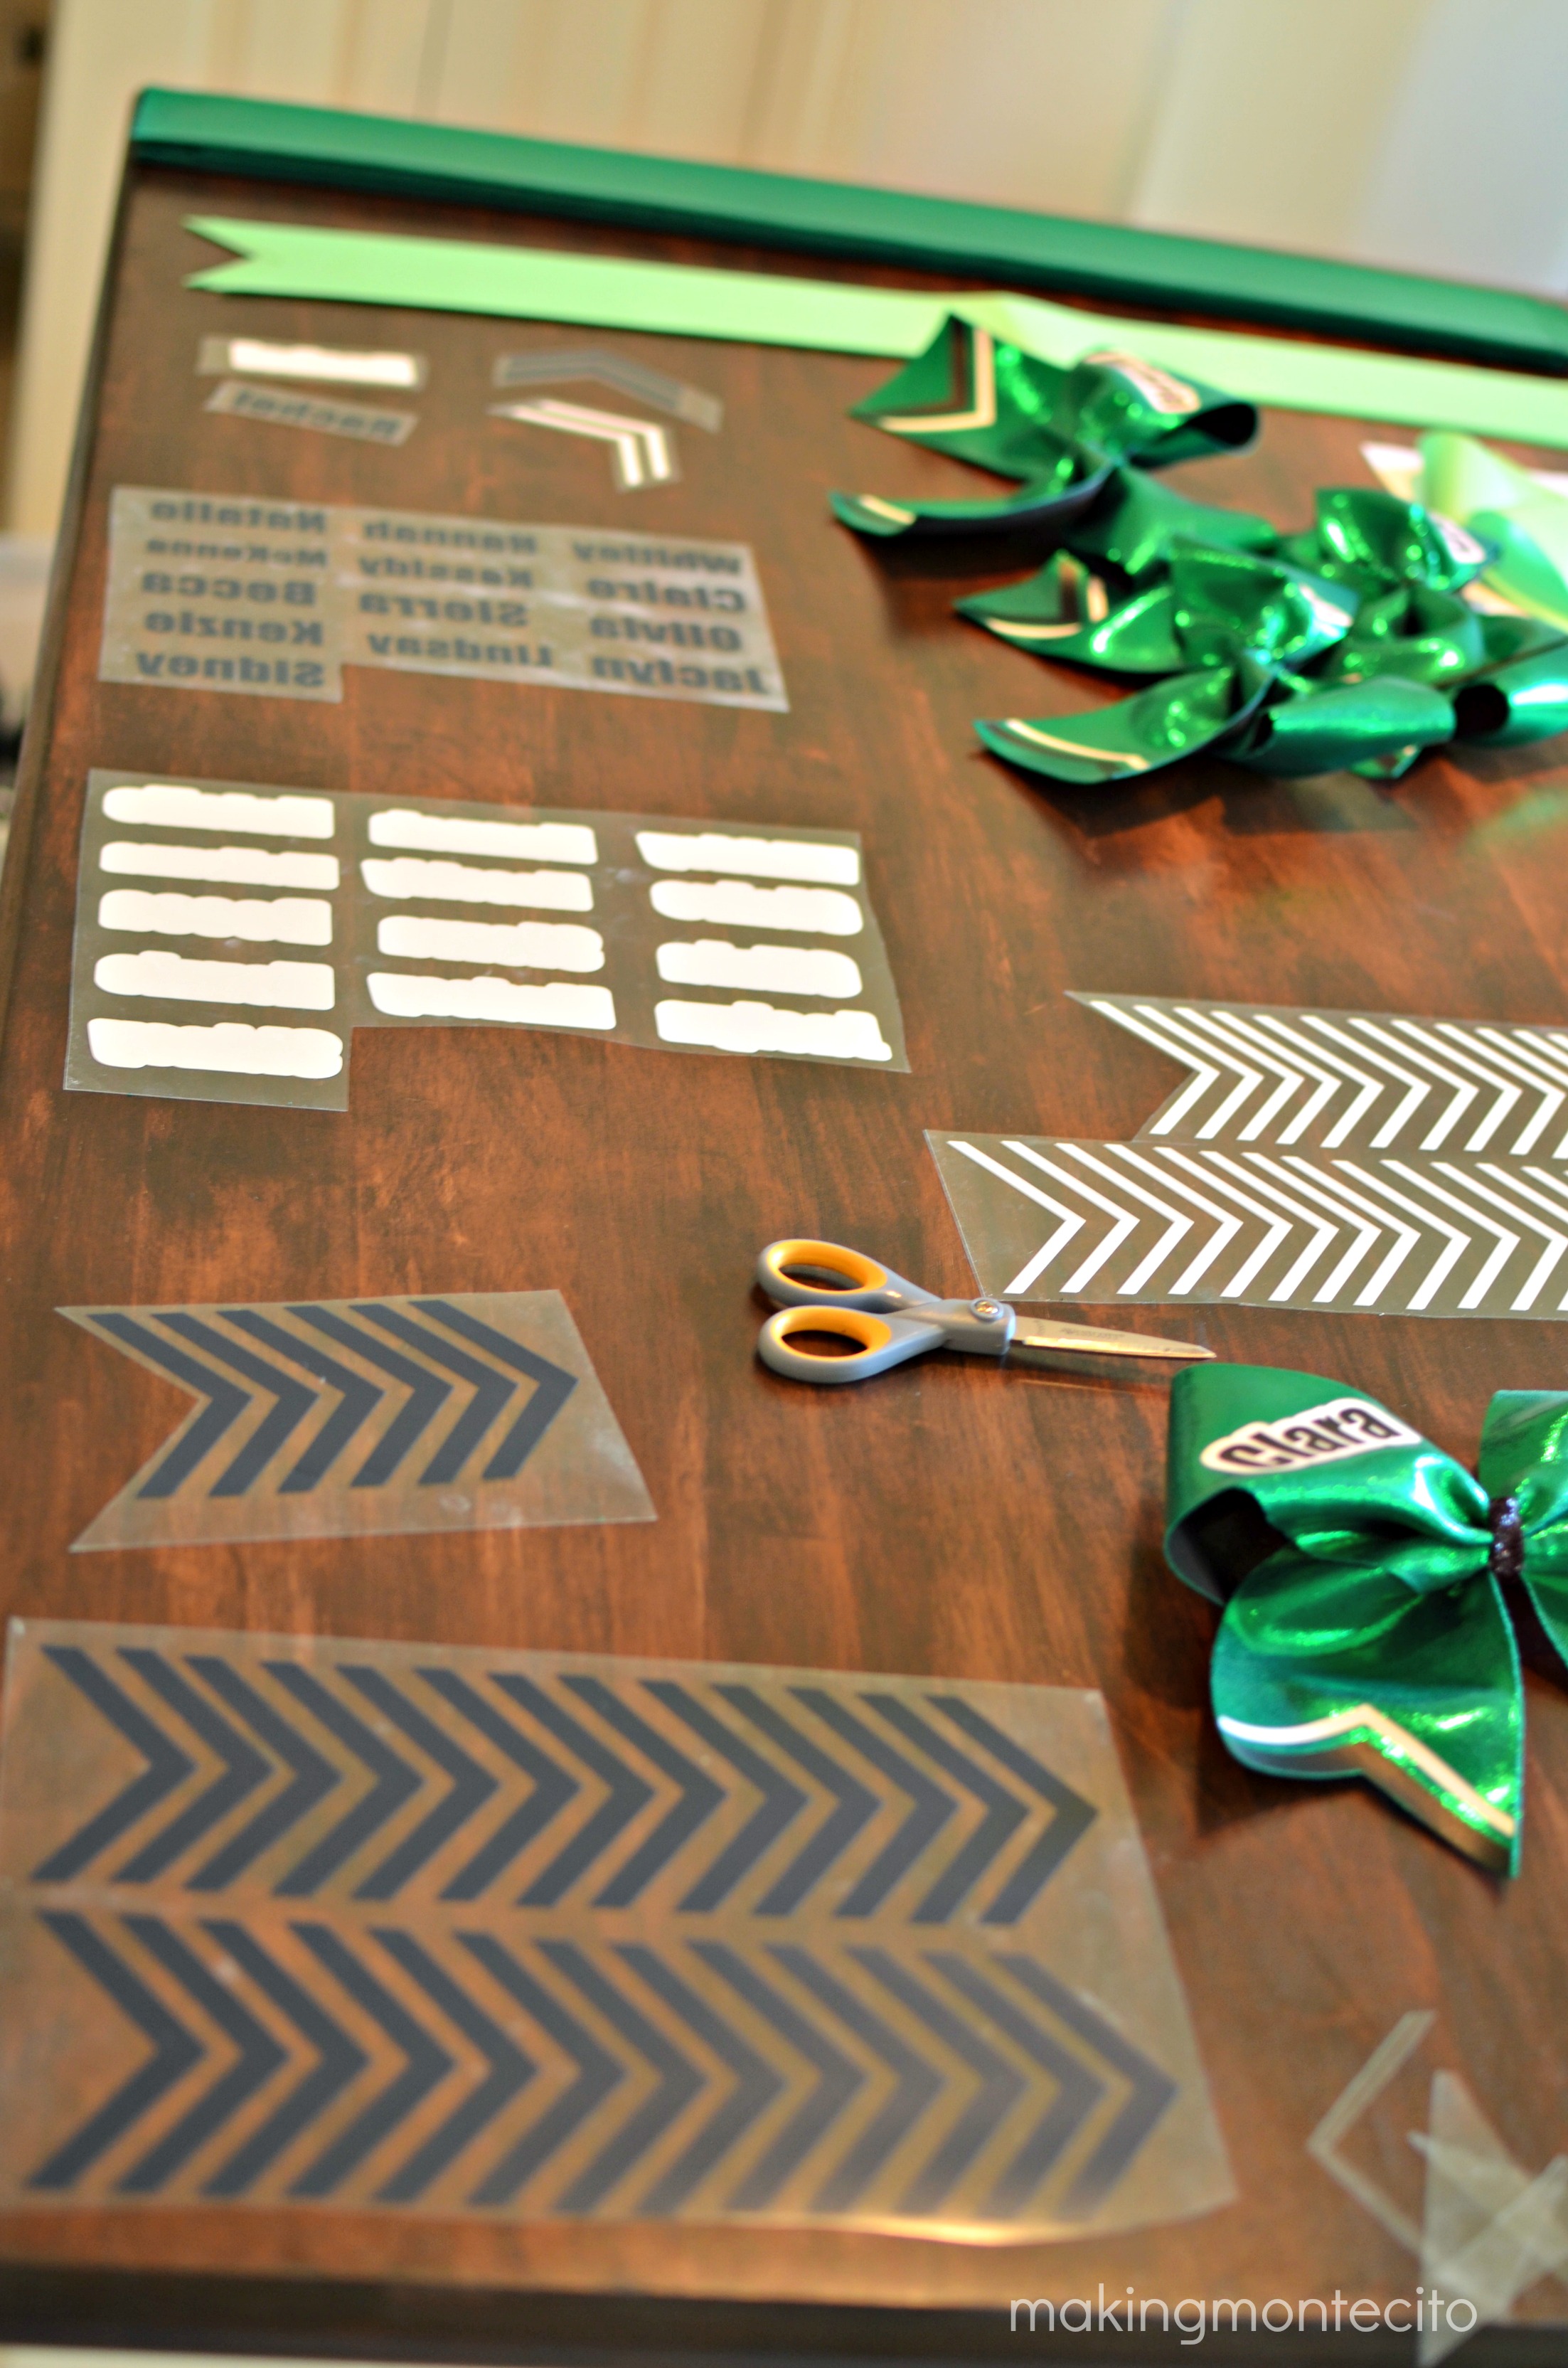
When deciding where to iron on your vinyl, I folded up a bow and ziptied the first one to get placement.I used a free template that I just printed out from my computer to get the right loops and tail while folding. The one you see under the bow is what I used…you can get it here. I didn’t buy a fancy template, but I’m sure those are nice.
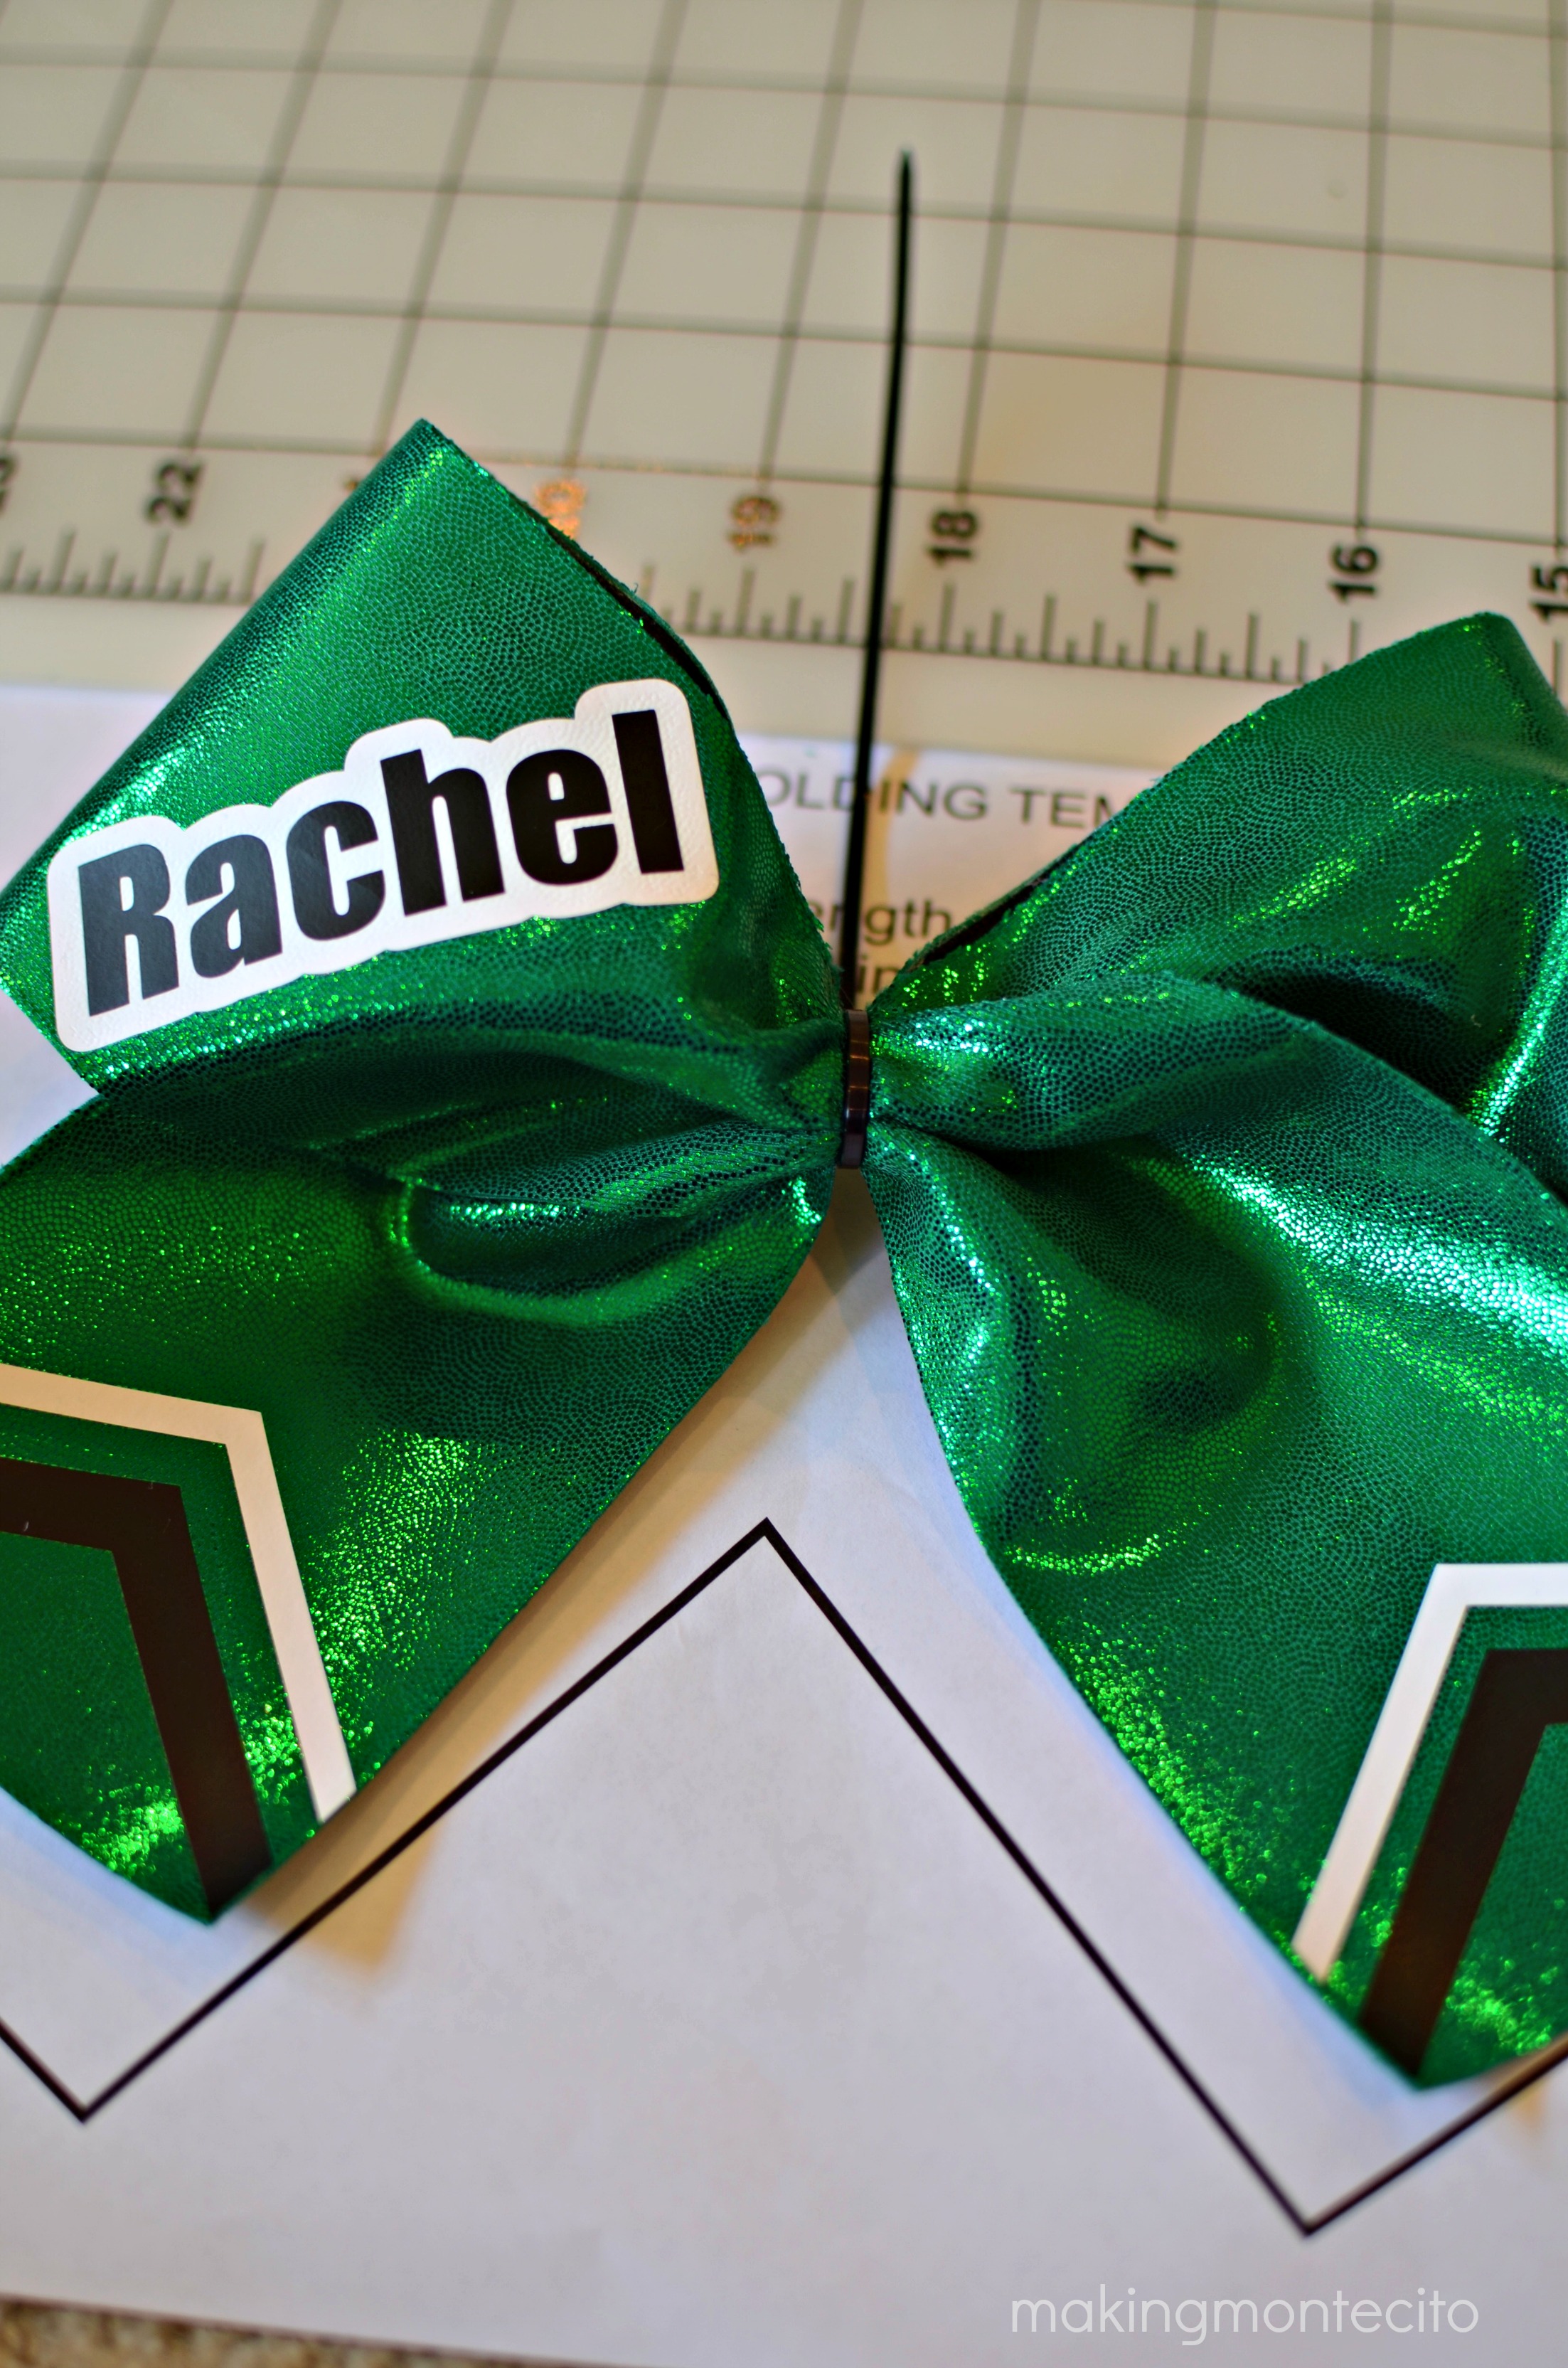
I don’t have a picture of pinching the bow together and putting the ziptie on, because I didn’t have a helper taking pictures and I needed both hands. But after I determined placement on my bow, held the vinyl in place with hair clips, I snipped the ziptie and pressed my vinyl in place on the bow. Then I used that first bow as a guide to know where to place the vinyl on all the others.
After you fold your bow on the template and ziptie it for good. Use some hot glue and glue on your hair elastic. I did not put the elastic in the ziptie as it can cause it to wear at that point and break.
After the glue dried, I took a small length of 3/8″ ribbon and hot glued it around the middle of the bow (beginning and ending in the back.)
I used my scissors and cut along the black chevron for the fish tails. The other bows I made, I used a straight edge and my rotary cutter. I can’t be trusted with scissors too often.
I then carefully ran a lighter along the edge to heat seal it and keep it from fraying.
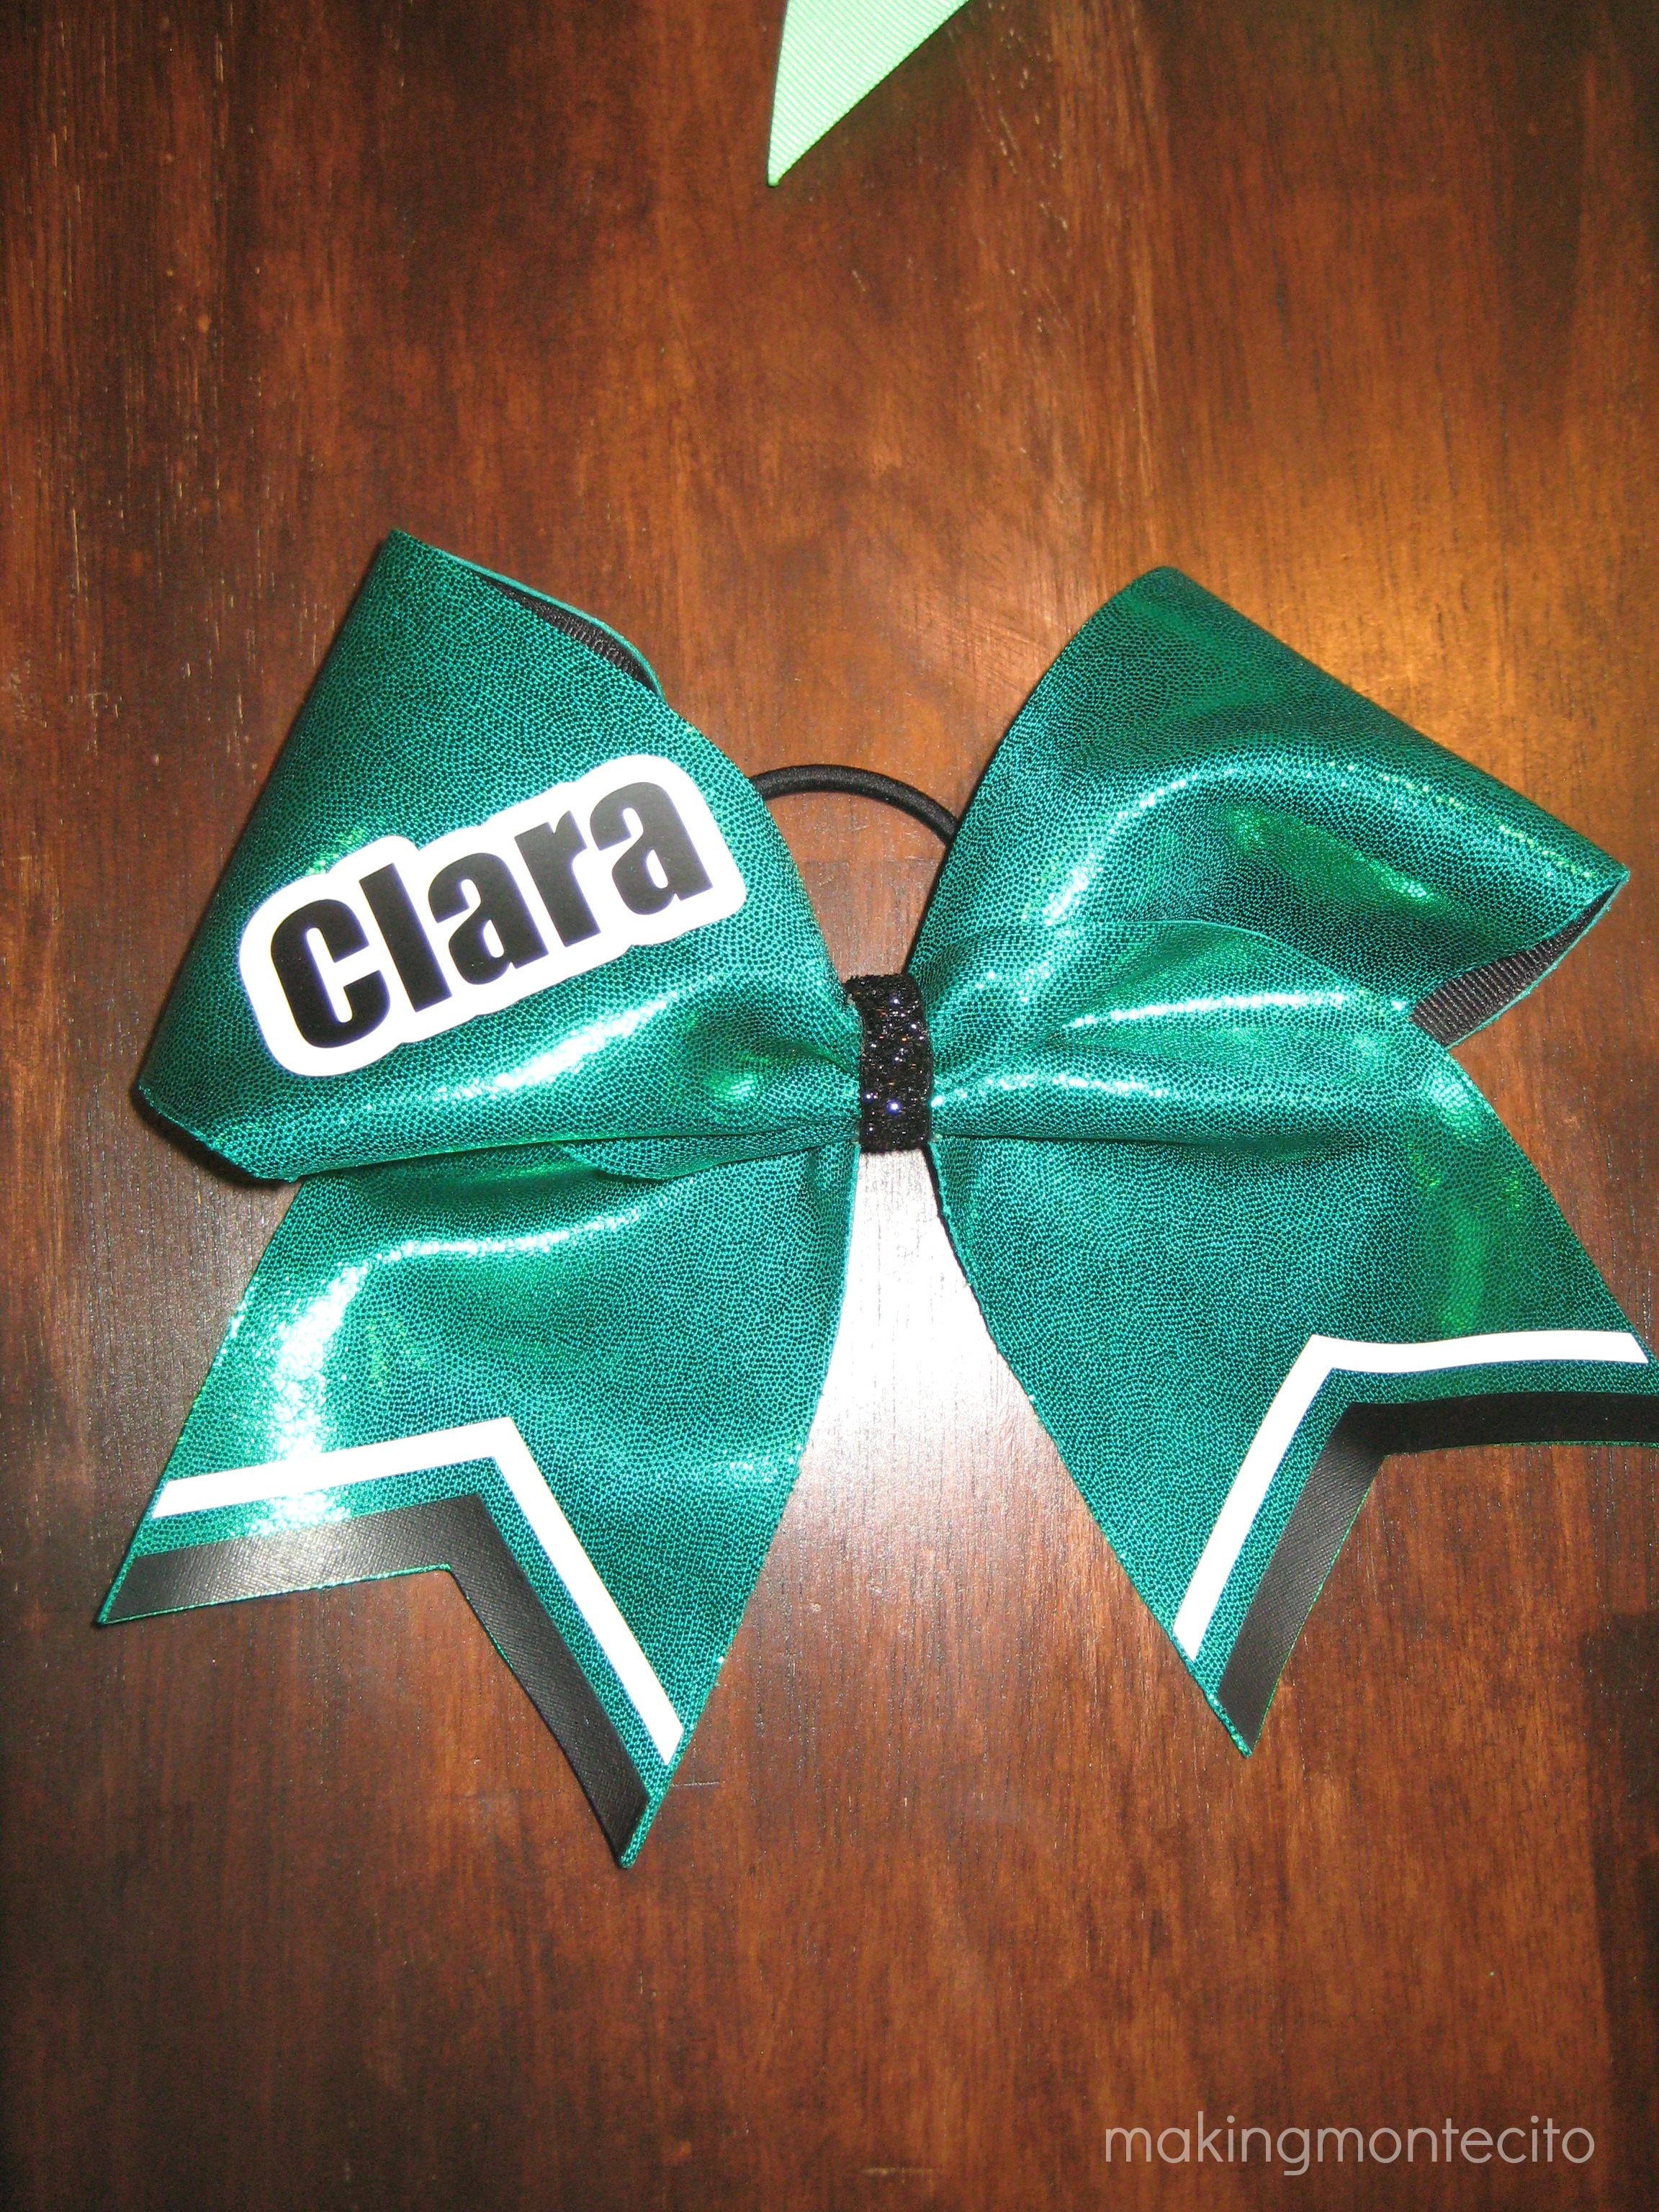
Below is the finished product (although not a great pic.)
Keep calm and cheer on!
