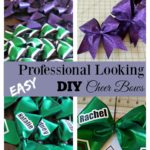
OMG, Becky! Look at her bow — it’s so little! And it’s so cute!
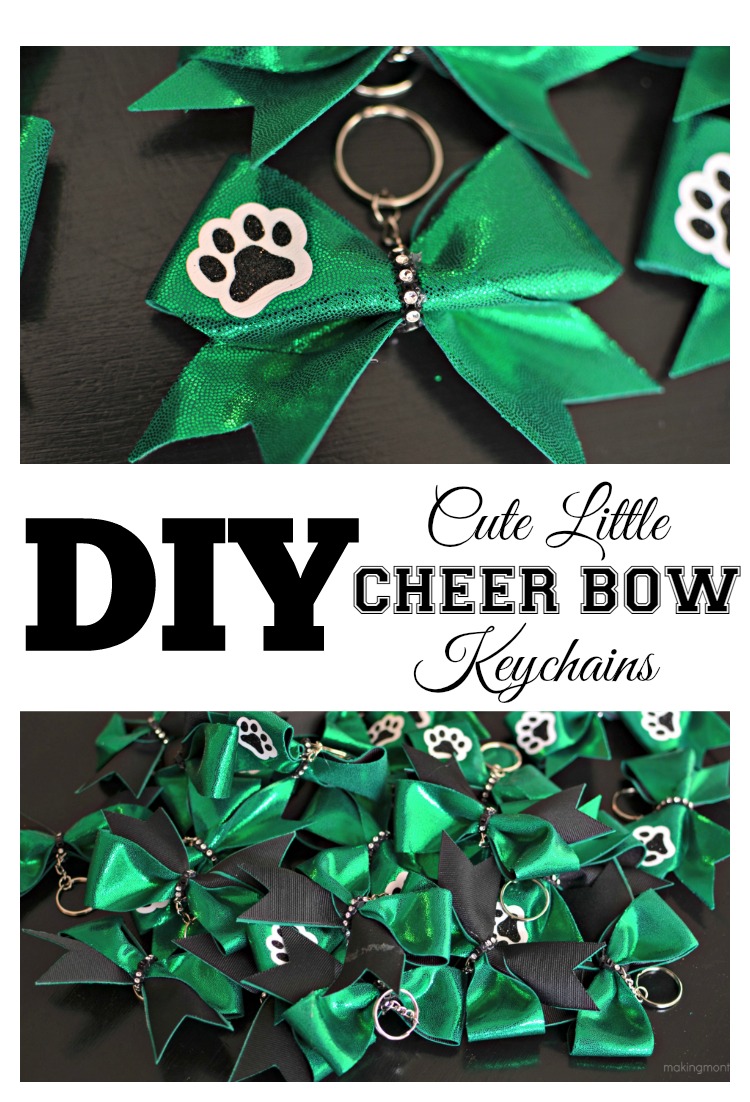
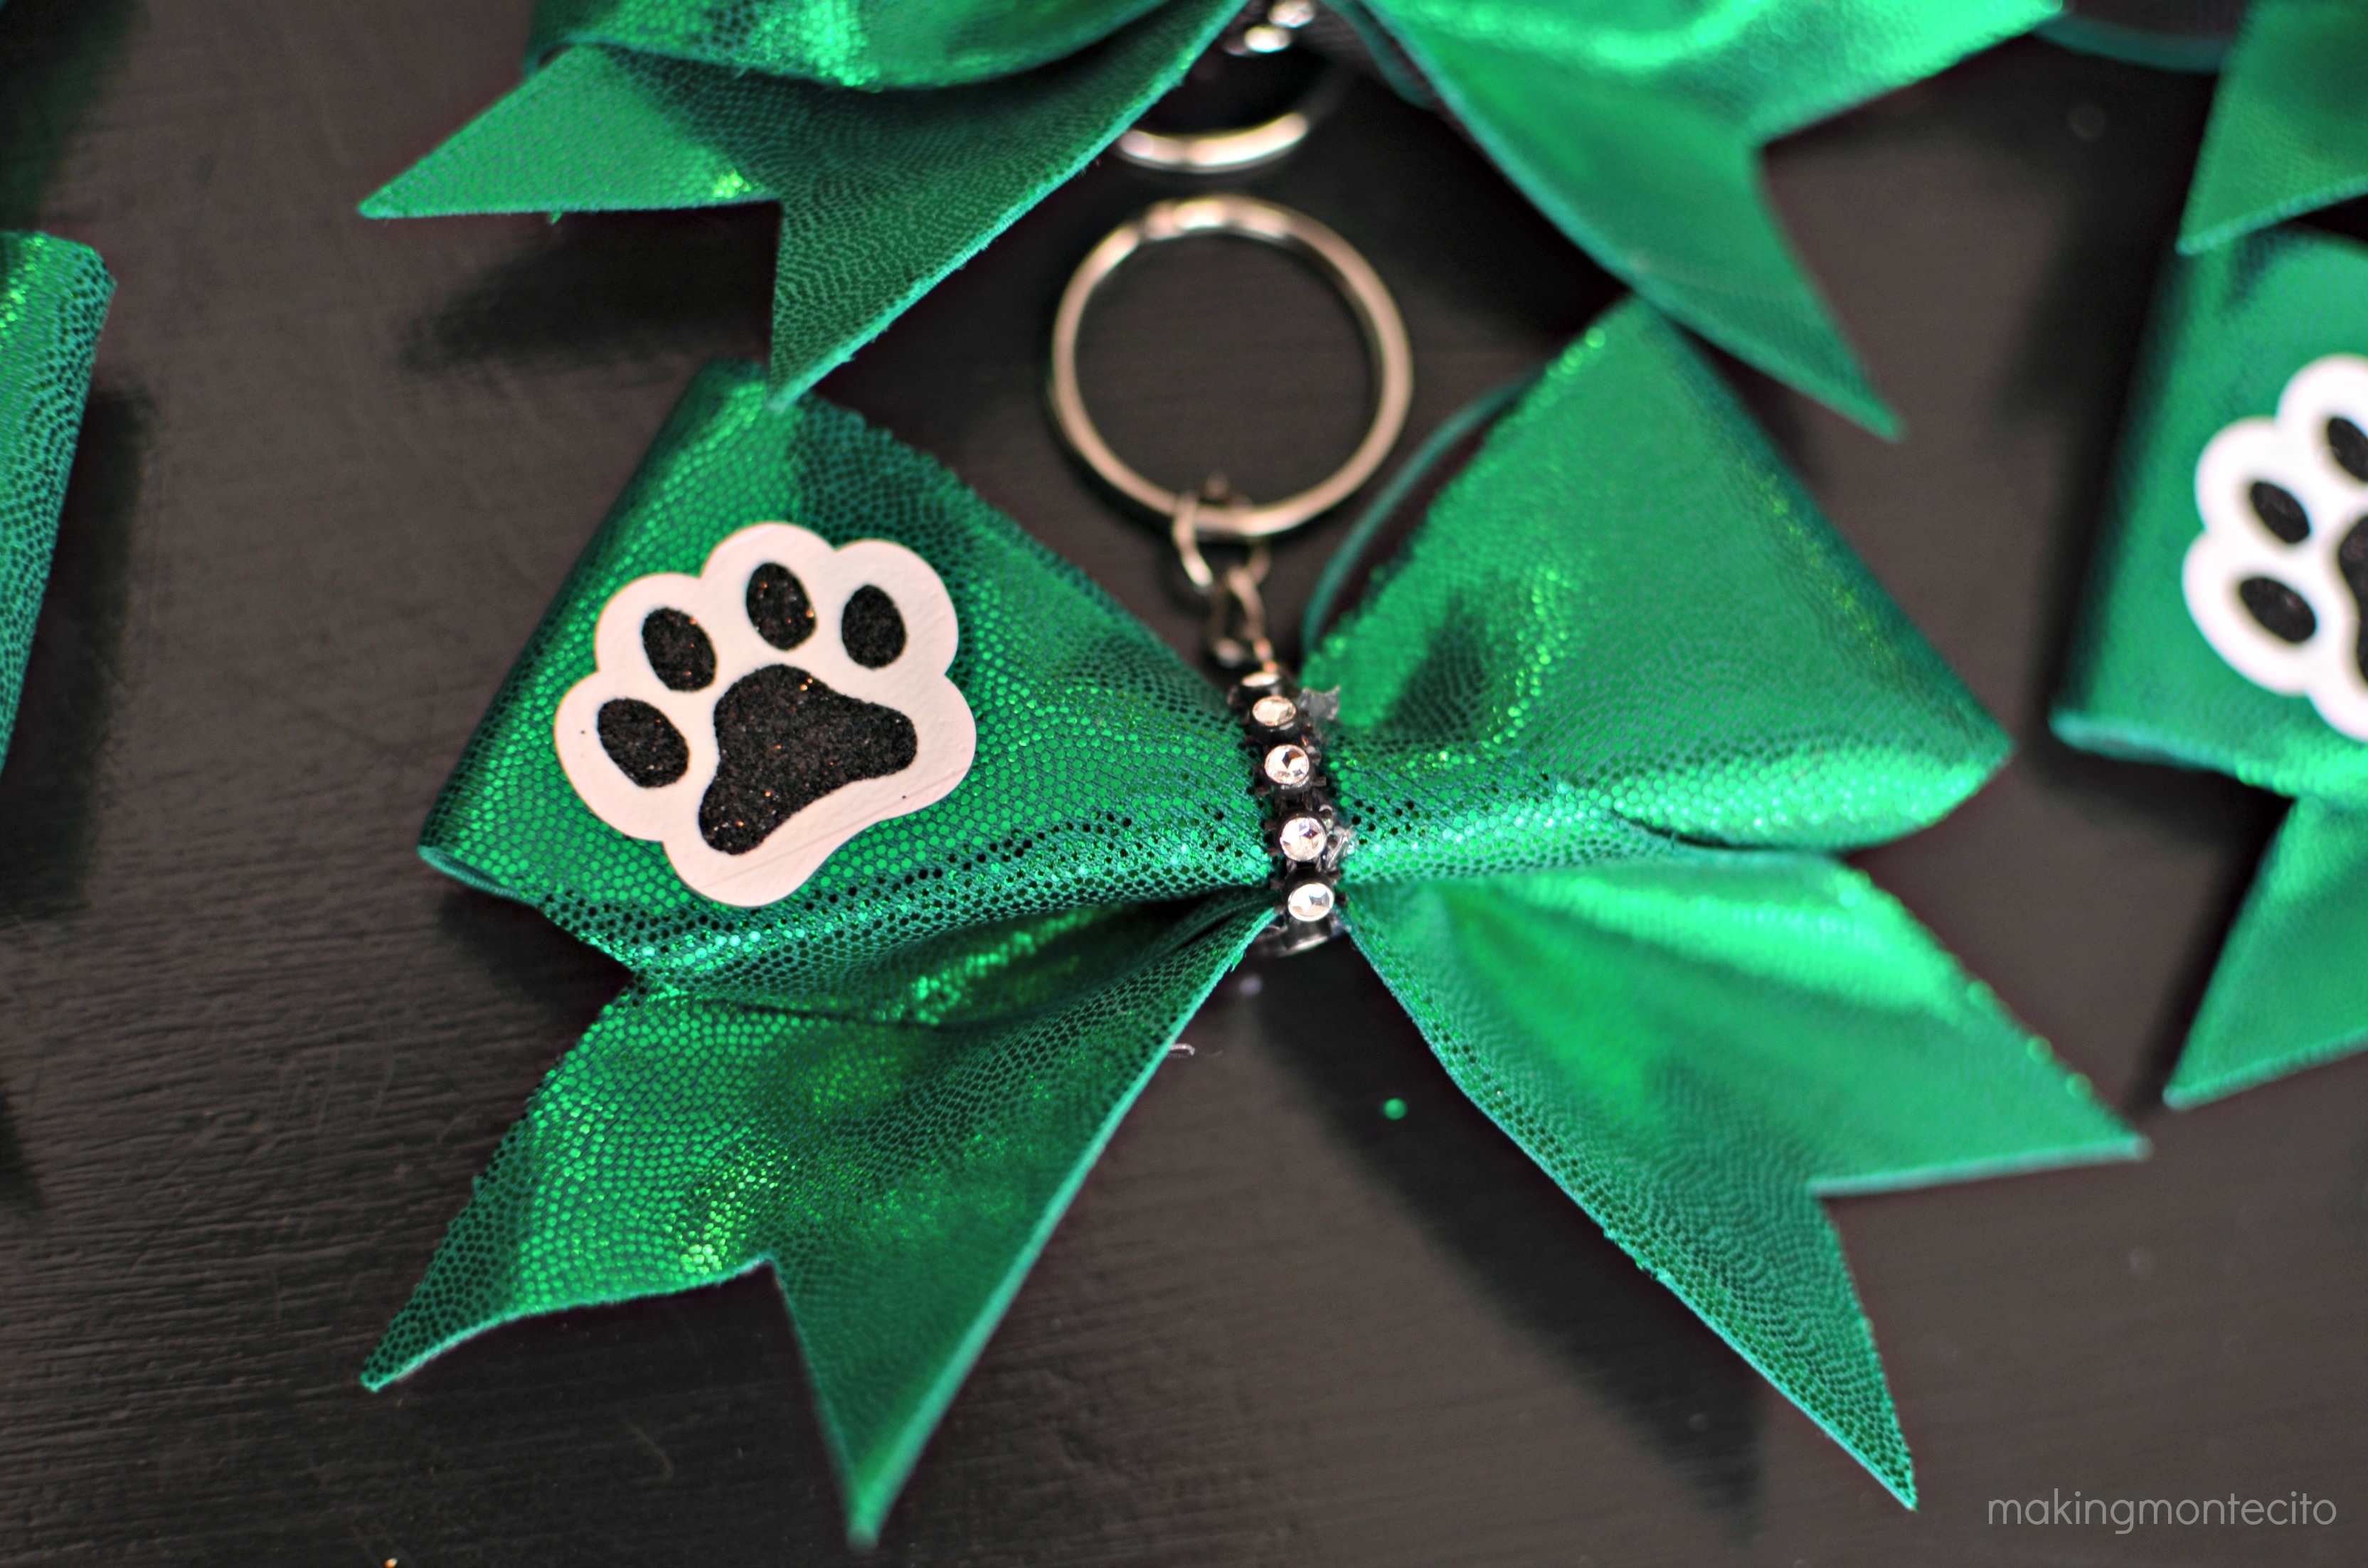
After making all those cheer bows for the middle school and high school cheer squad and figuring out how easy and cost effective it can be when you make your own, the cheer coaches wanted to give the girls these cute little cheer bow keychains as an end-of-season gift.
So off I went to make more bows.
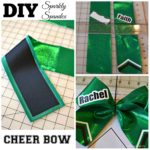
The process is the same as the Sparkly Spandex Cheer Bow if you want to read a little more about it.
Resources: (Some of these are affiliate links)
- Green Spandex: Fabrictopia Dallas www.fabrictopia.com I ended up getting several yards because the pre-cut piece was the same price as the yardage I needed, so we ended up having extra for future projects. I’m now thinking I really do need a mermaid costume.
- 1.5″ Black Grosgrain Ribbon: Amazon – 50yds 1.5″ grosgrain ribbon
- Wonder-Under: Walmart – Fusible webbing to be able to “glue” your spandex fabric front to your ribbon back. I paid $1.66/yd at the time
- Zipties: Amazon –200 CableTies Combo Pack White & Black
- Black Rhinestone Center: I got mine at Cheer Bow Supply I think I saw this at Michael’s as well. You don’t need very much.
- Key Chains: Amazon – Package of 100 Key rings with chain
- Heat Transfer Vinyl: I’ve ordered most of my HTV from http://heattransfervinyl4u.com and have been very happy with their shipping turn around and product. If you spend over $35, it’s free shipping, which I can always seem to meet. 🙂
First cut your backer 1.5″ grosgrain ribbon to 14″ lengths. Mine was black.
Using Wonder Under (or other fuseable webbing, I just happen to like Wonder Under), attach black ribbon to the shiny spandex fabric. I did it for the full size cheer bows here.
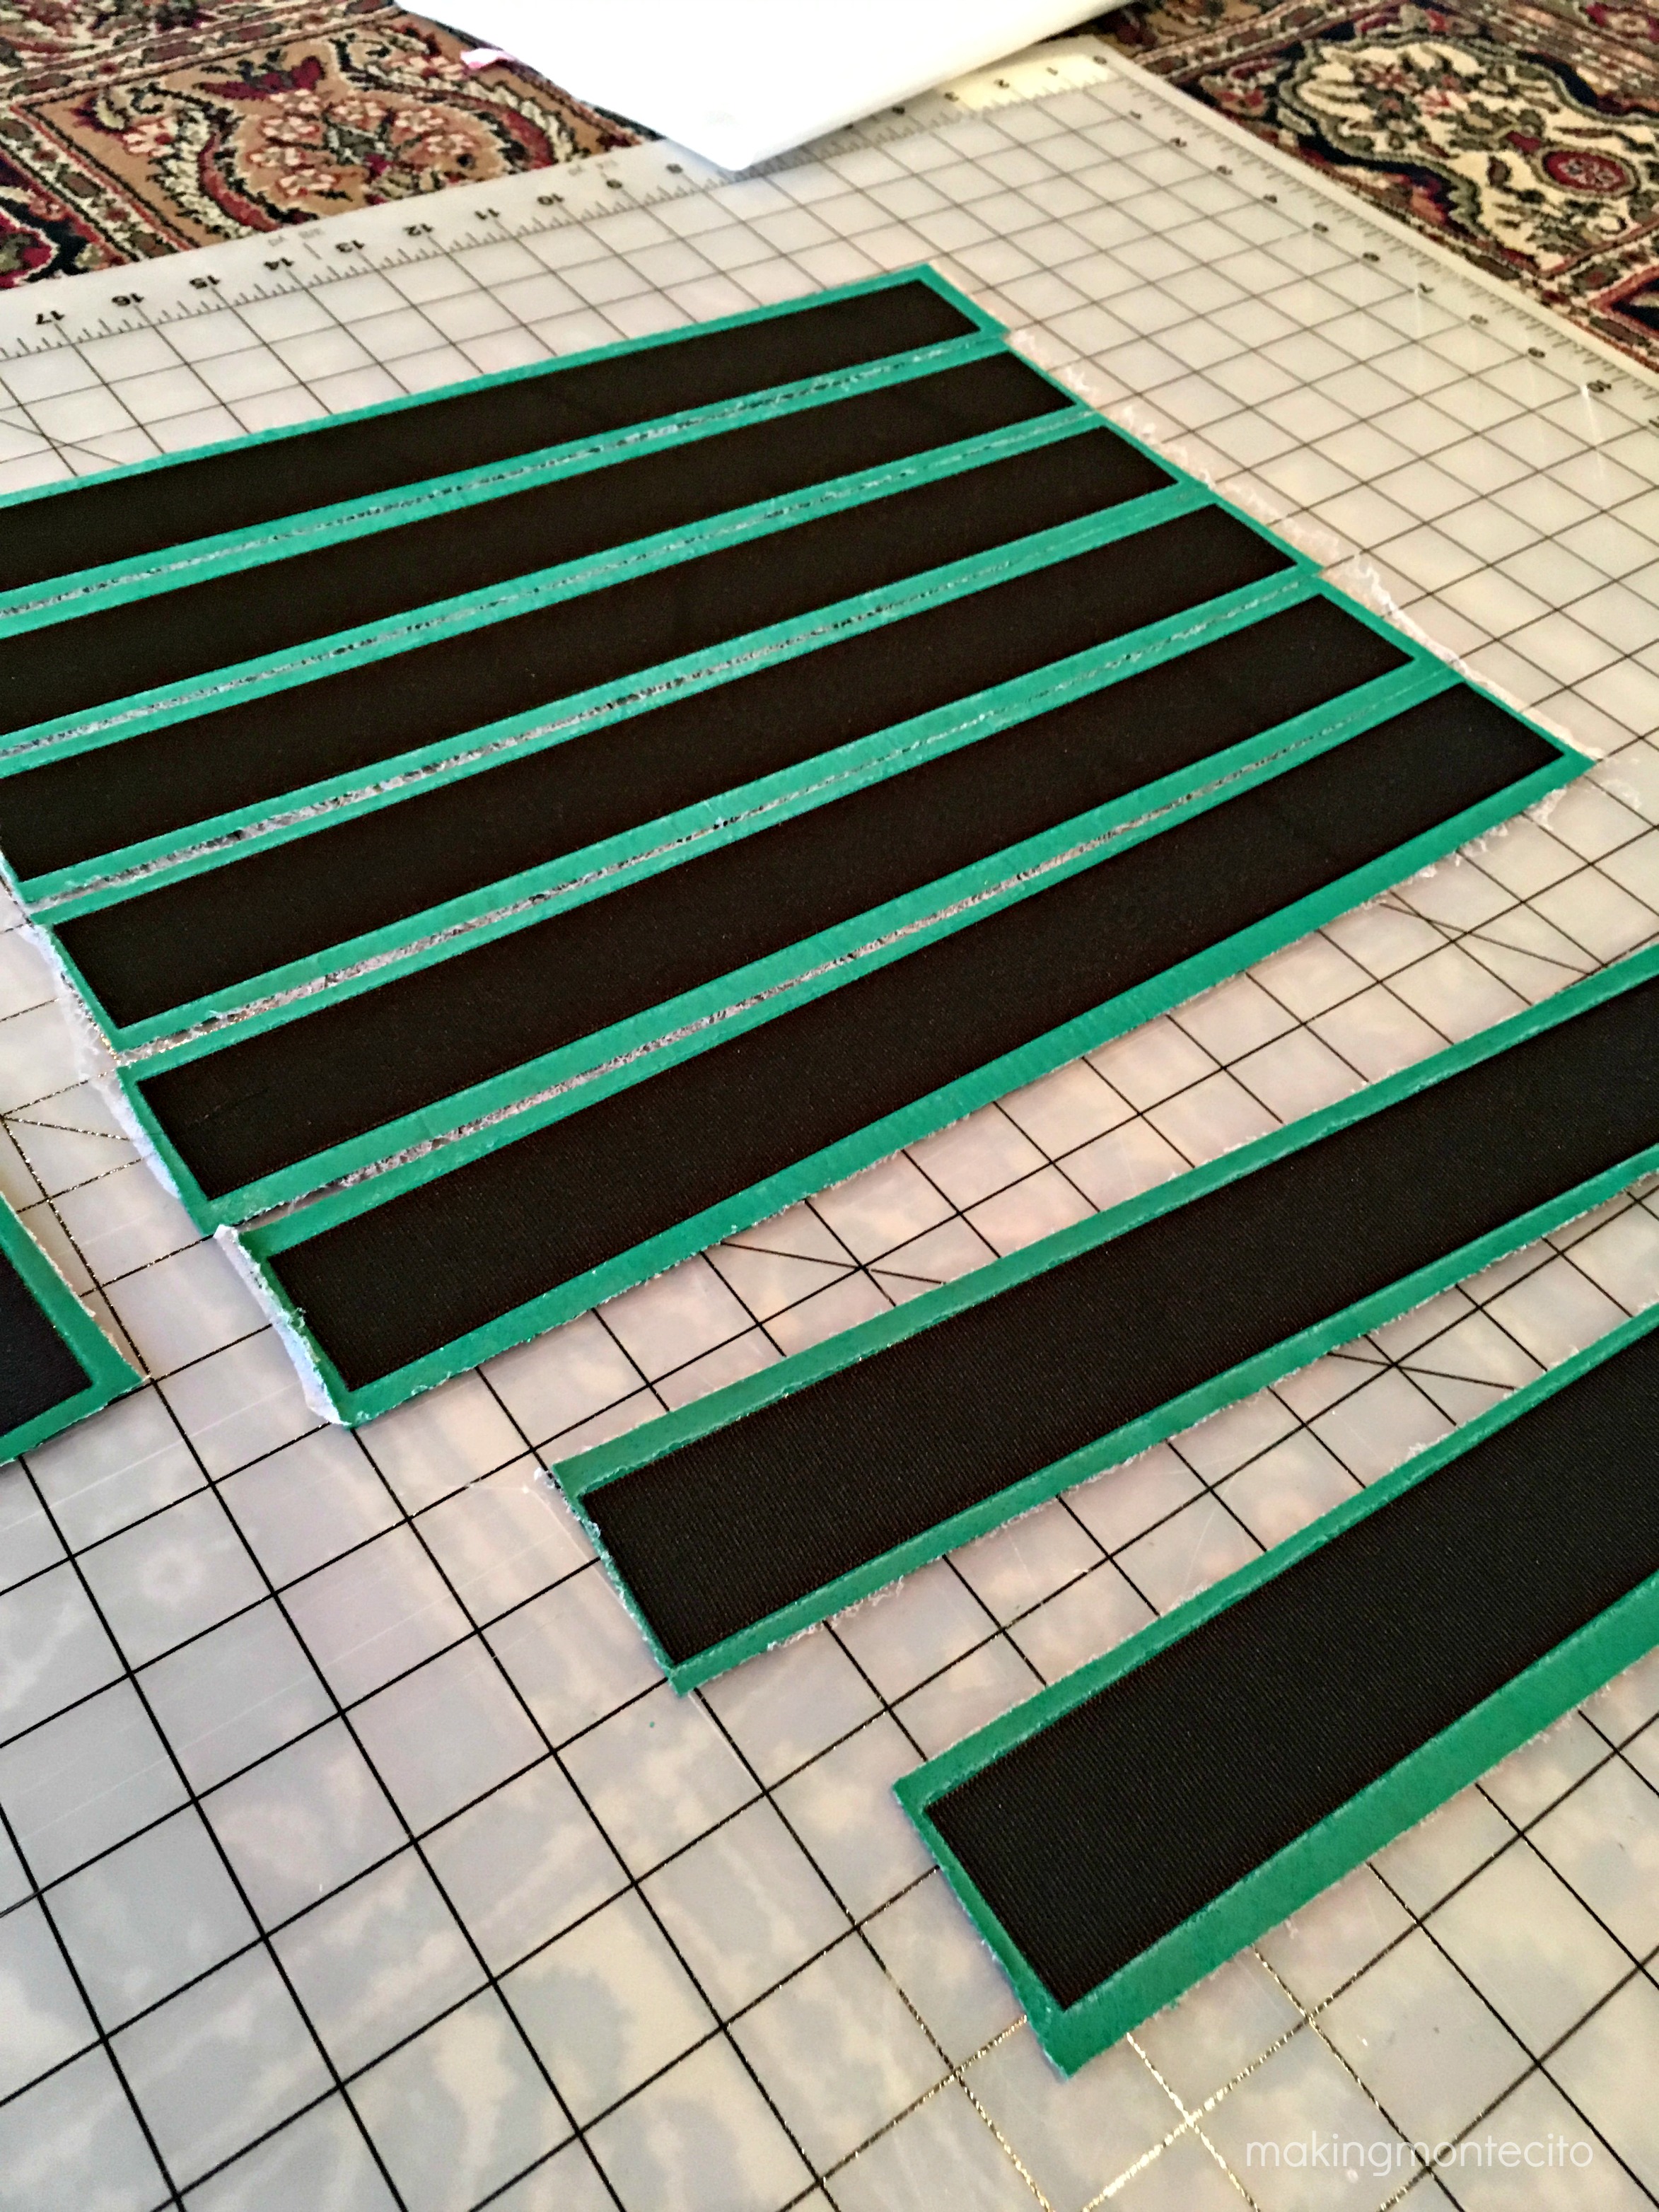
Carefully trim the sparkly spandex fabric to the 1.5″ size of your backer ribbon.
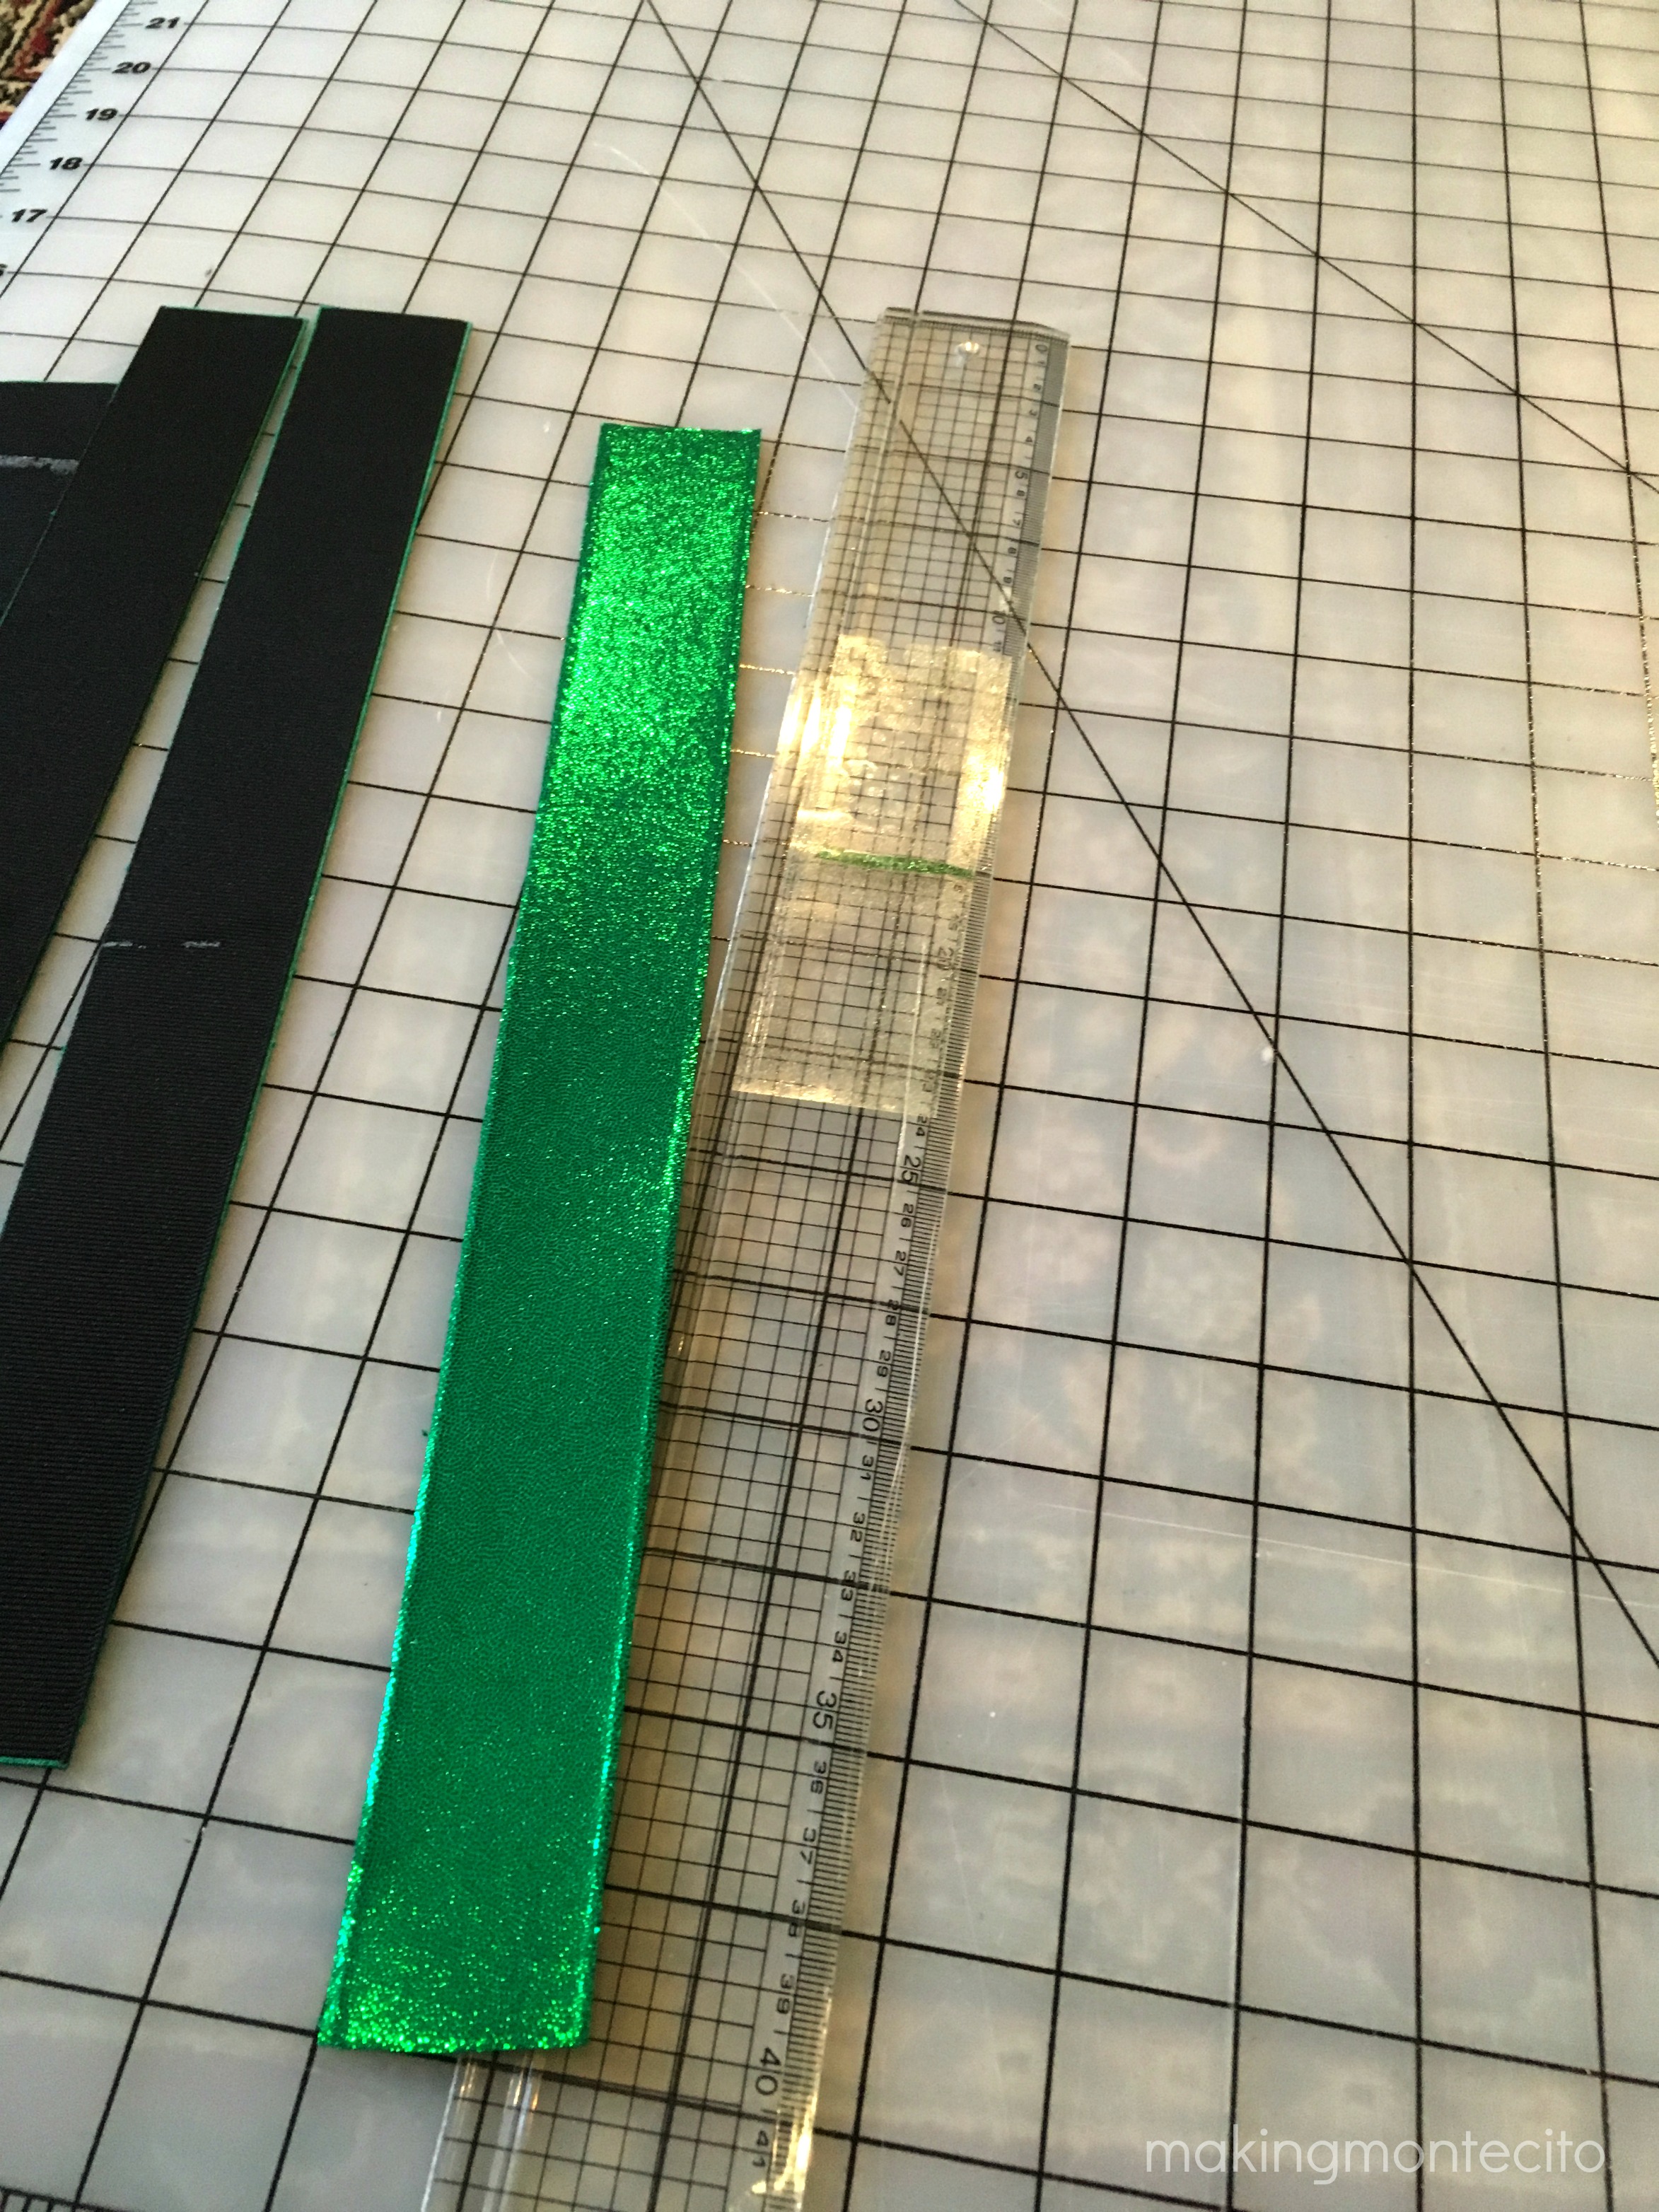
Cut the fishtails. I folded the ribbon in half and used a straight edge and rotary cutter. There are pictures about half-way down the page here showing it.
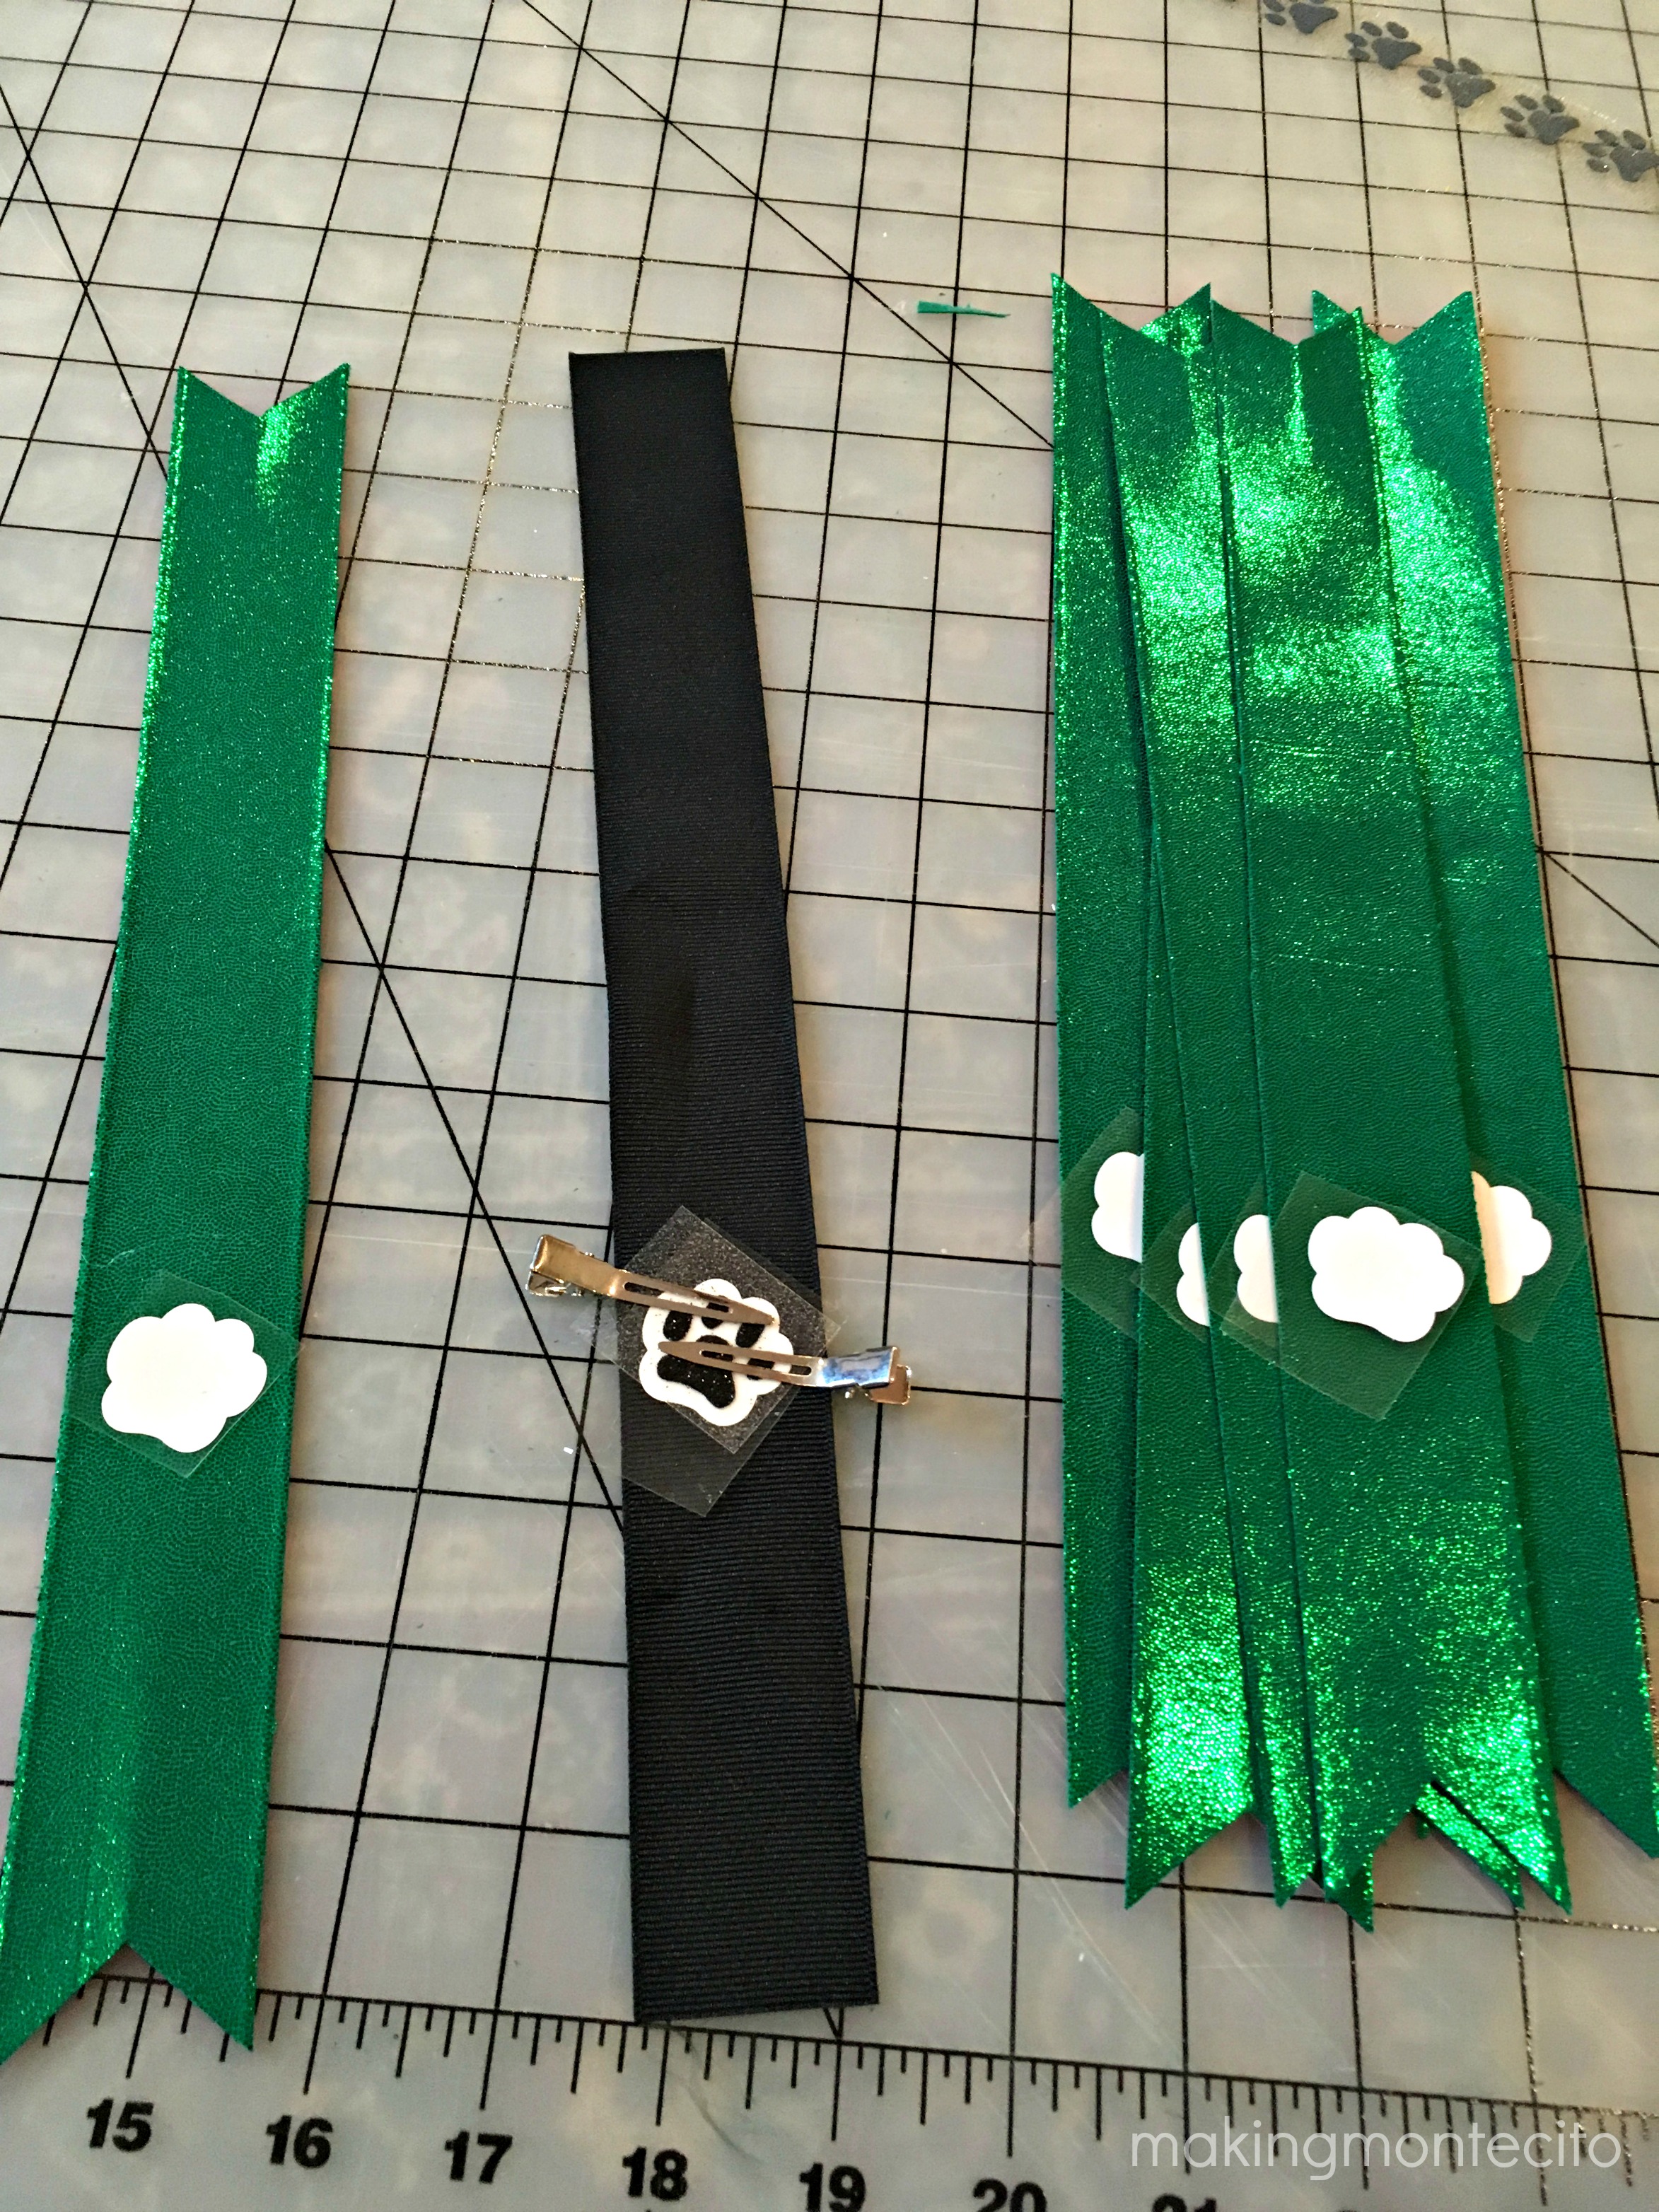
You could go right into making the bow at this point if you aren’t putting anything on it. I used my Silhouette to cut out a cute paw print and offset (background for the paw print) to press onto it.
After I figured out where I wanted to place the paw print (by making one bow, placing the paw print on it & then opening the bow back up to see the placement), I lined up several at a time on my heat press.
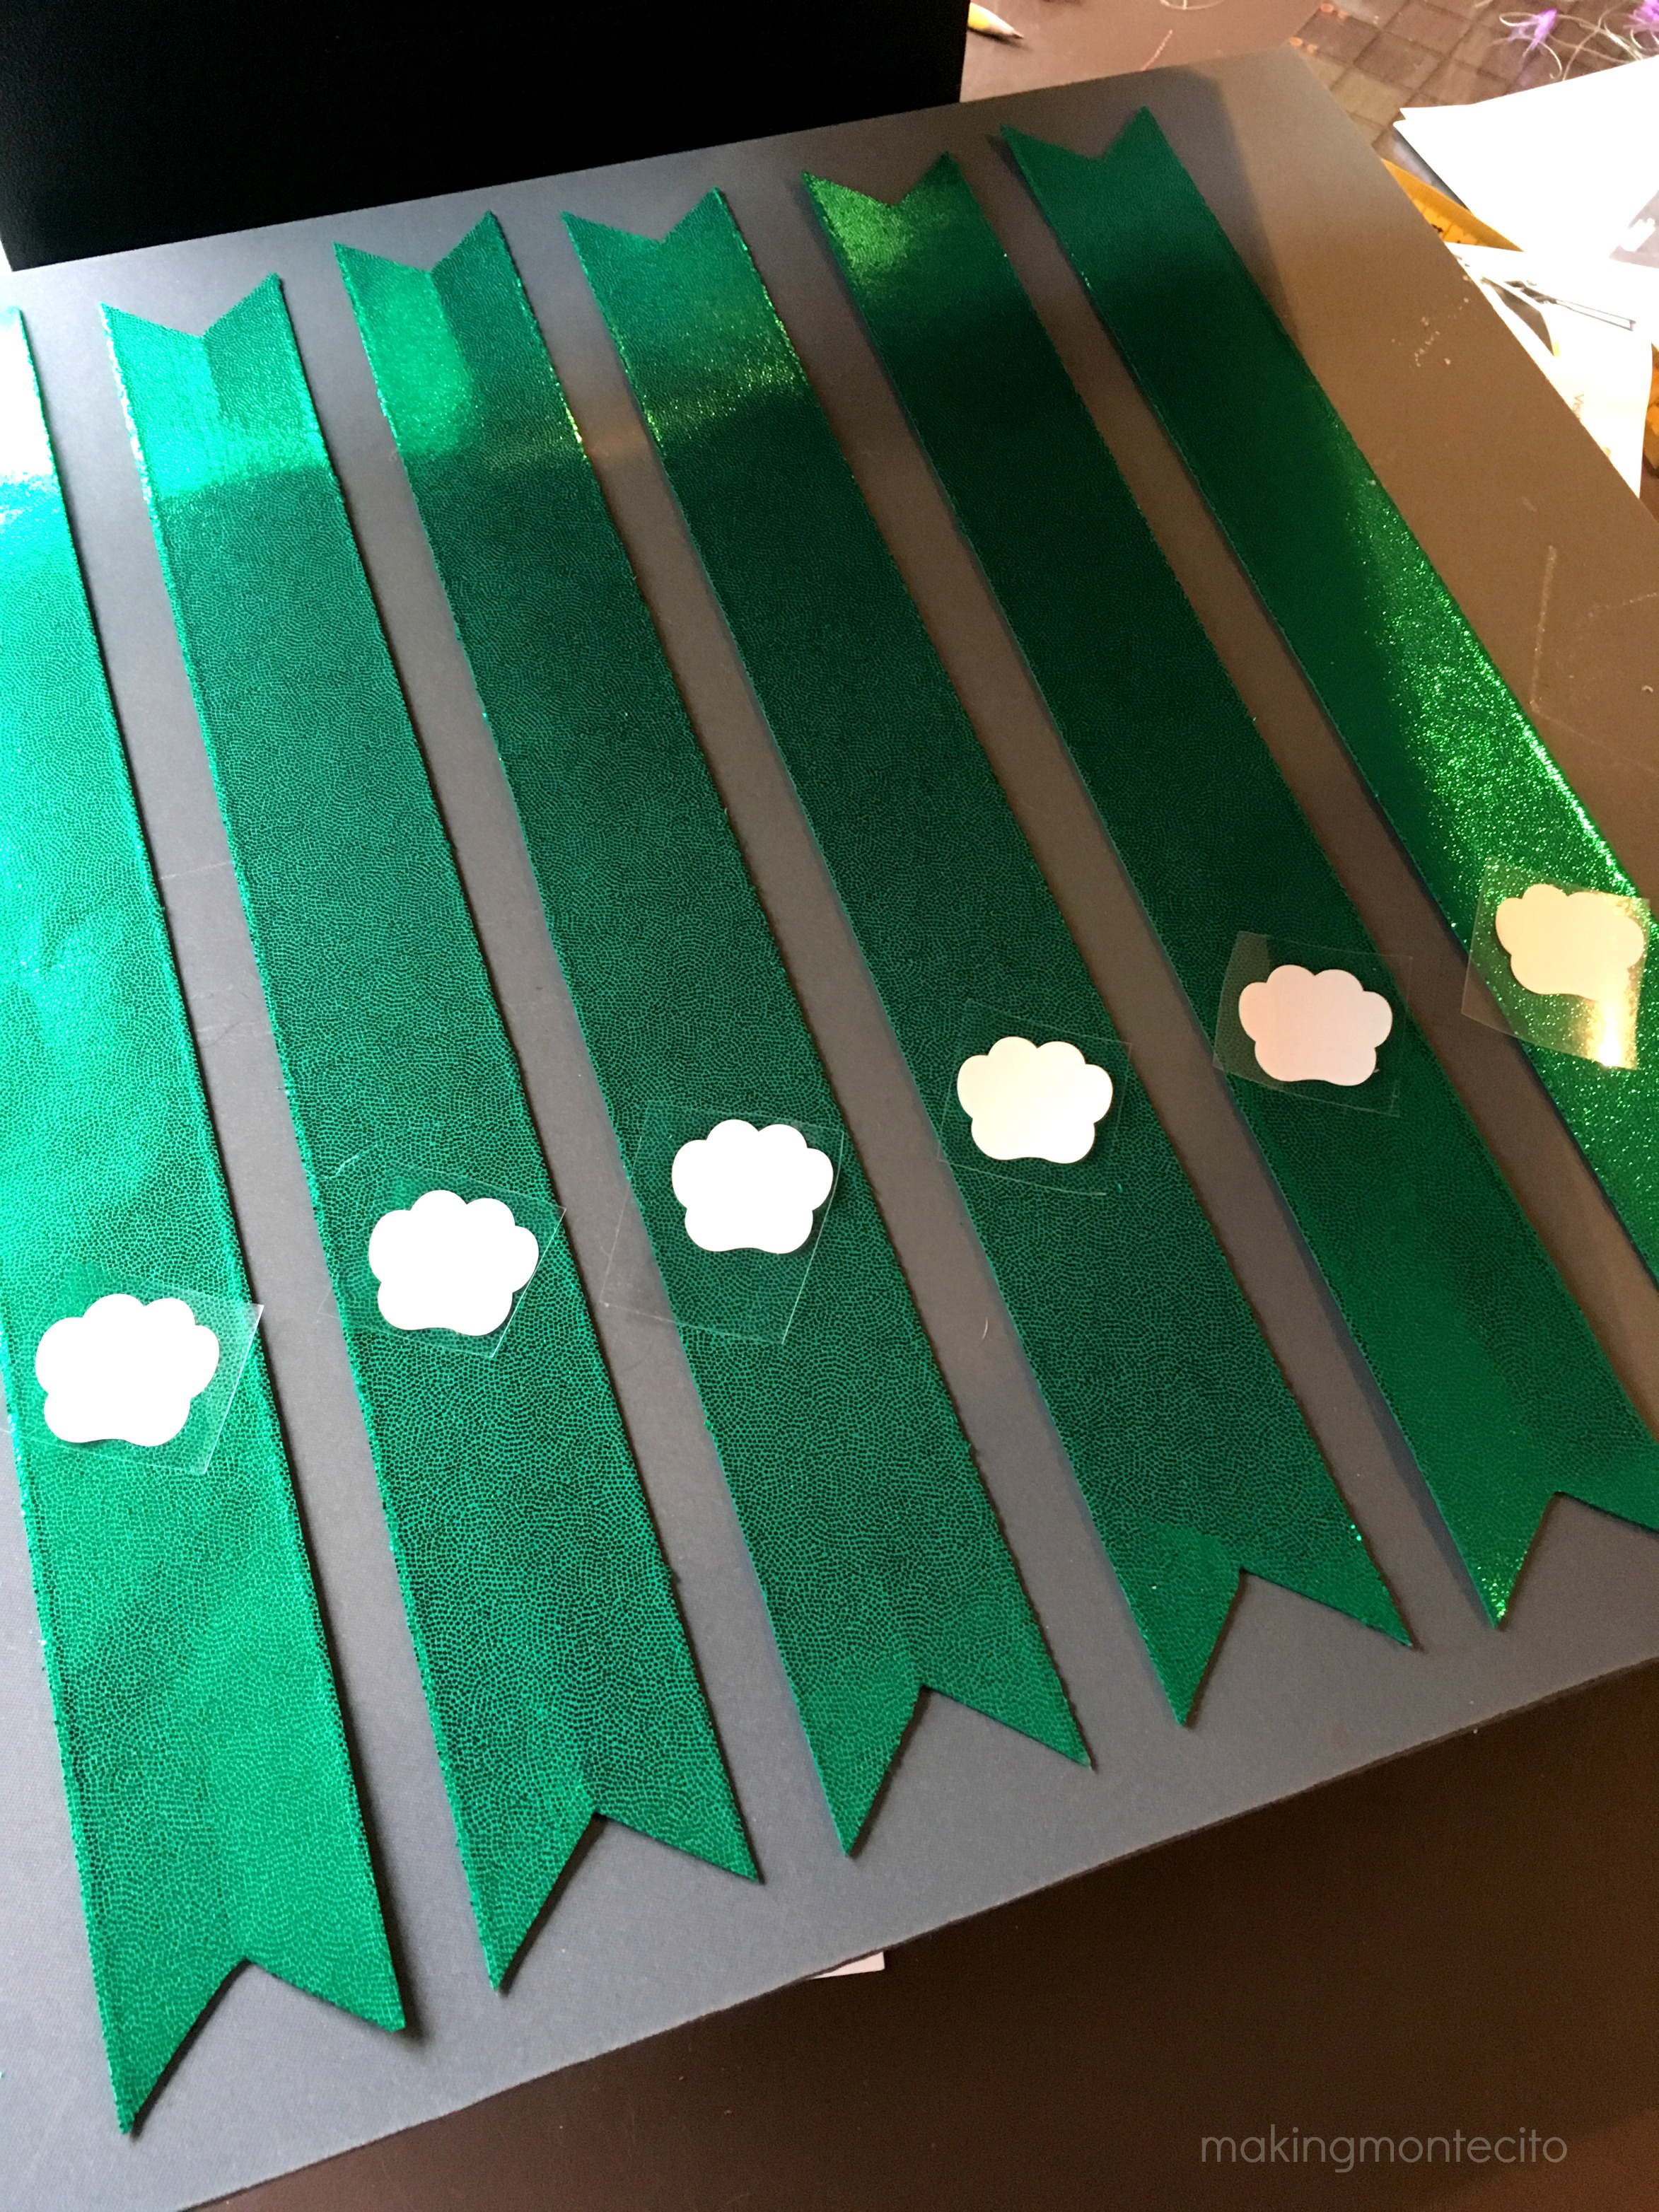
After the vinyl was pressed and my ribbons were ready, I grabbed one of the bazillion key rings I now have to start attaching it.
Apparently, this company only “sells my expectations.” And together, we’re going to “make things better.”
What?
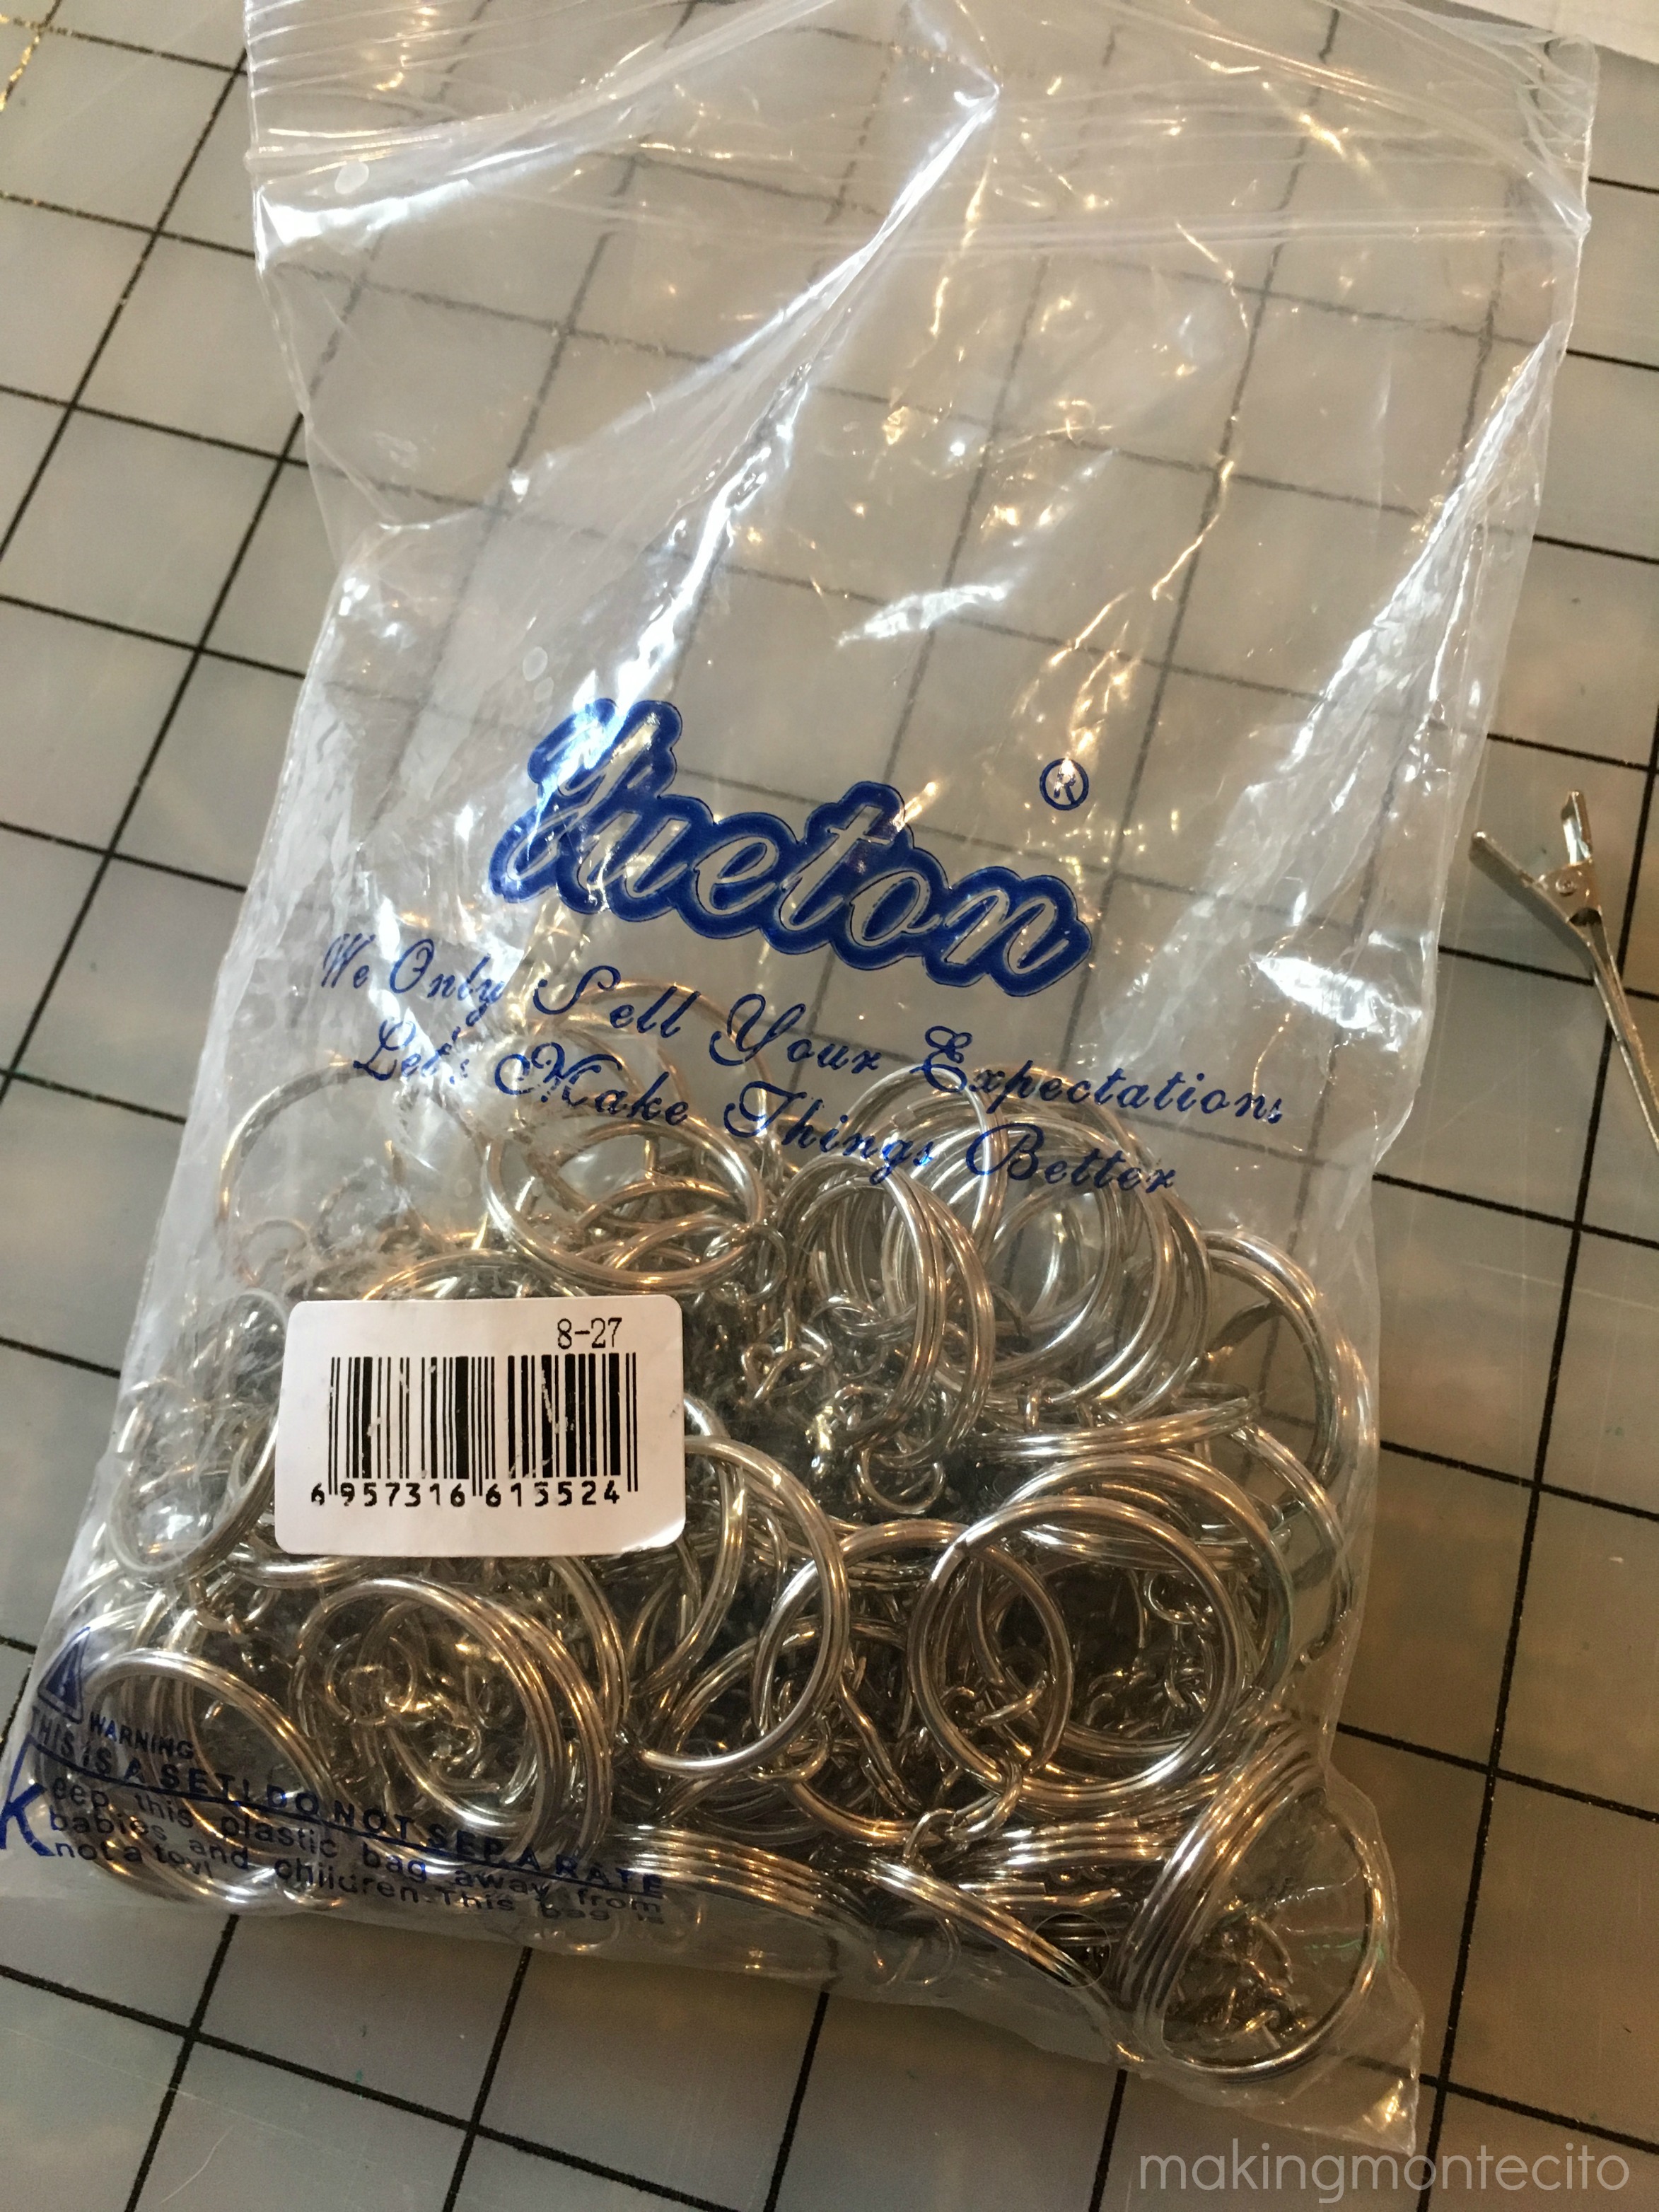
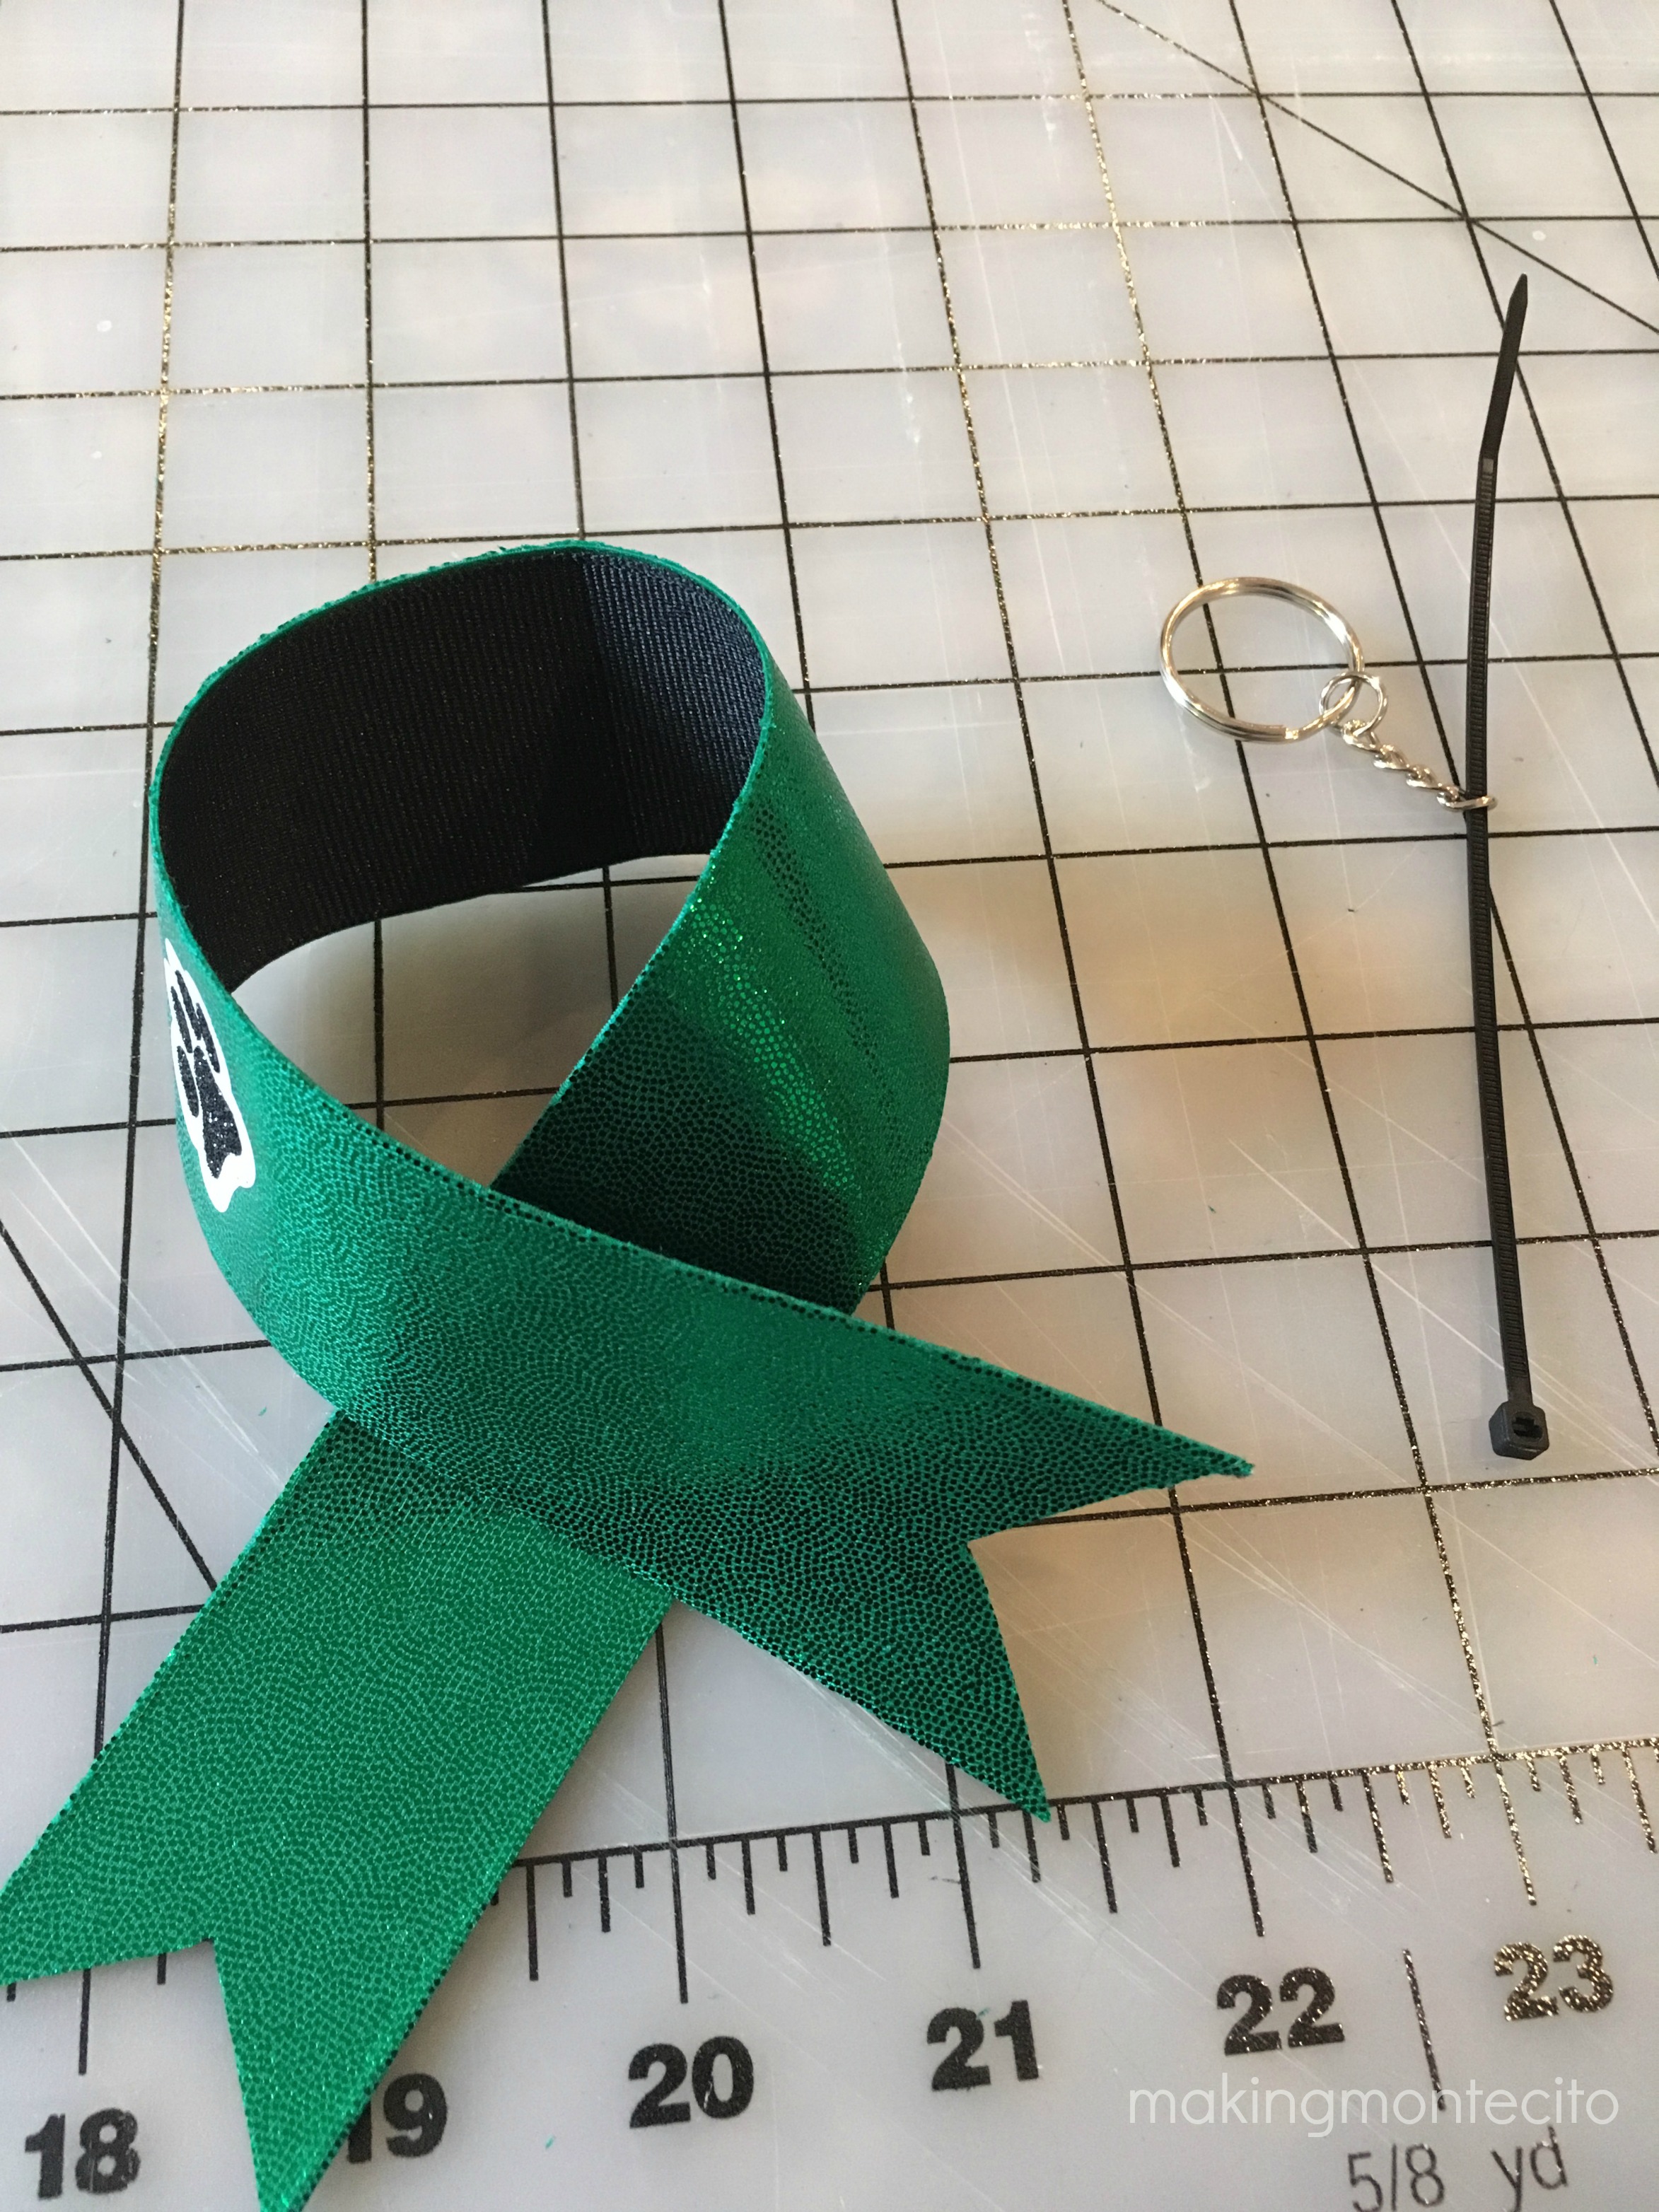
Anyway. I made they bow loop like below, put the ziptie through the chain on the key ring and proceeded to pinch the middle loop together to make the bow. Here’s a video from Cheer Bow Supply on this.
I made sure the chain was hanging somewhat from the top to keep it balanced while it is hanging.
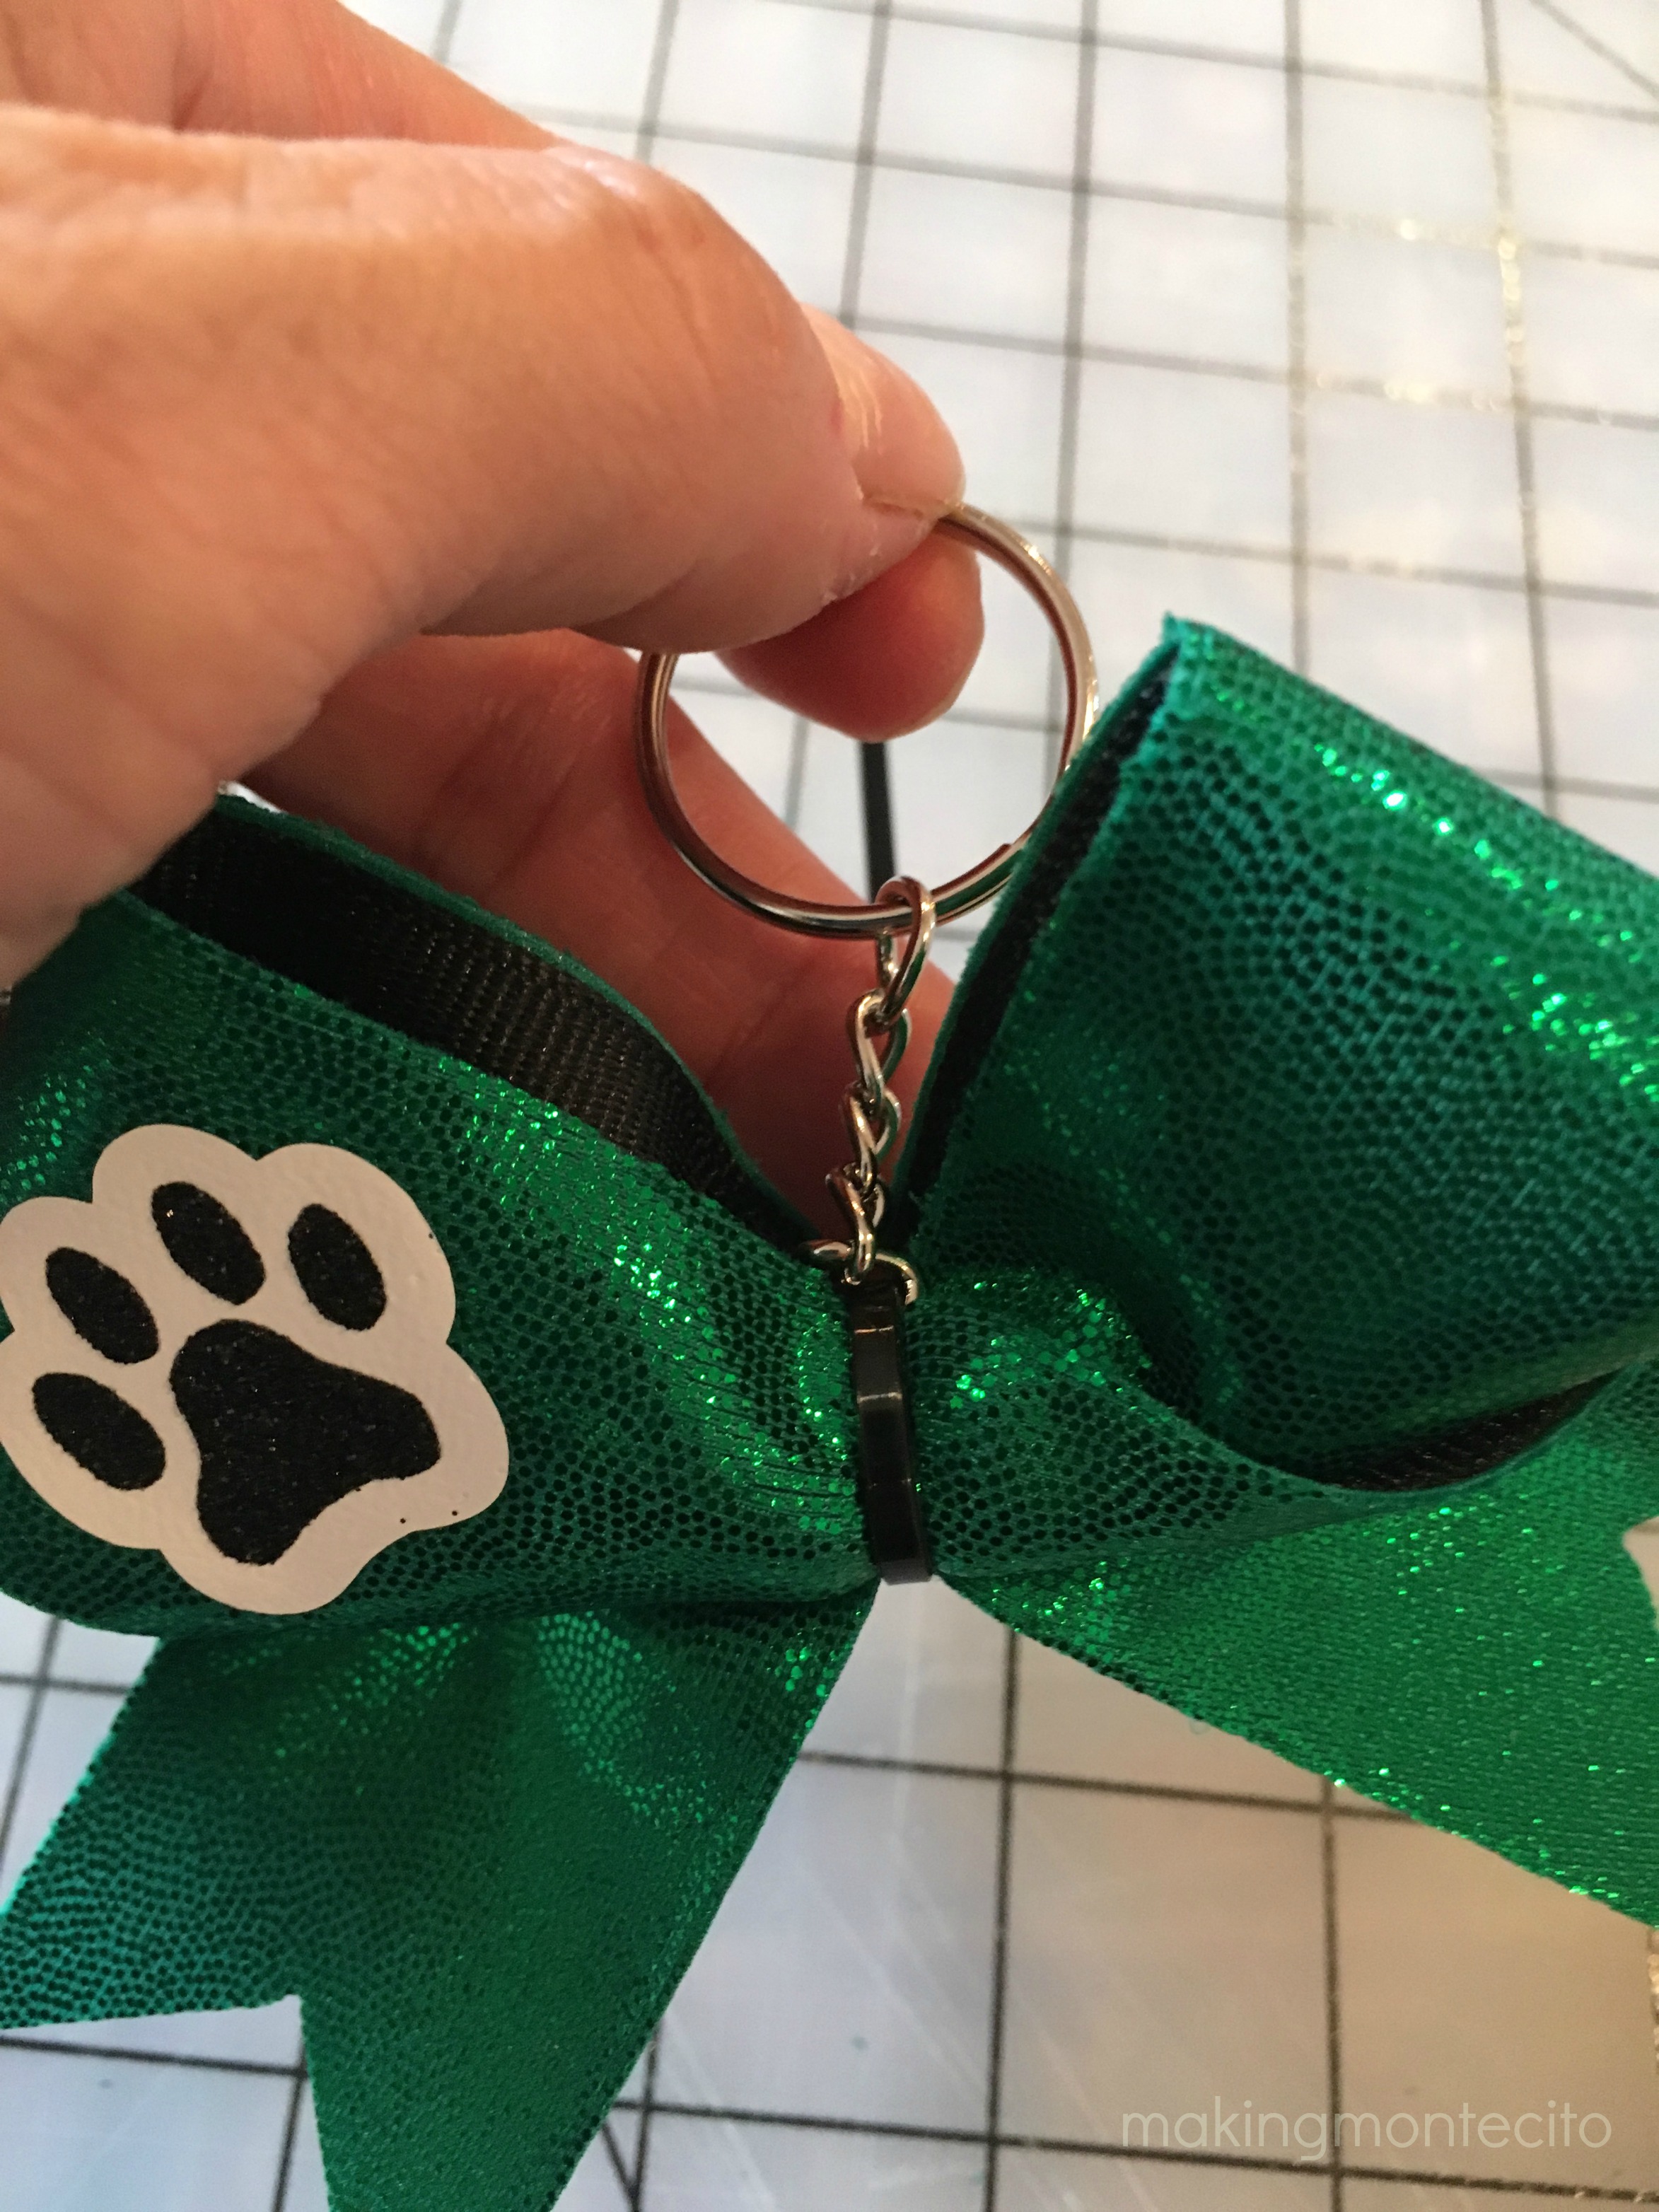
Then I just hot glued a strip of bling around the middle. Tada! Isn’t that cute?!
So much fun!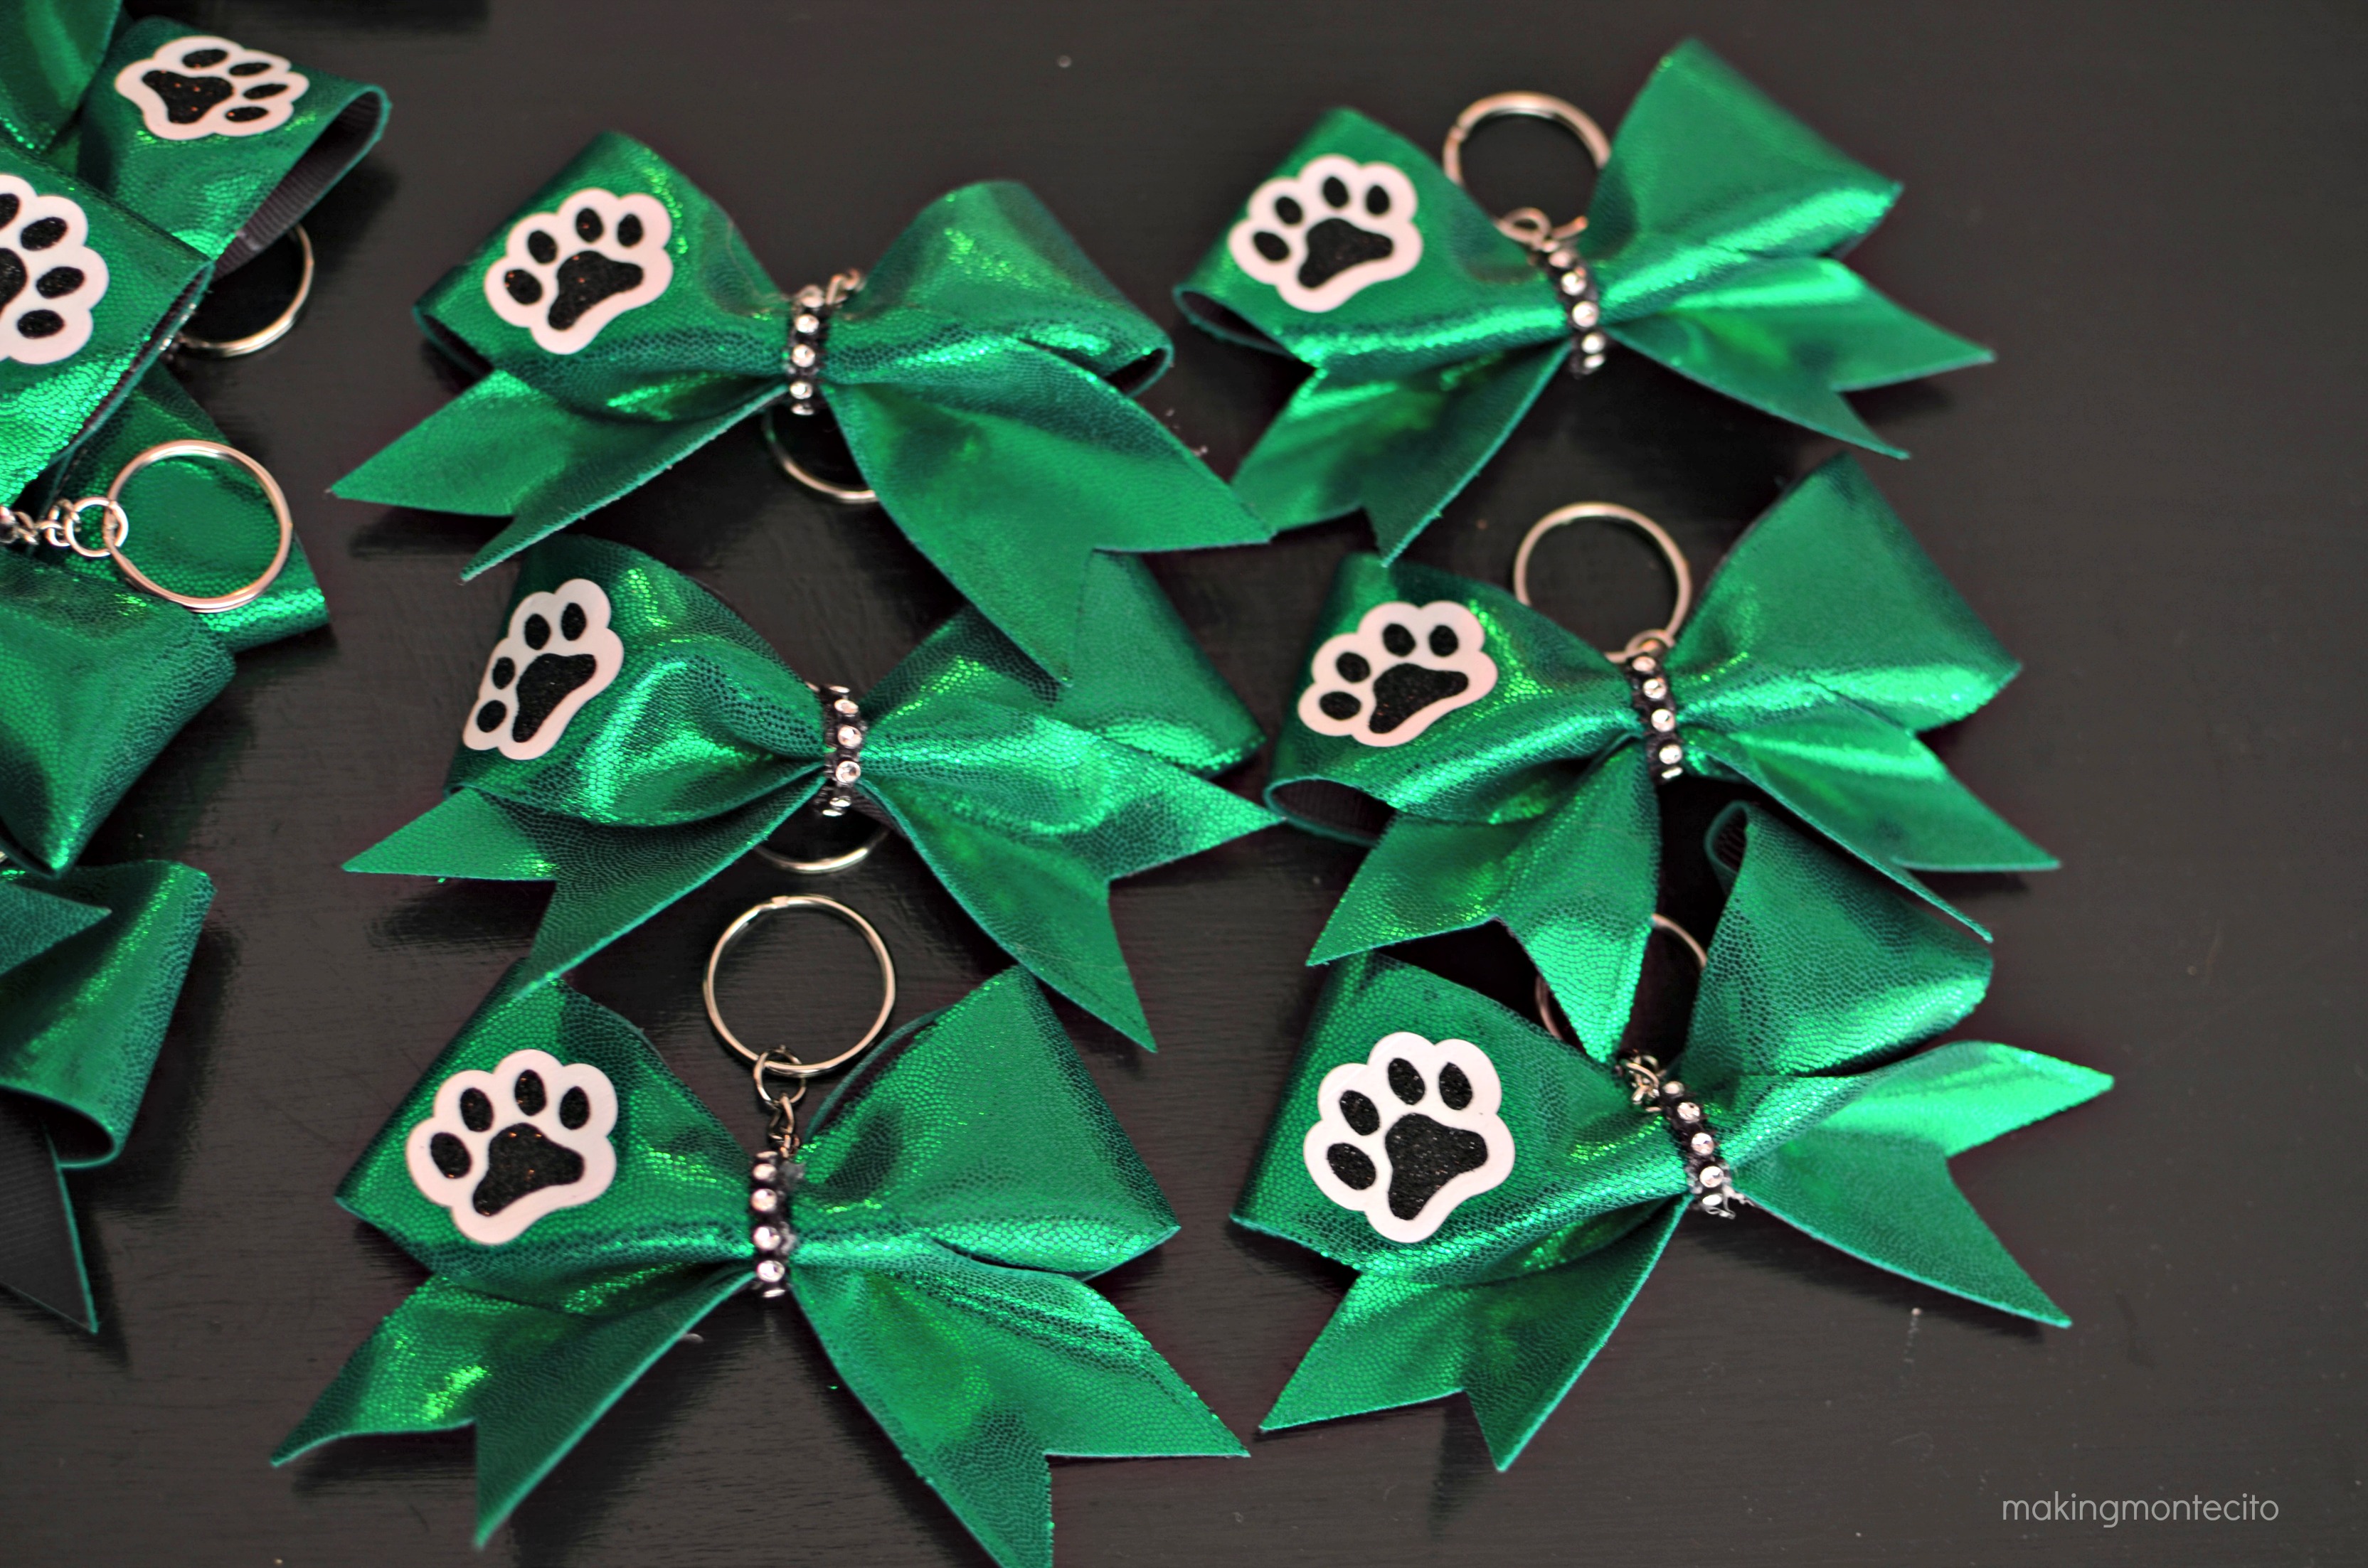
Keep calm and cheer on!
P.S. The cheerleaders loved them. I see them hanging from all their backpacks now.
