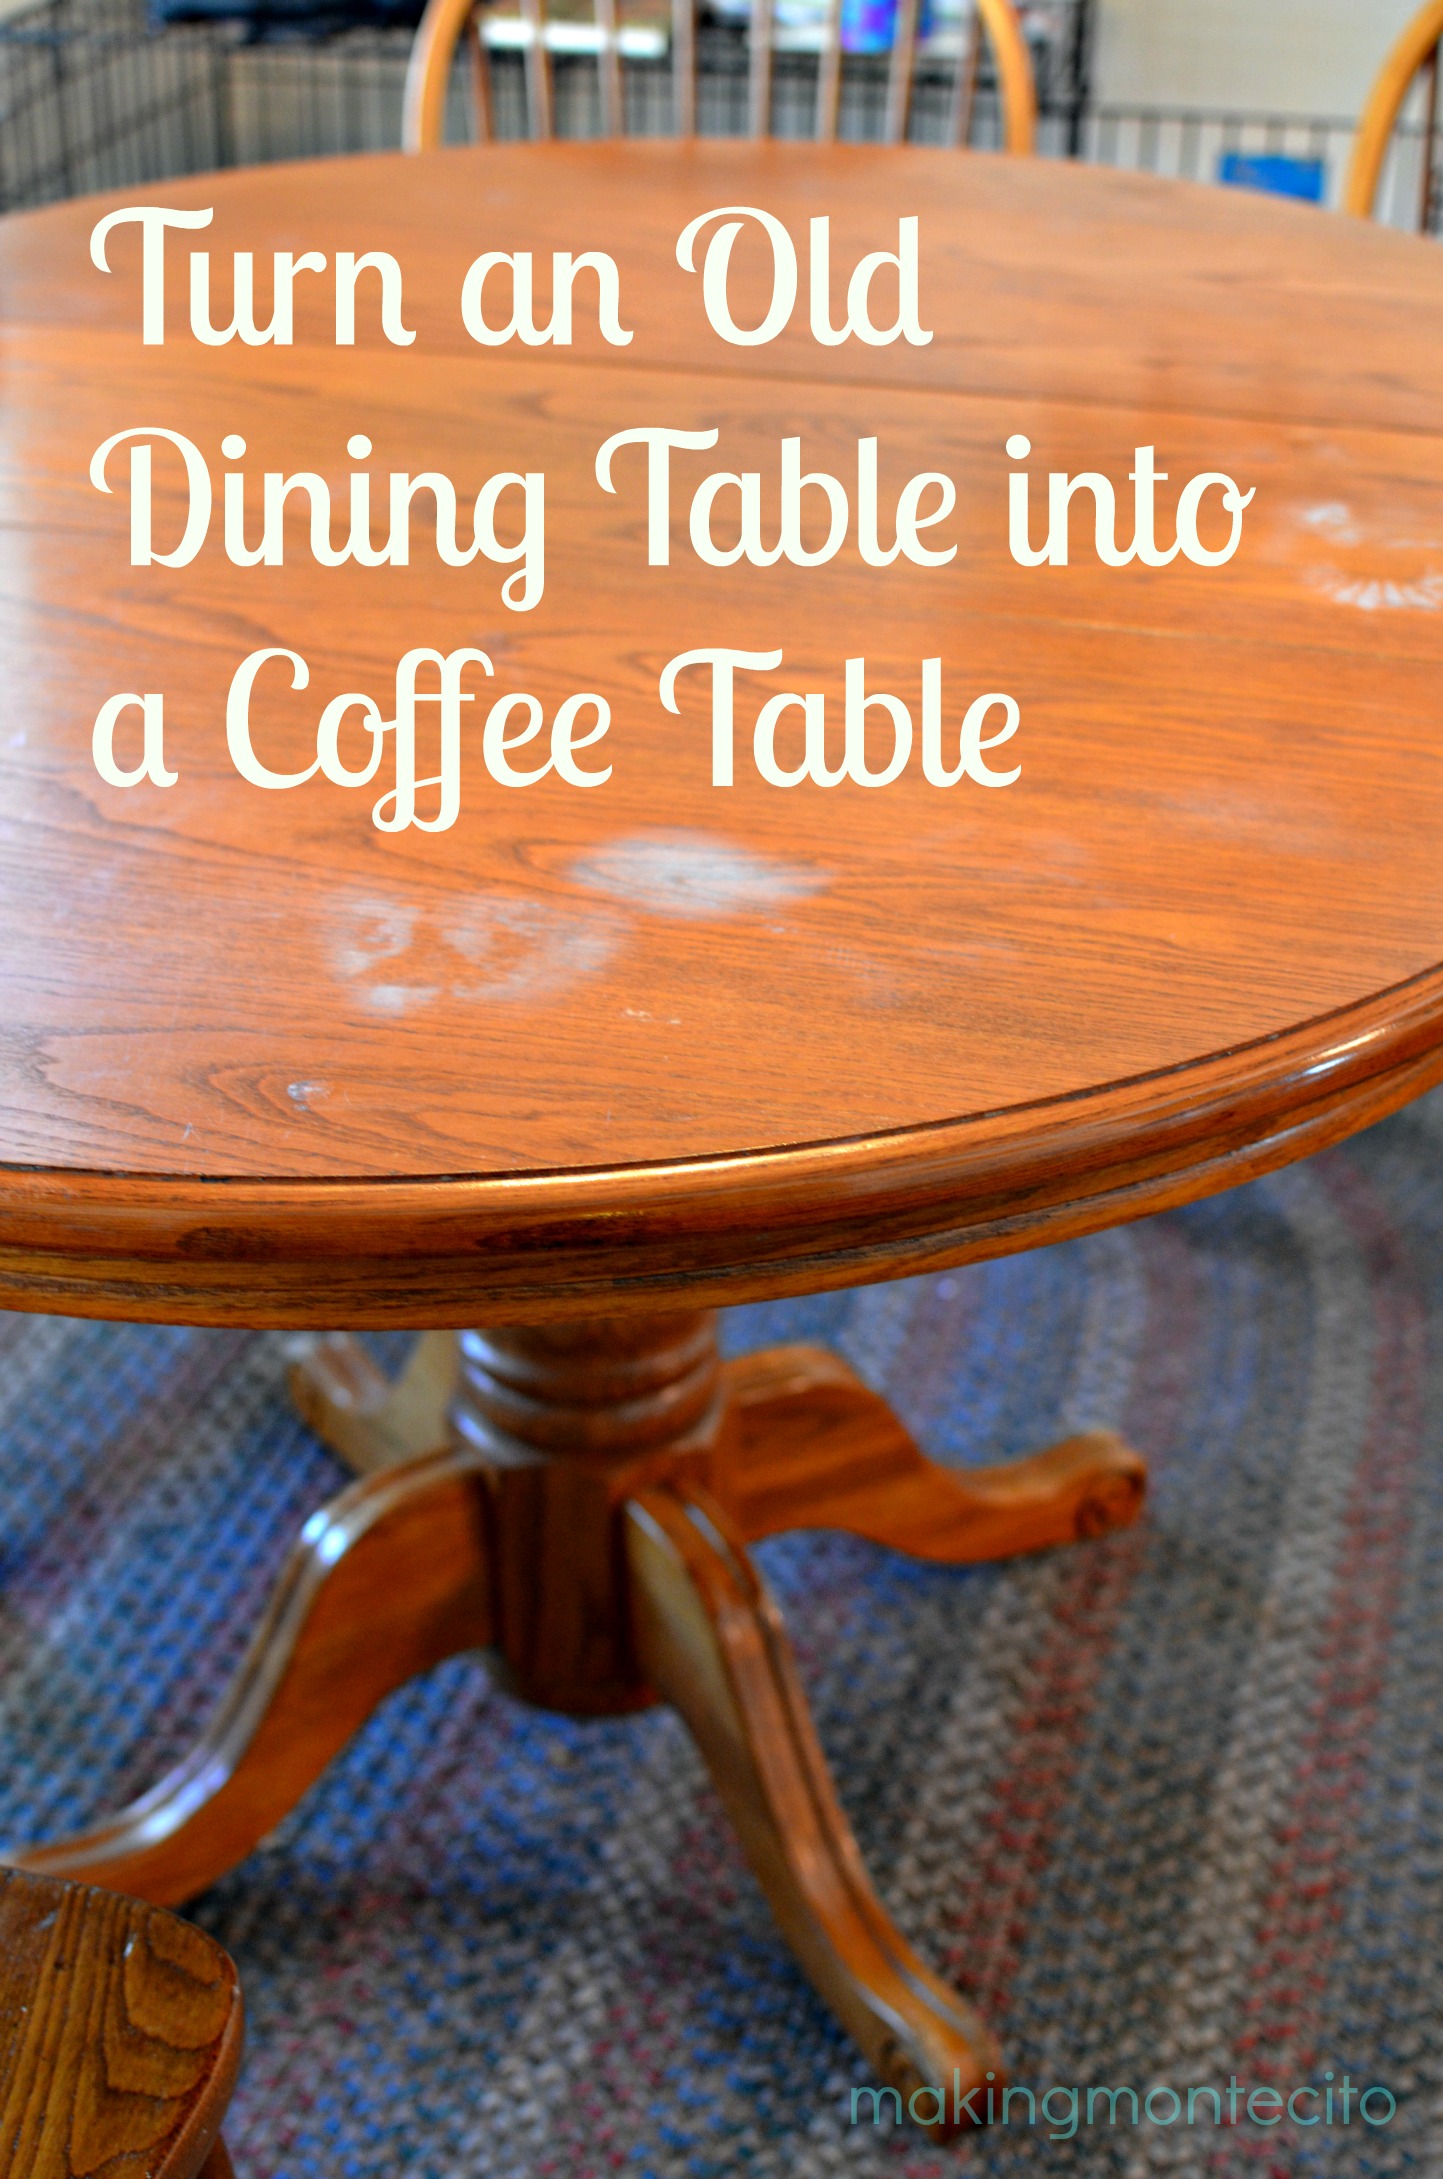
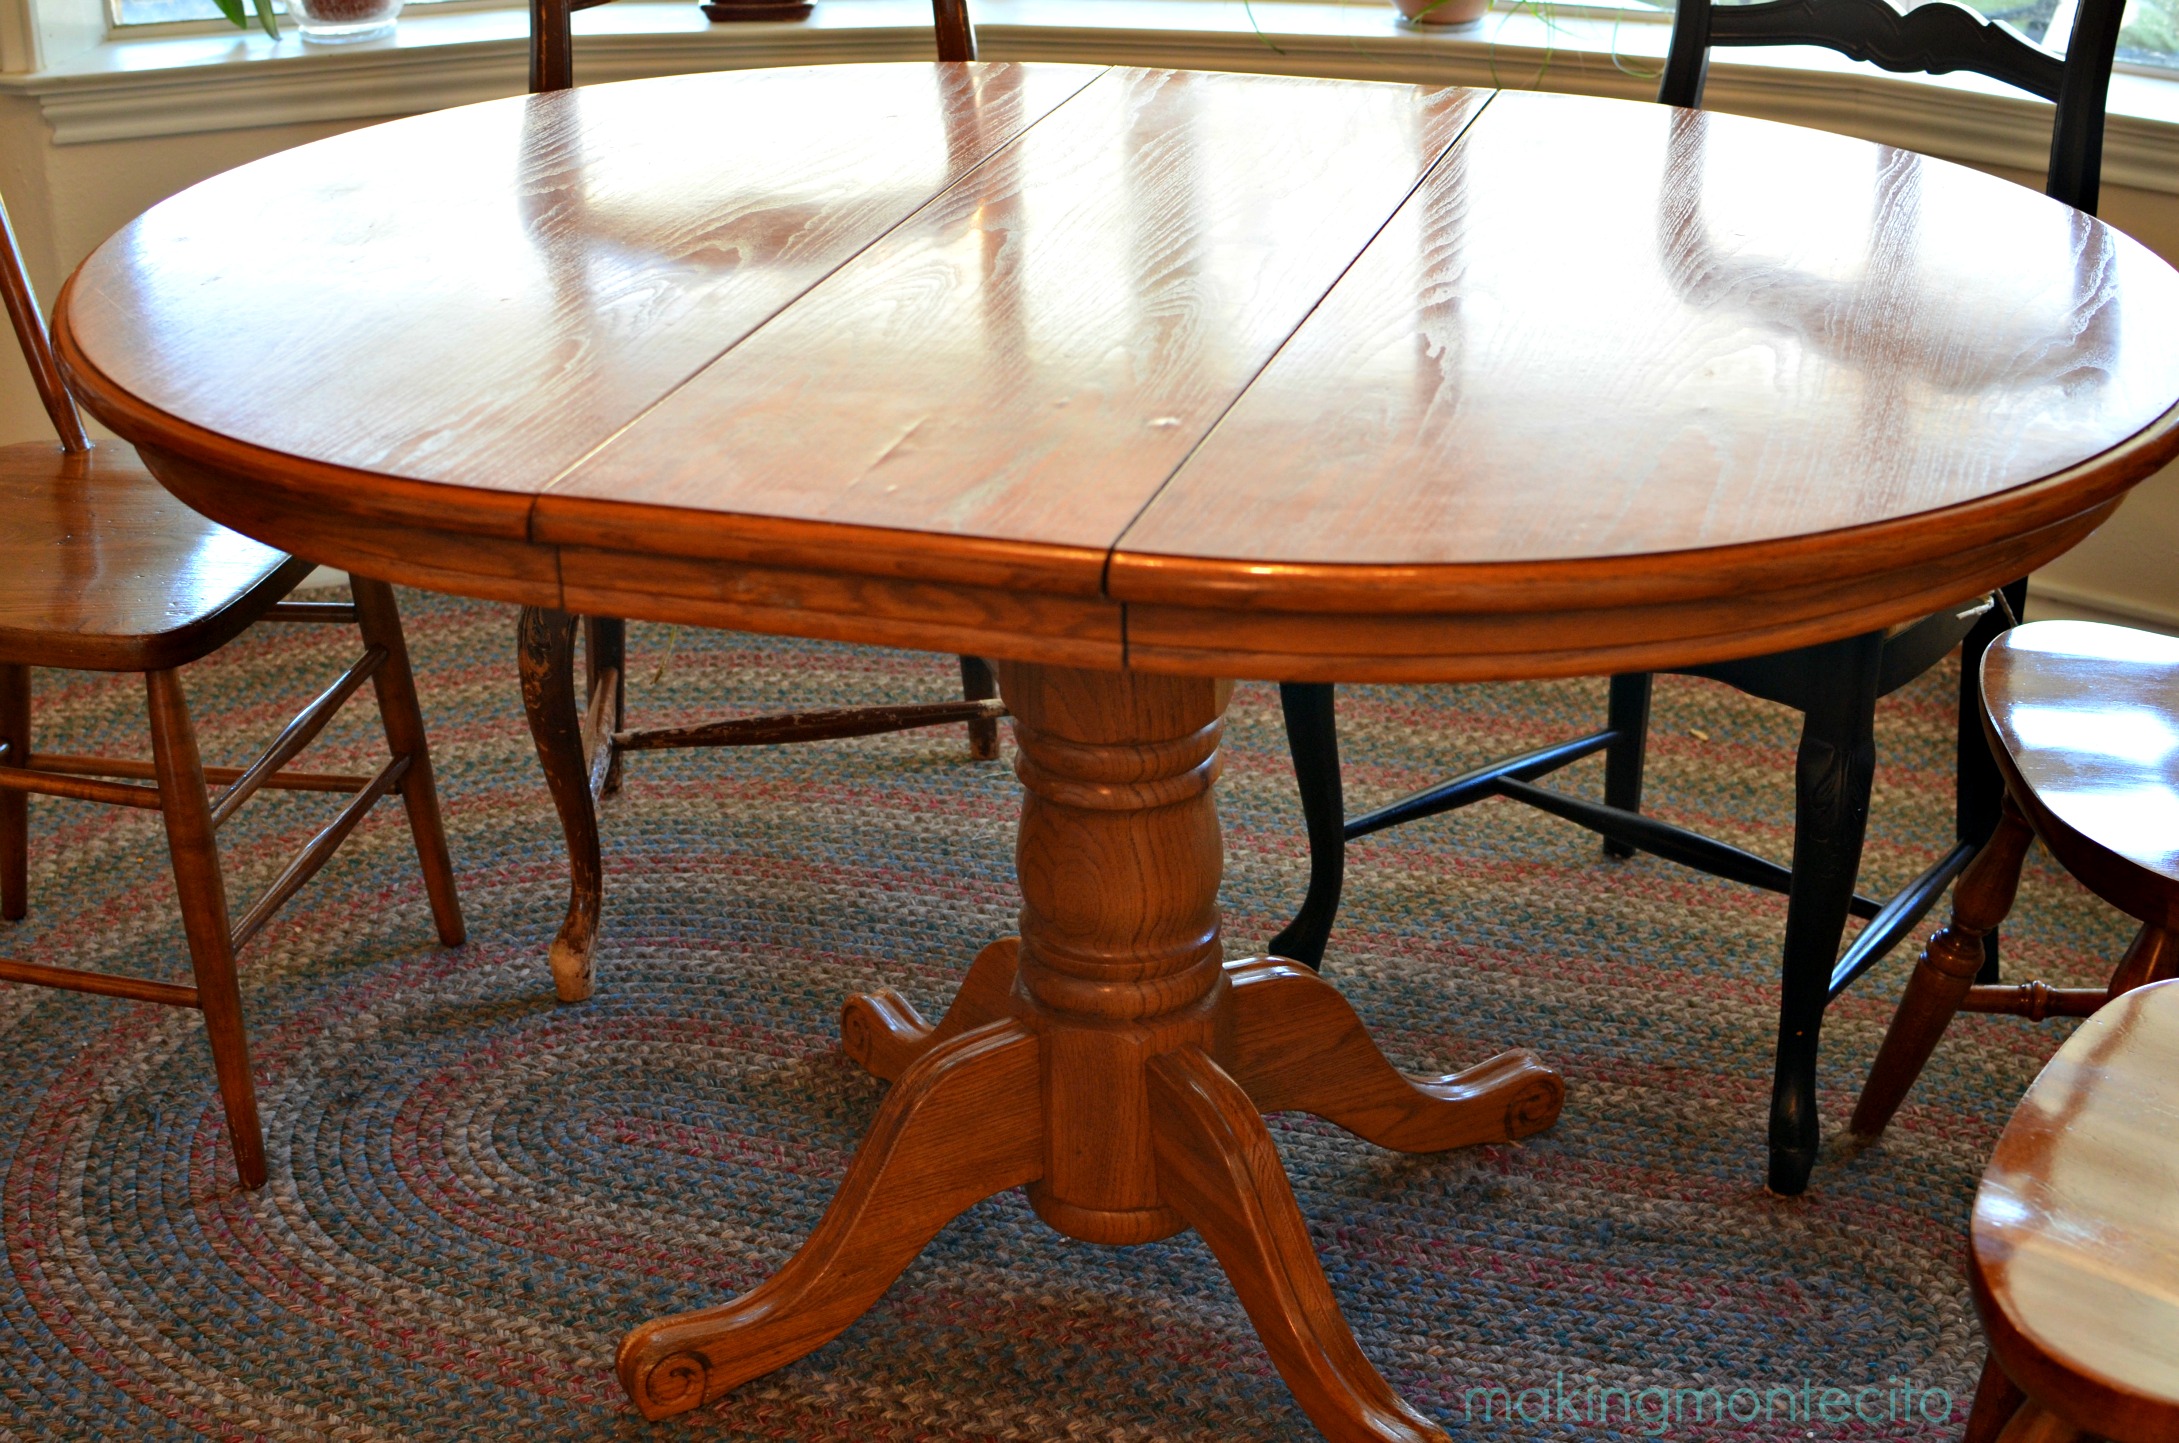
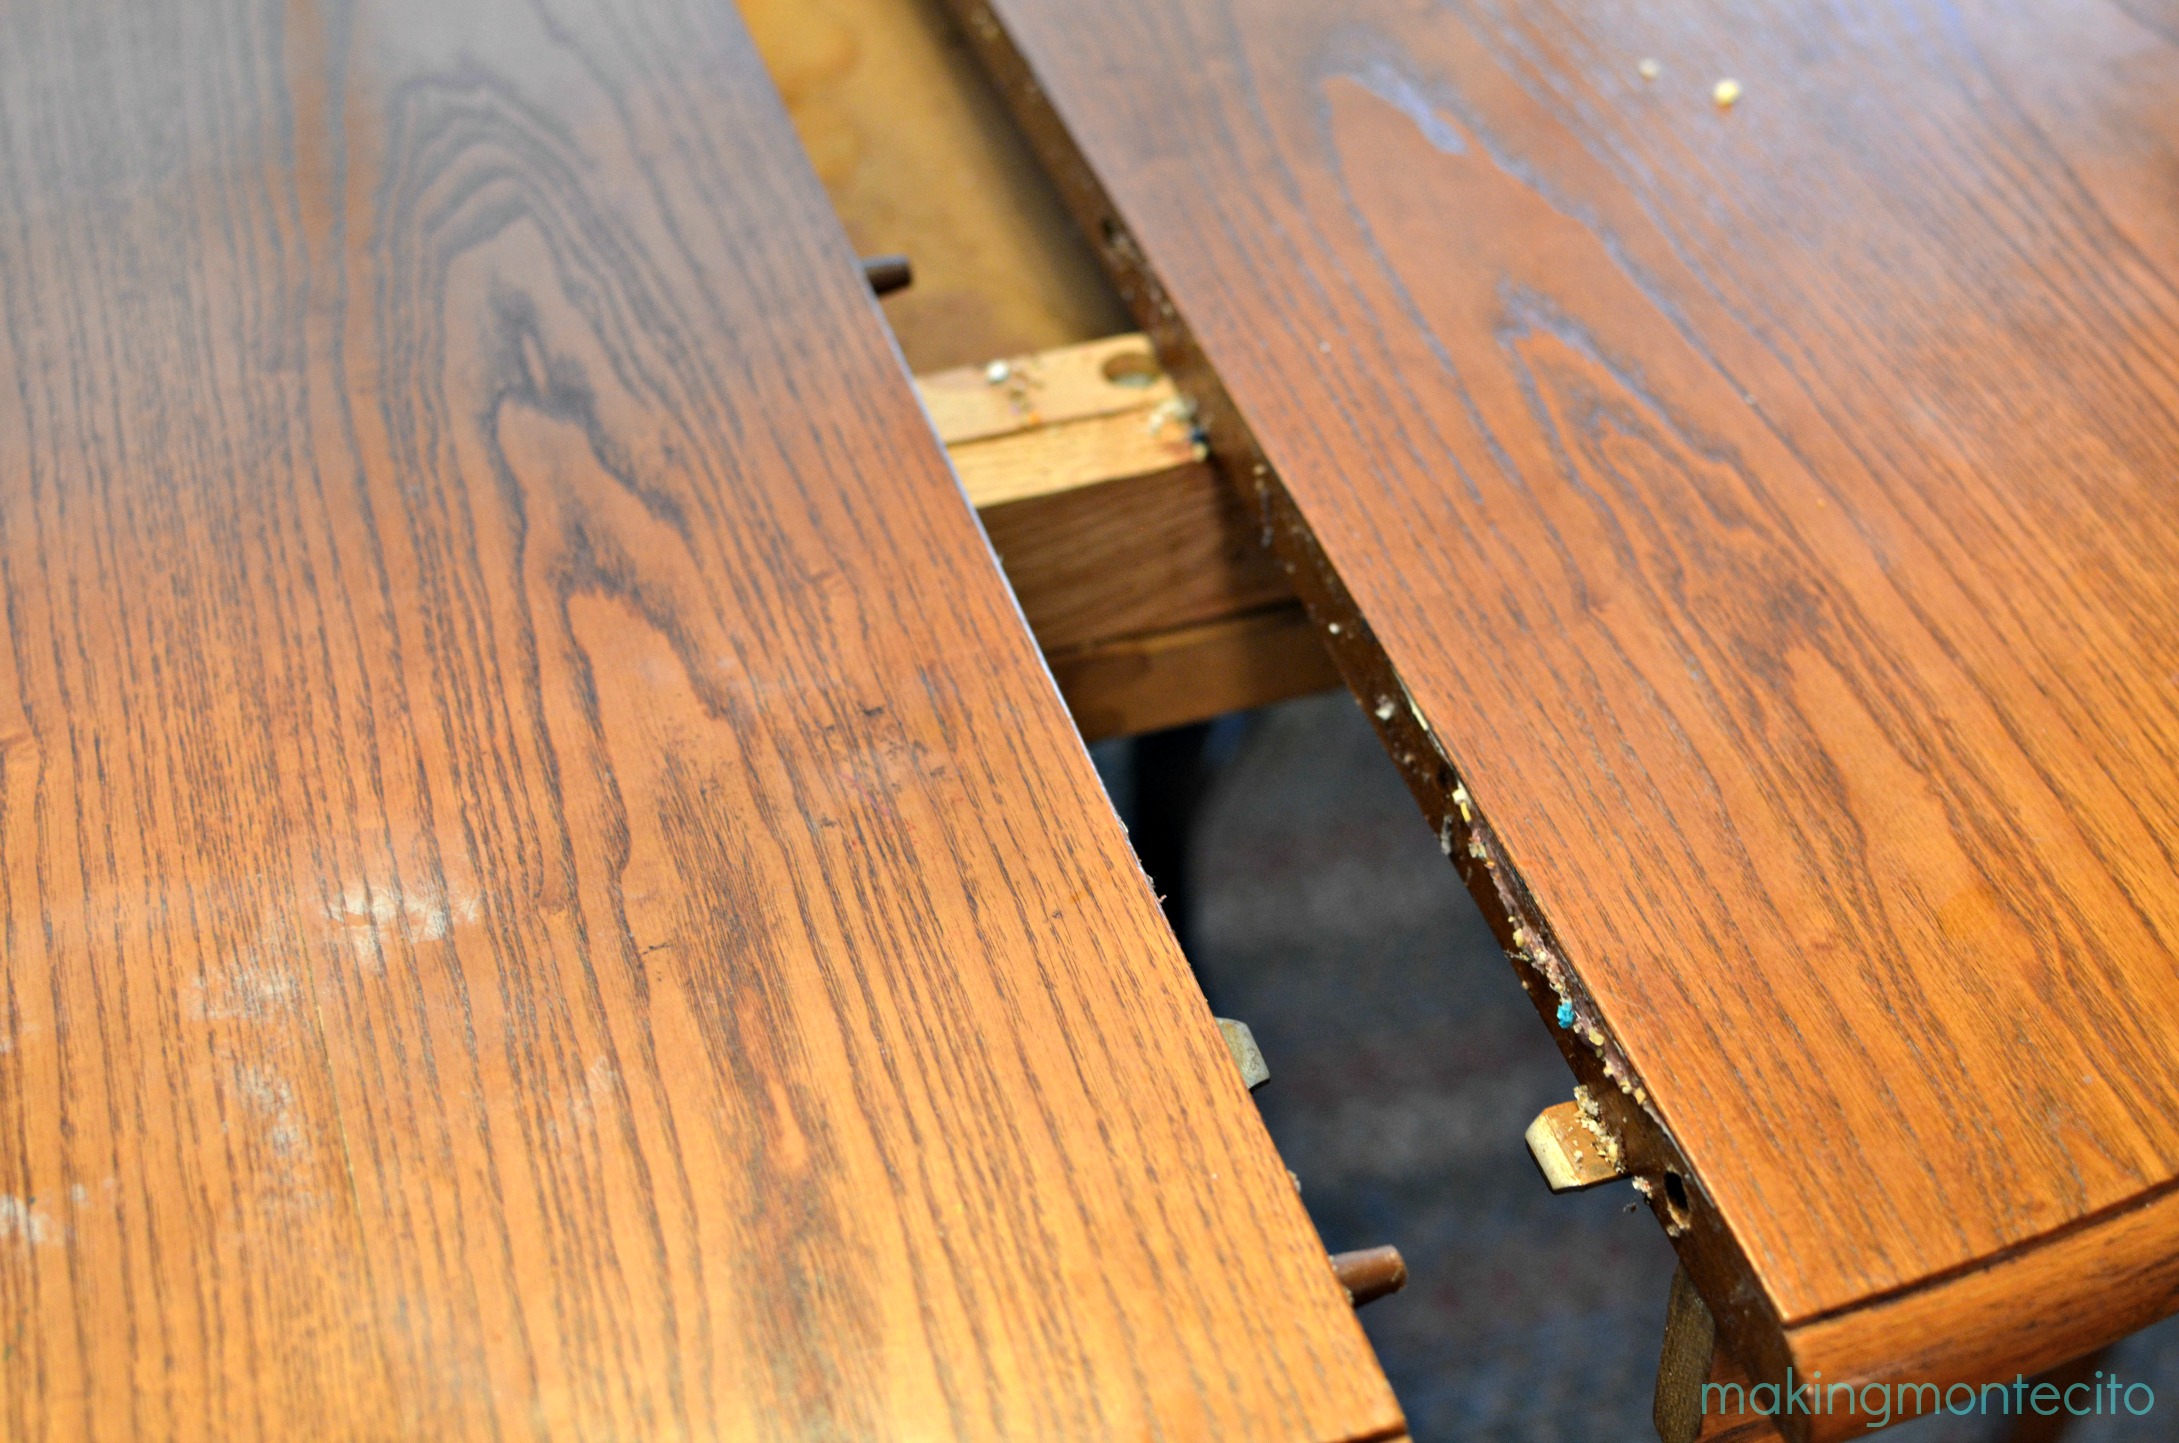
We ended up bringing this dining room table home with us after a trip out to the family farm in Oklahoma several years back. It had been Rob’s grandmother’s table when she was alive. Now I don’t want you to get the idea that this was a family heirloom. She was a different bird of sorts and preferred newer stuff to what she considered the “old” stuff. From what I understand, she liked to throw all the old stuff out in the canyon (I could seriously cry.) So this table is probably from the 80’s in all it’s glorious golden oak-y-ness. You can even see the veneer starting to lift on the middle leaf.
We’ve lived with it like this for several years, but I really wanted a round coffee table for the living room, so I decided to remove the center leaf and cut it down to size.
Speaking of removing the center leaf….Eeew! So disgusting! Rob should really re-evaluate who he is paying to do the cleaning around here.
I say we fire her.
Moving past the grossness…
Your coffee table should be matched to the height of your couch, but since my oldest daughter likes to do her homework sitting at the coffee table downstairs, we went for roughly a 16″ table — slightly shorter than I would have normally picked, but a comfortable height for her. Don’t ask me why she does this, she has a perfectly good desk and study corner in her room. Go figure.
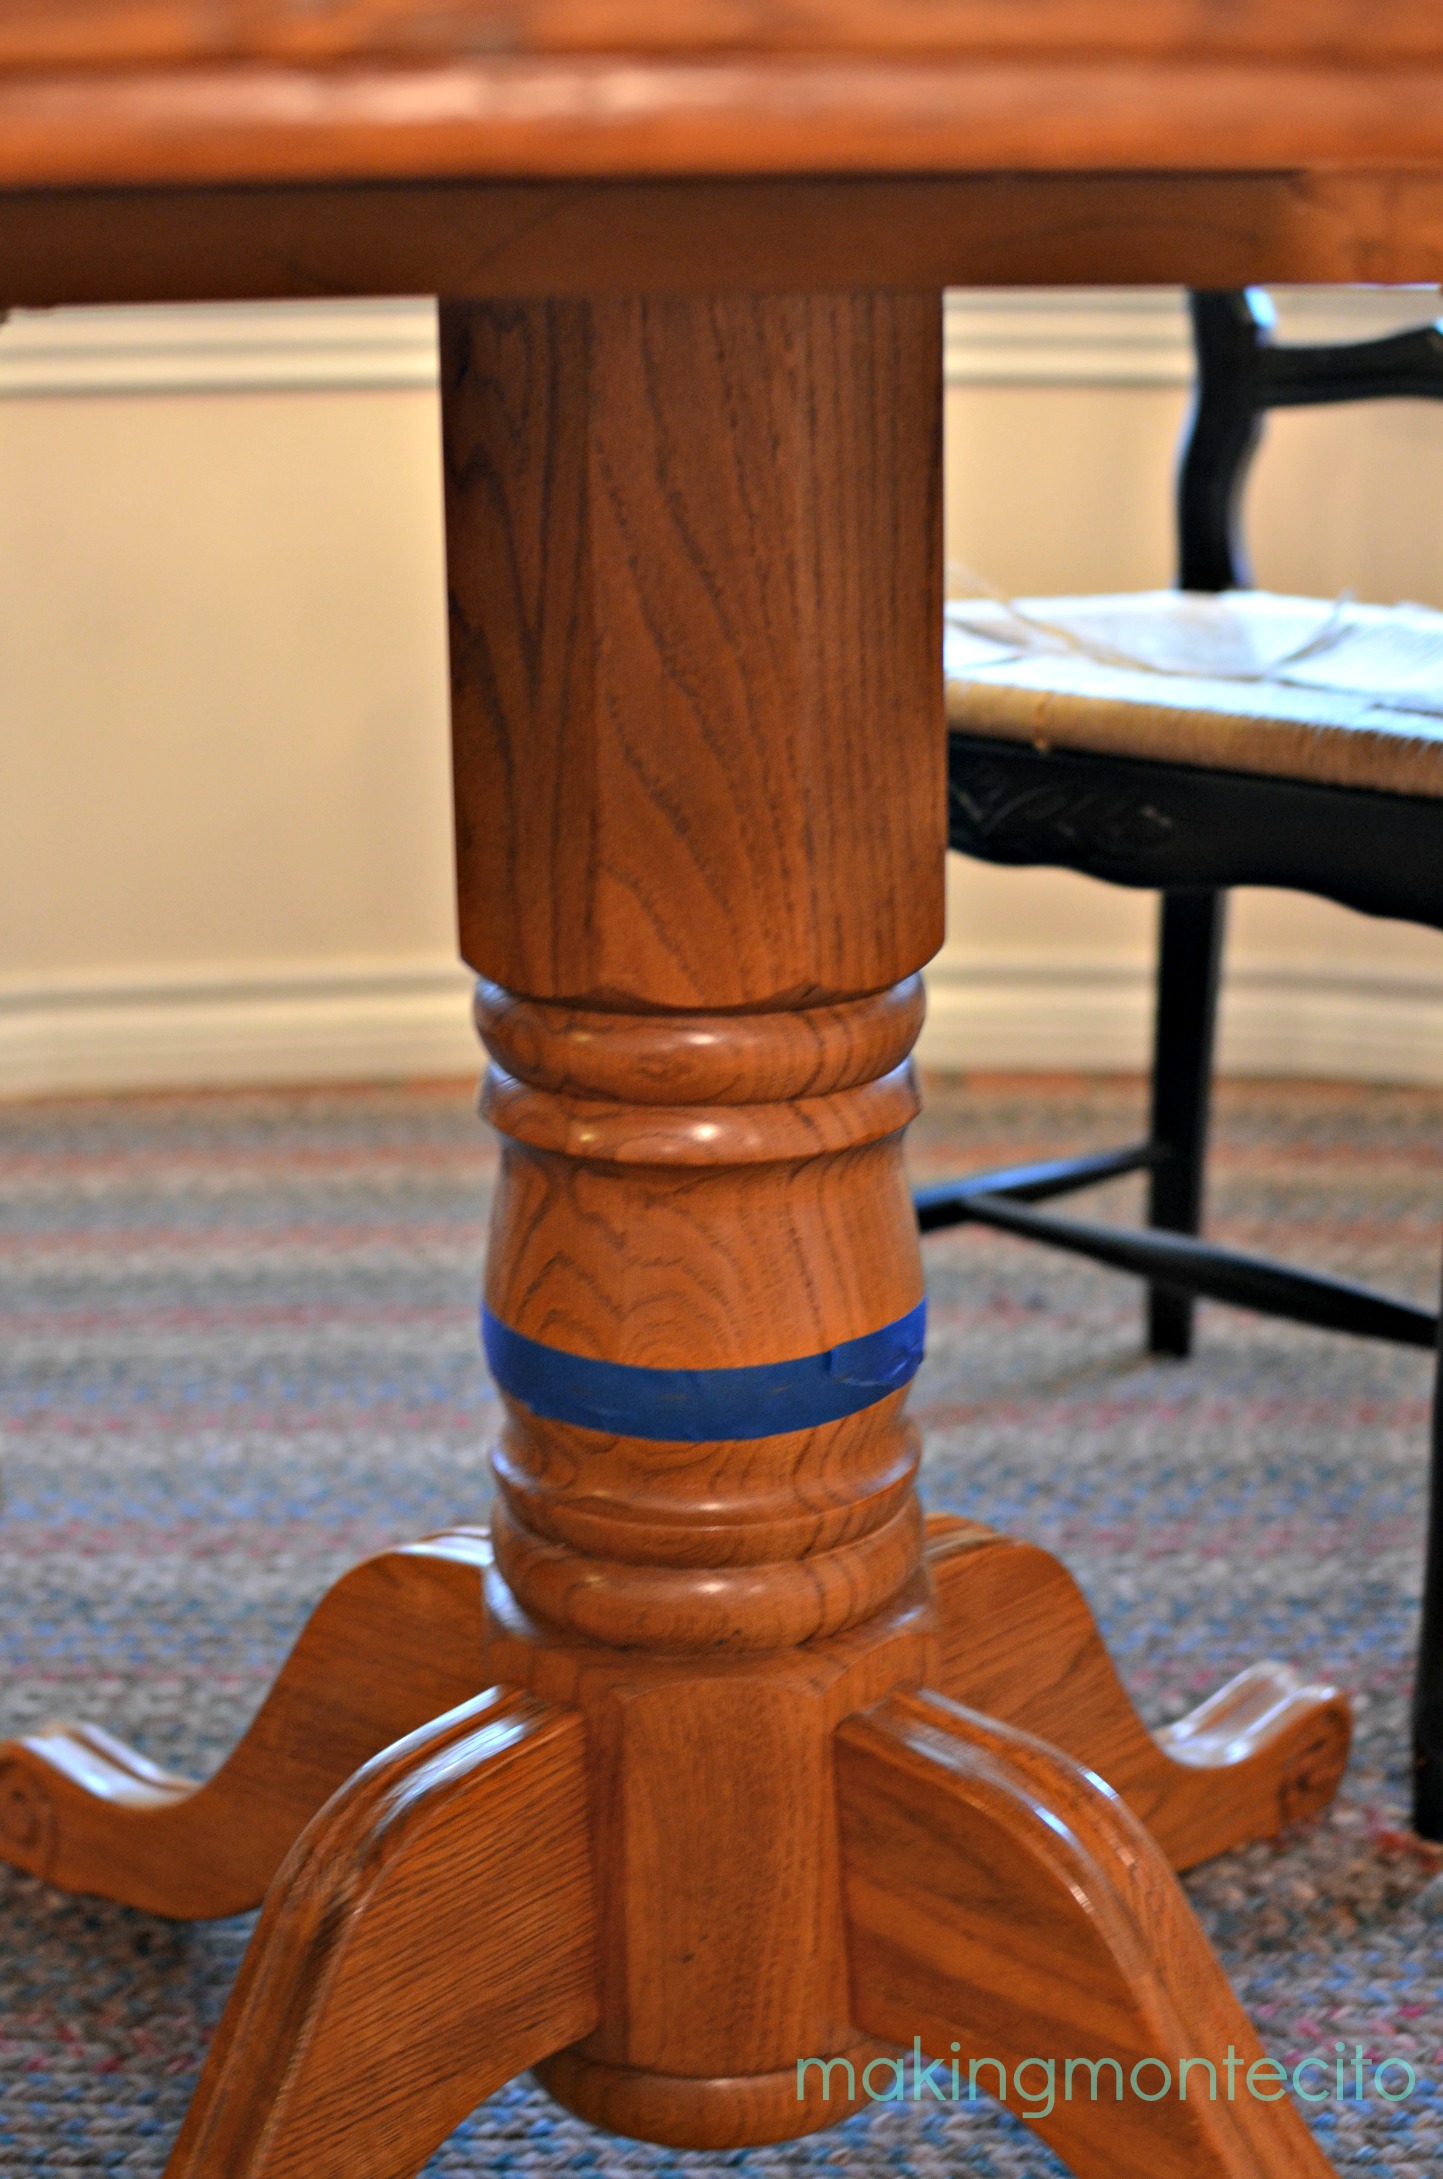
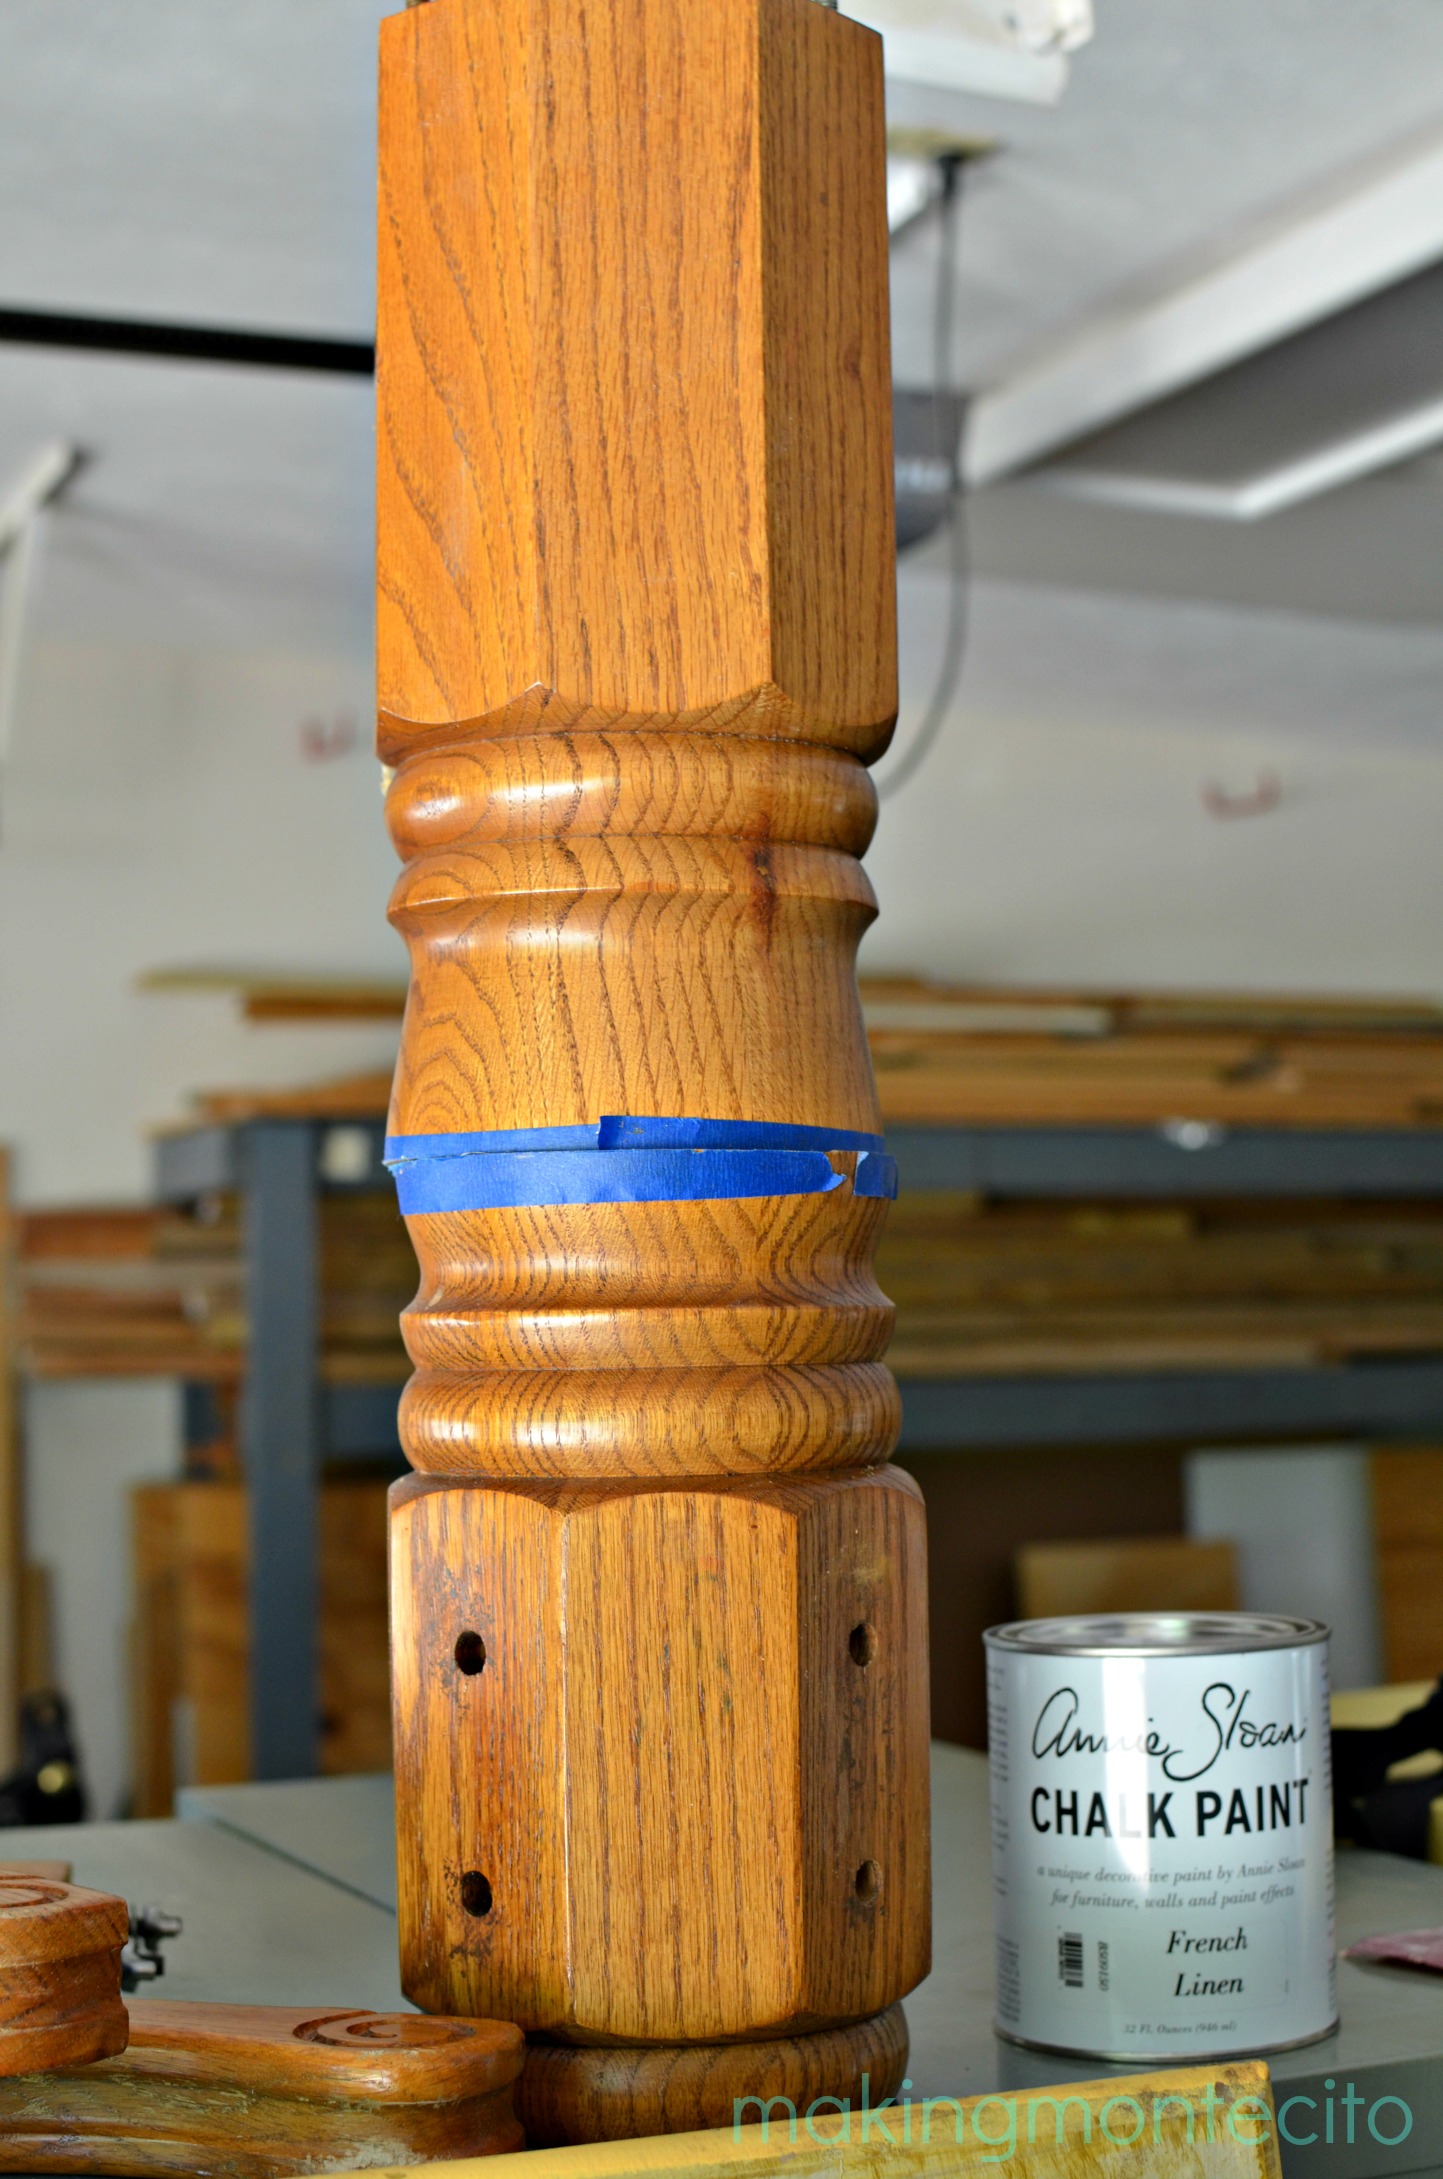
The first thing we did was to figure out where we wanted to cut it. We then marked it with blue painters tape. And then we double checked that the base up to the tape + the top of the table (which just bolted on to the base) = the height we wanted.
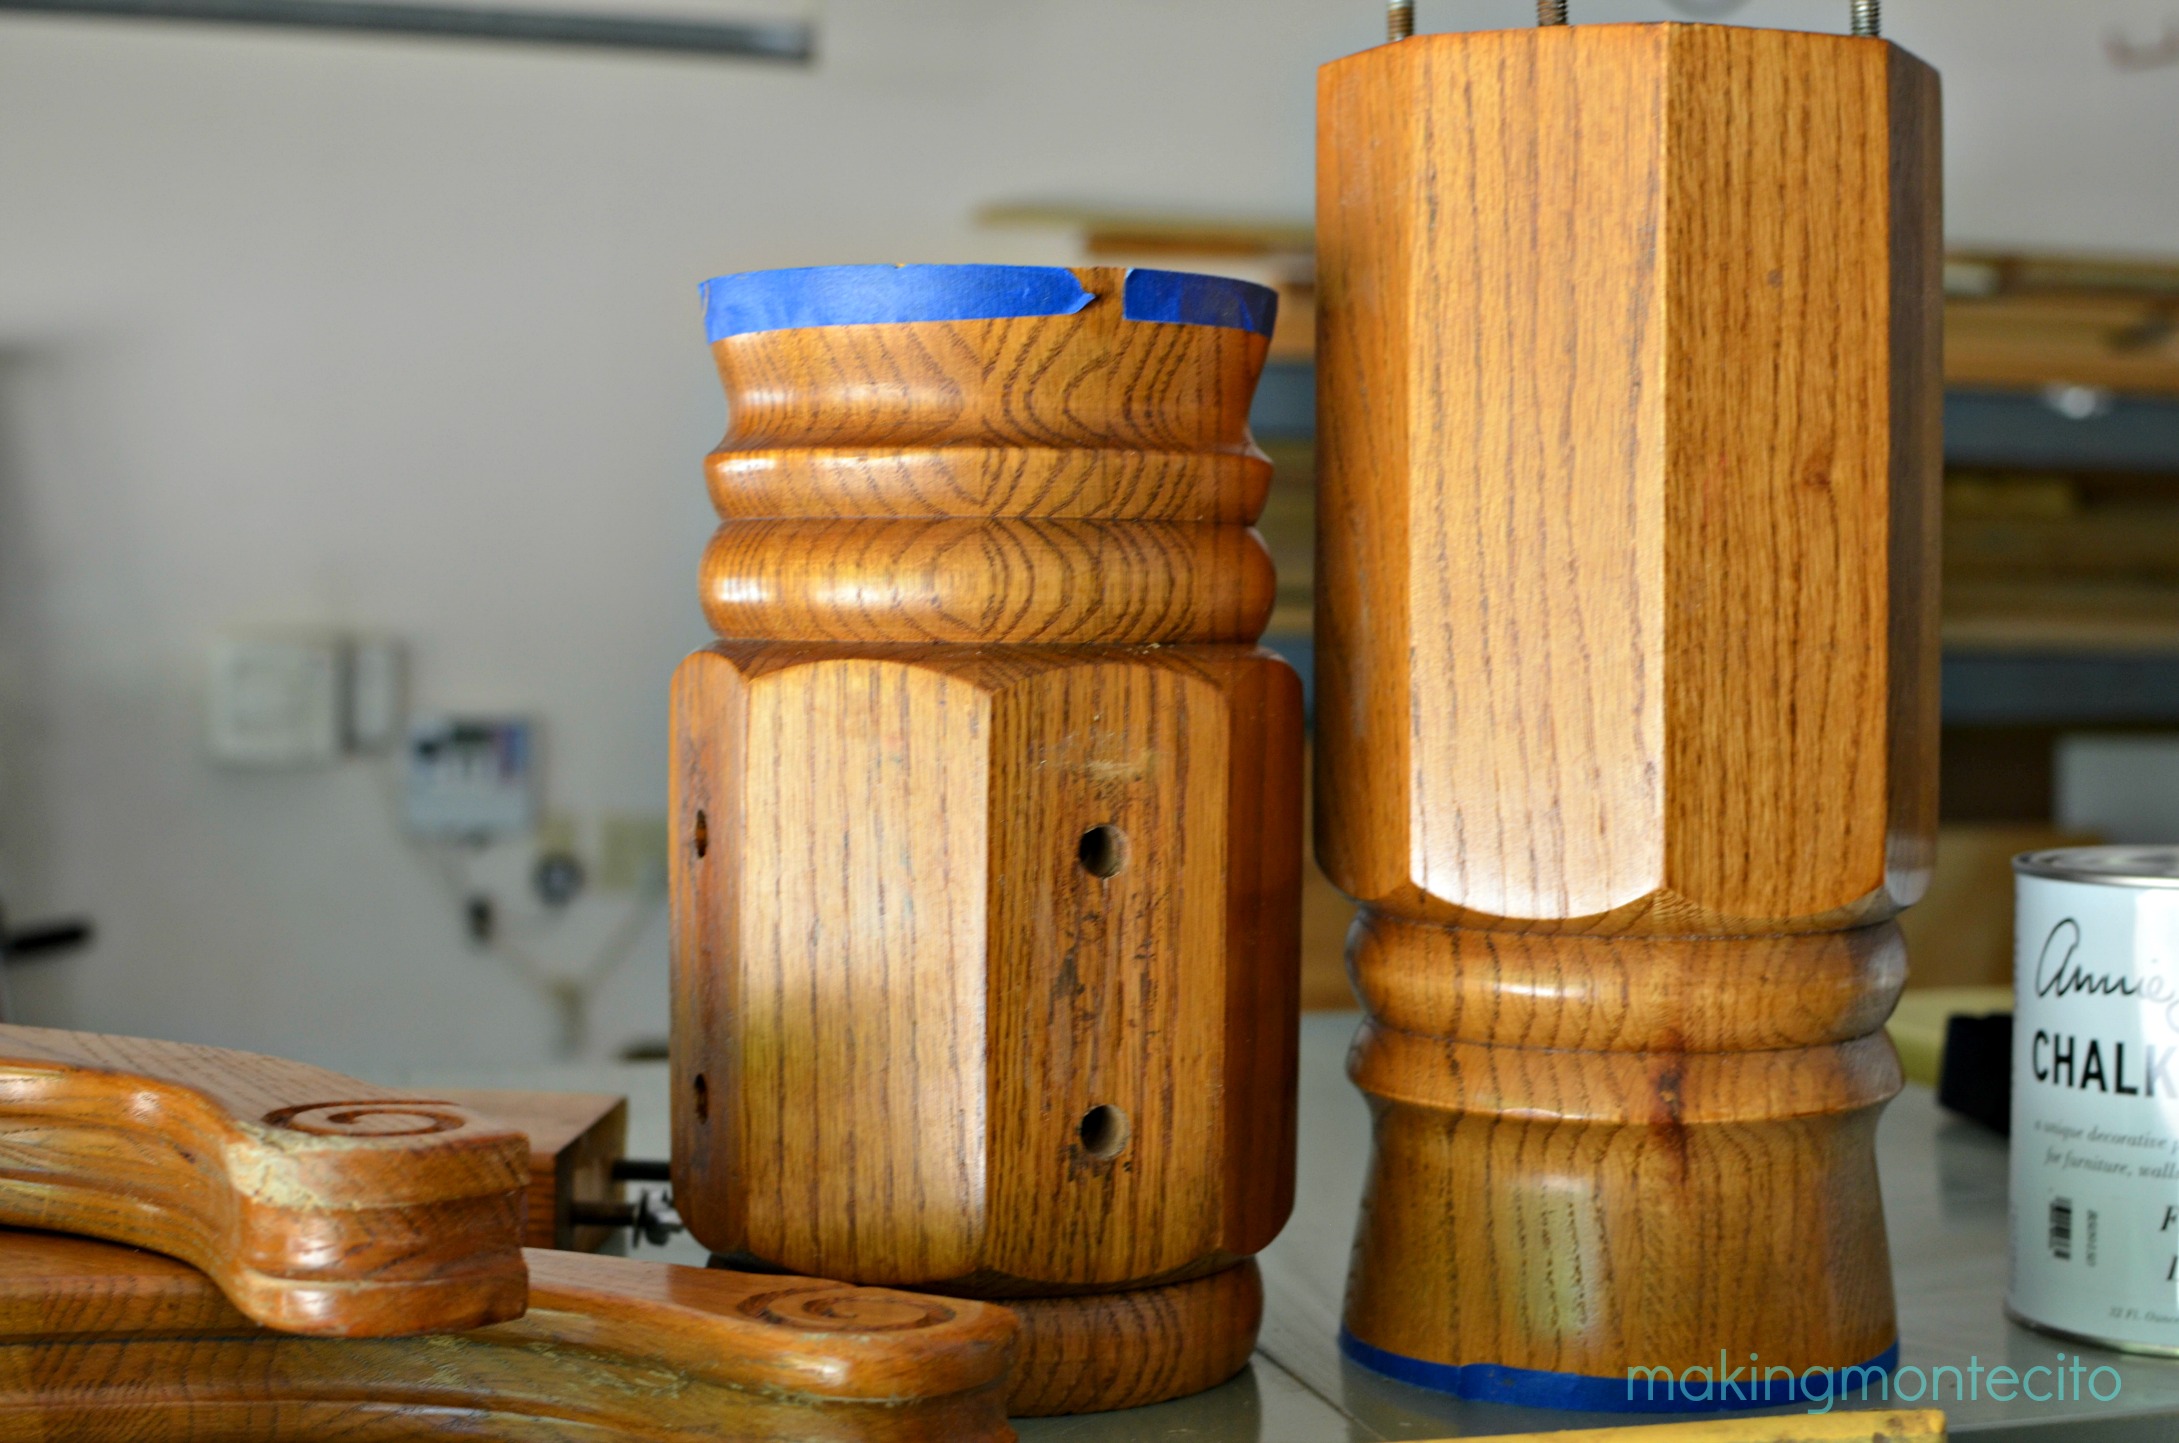
We then unbolted the top, took off the feet and took it outside to use the miter saw to chop it in half. Since it didn’t go all the way through, we had to turn it over to finish the cut. The table base actually has flat areas, so it made it pretty easy to keep the cut straight (the cut was straighter than the tape!)
Right about here is where I altered my plan. I was originally going to use the bottom part where the feet attach and just drill new holes and use new hanger bolts for the top. After sawing it in half, I could see the lower portion wasn’t as beefy as the top part. I also was concerned about lining up where the bolts were to go in relation to the table top. (Can you see what I’m painting it? :))
Instead, I decided to use the top half (the piece on the right.) I just took the extra rings (or whatever you want to call them) off the bottom of that top half (are you completely confused now?) It left me with the hanger bolts already attached at the top and I just had to drill new holes for the feet.
I made a little rough jig out of cardboard to mark where bolts were on the feet. I put that on the four sides (which was every other flat surface), marked the spot for the holes and drilled away. Only one of the holes was a little off. I just made that hole a little bigger. Luckily, the way the foot bolted onto the base ended up covering up that little boo-boo.
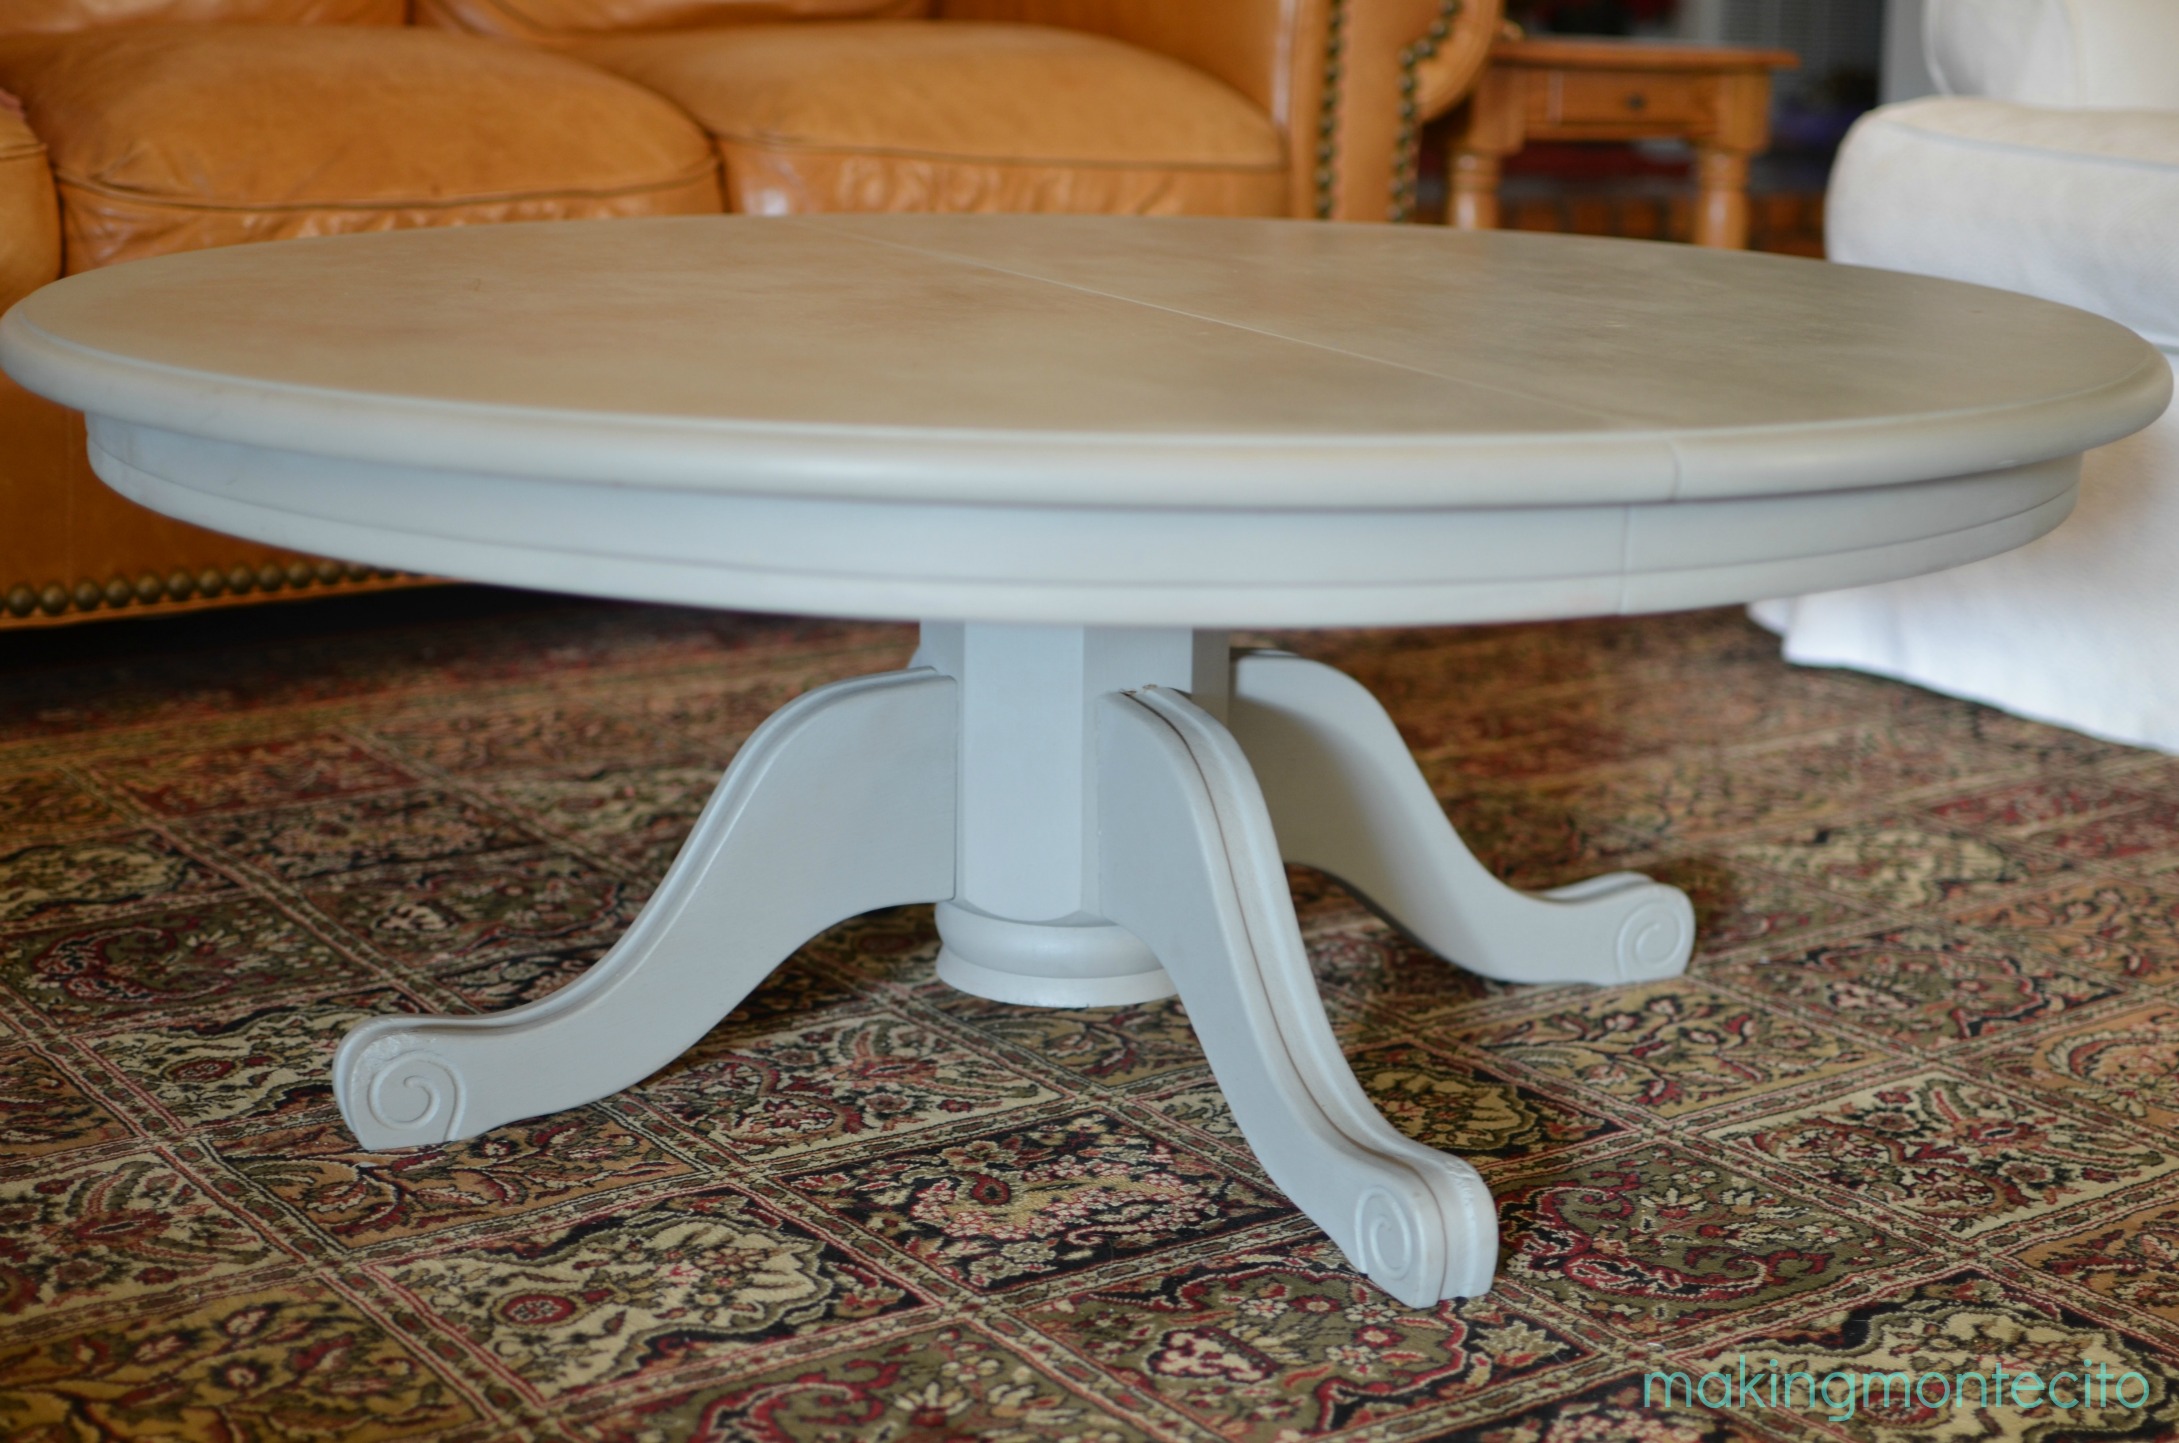
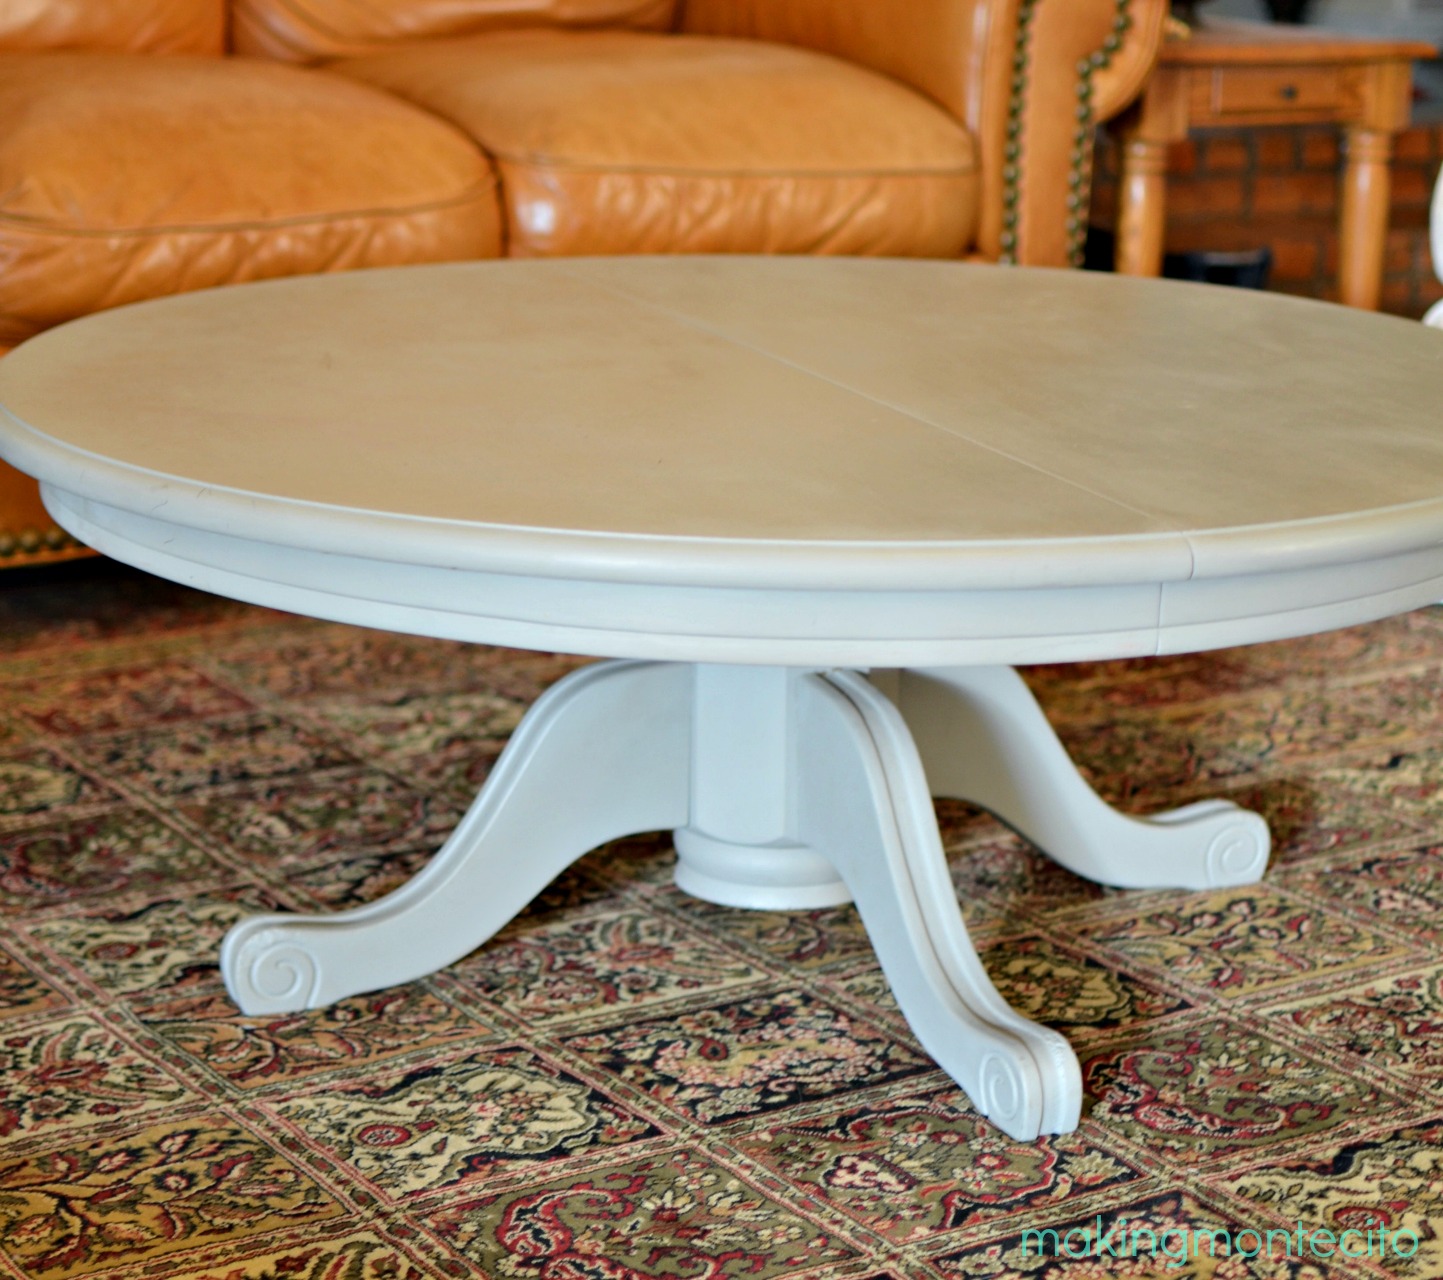
After painting it with Annie Sloan French Linen, I waxed it with clear wax and set it aside to cure for a bit. I’m super happy with how it turned out!
(Just ignore how my kids have already boogered up the top with all their mess. Again, who is cleaning around here?!)
And after all that, I think I have a project in the back of my mind for that leftover table leaf.
