I LOVE the city we live in! I never in a million years would have thought that when we moved here roughly 12 years ago. Honestly, it was just a fluke. We liked that it was a small college town. That was about it. But I have to say, this small college town has it all. There’s a festival almost every weekend a cool farmers/community market, a great music scene and some fantastic restaurants. It just has a great vibe.
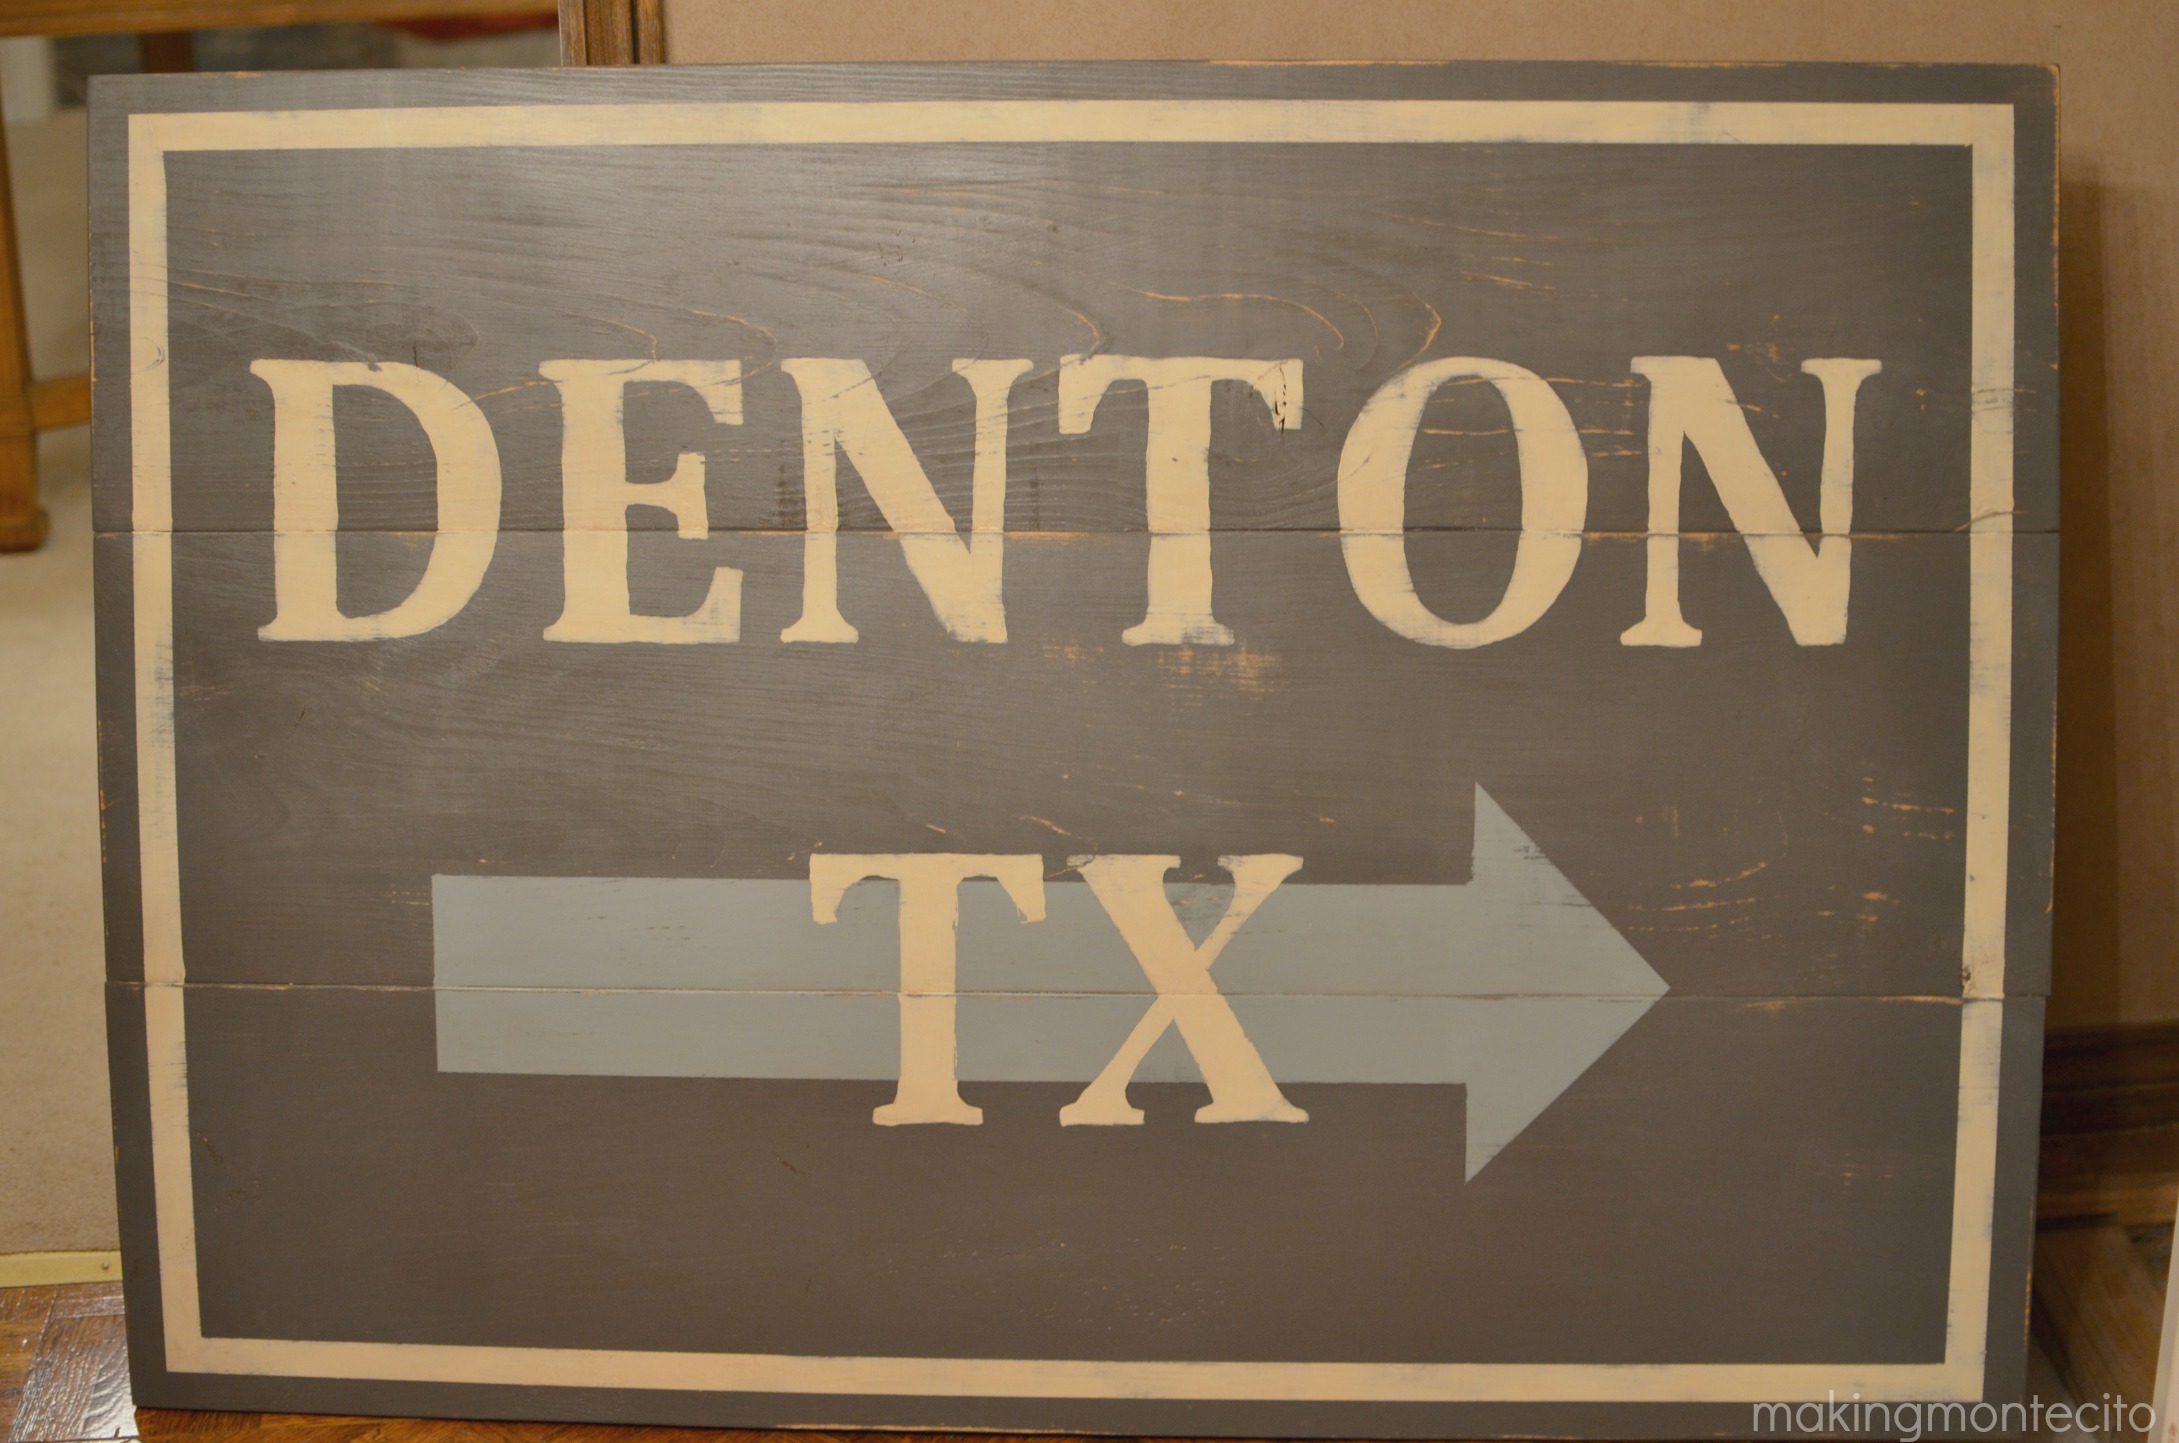
So when I saw the uber cool hometown sign my friends scored at an auction, I just knew I had to DIY one for Rob for his birthday. I love what a big, bold, simple statement it makes.
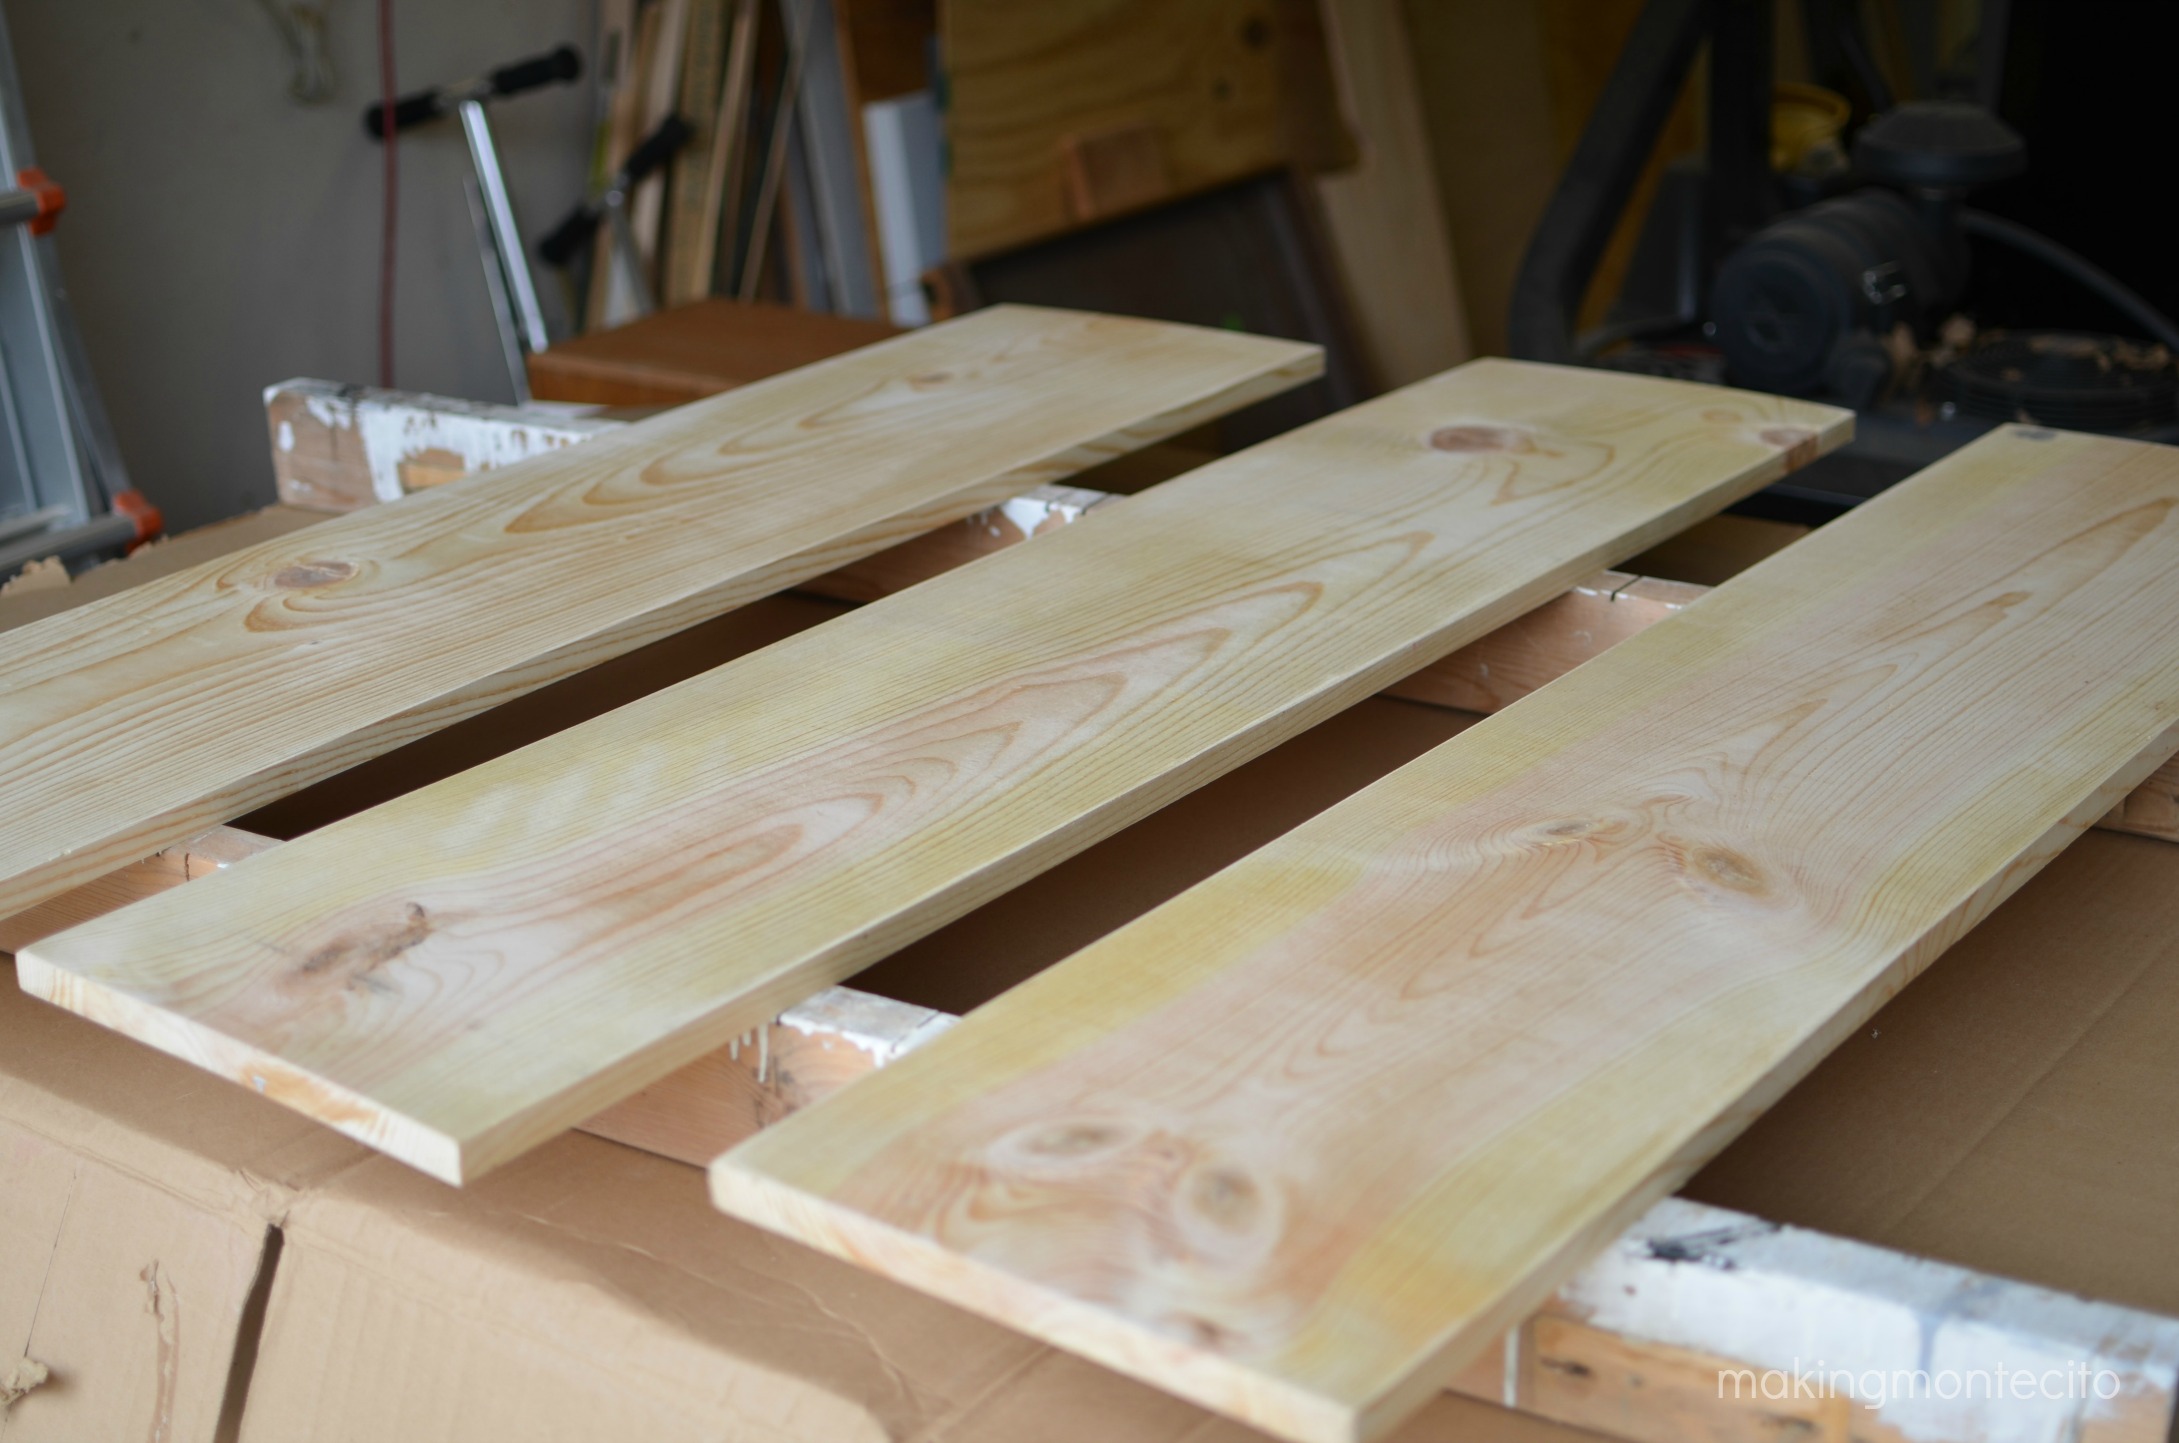
I planned on the sign being basically 4ft across by 3ft tall. So I went to Lowes with the idea that I would just buy a 12′ long 1″x 12″ board and have them cut it down at the store. But while I was there, I found a 4ft long 1″x12″ that actually calculated out cheaper for 3 of them than the 12ft long board would have. Plus, bonus was I could pick out each board section and not have to go with whatever was on the 12ft long one (which, they turned out to be pretty awful anyway.) Sometimes it pays to do the math.
Now this probably isn’t the way you should do this, but it’s the way I did my sign, so take it with a grain of salt. Personally, I think it turned out great and Rob loved it, so it was a win in my book.
As you can imagine, I tried to pick out the least warped boards, but they still had some bow to them. I hit them with my sander, just to take off some rough spots and the ink stamp on them.
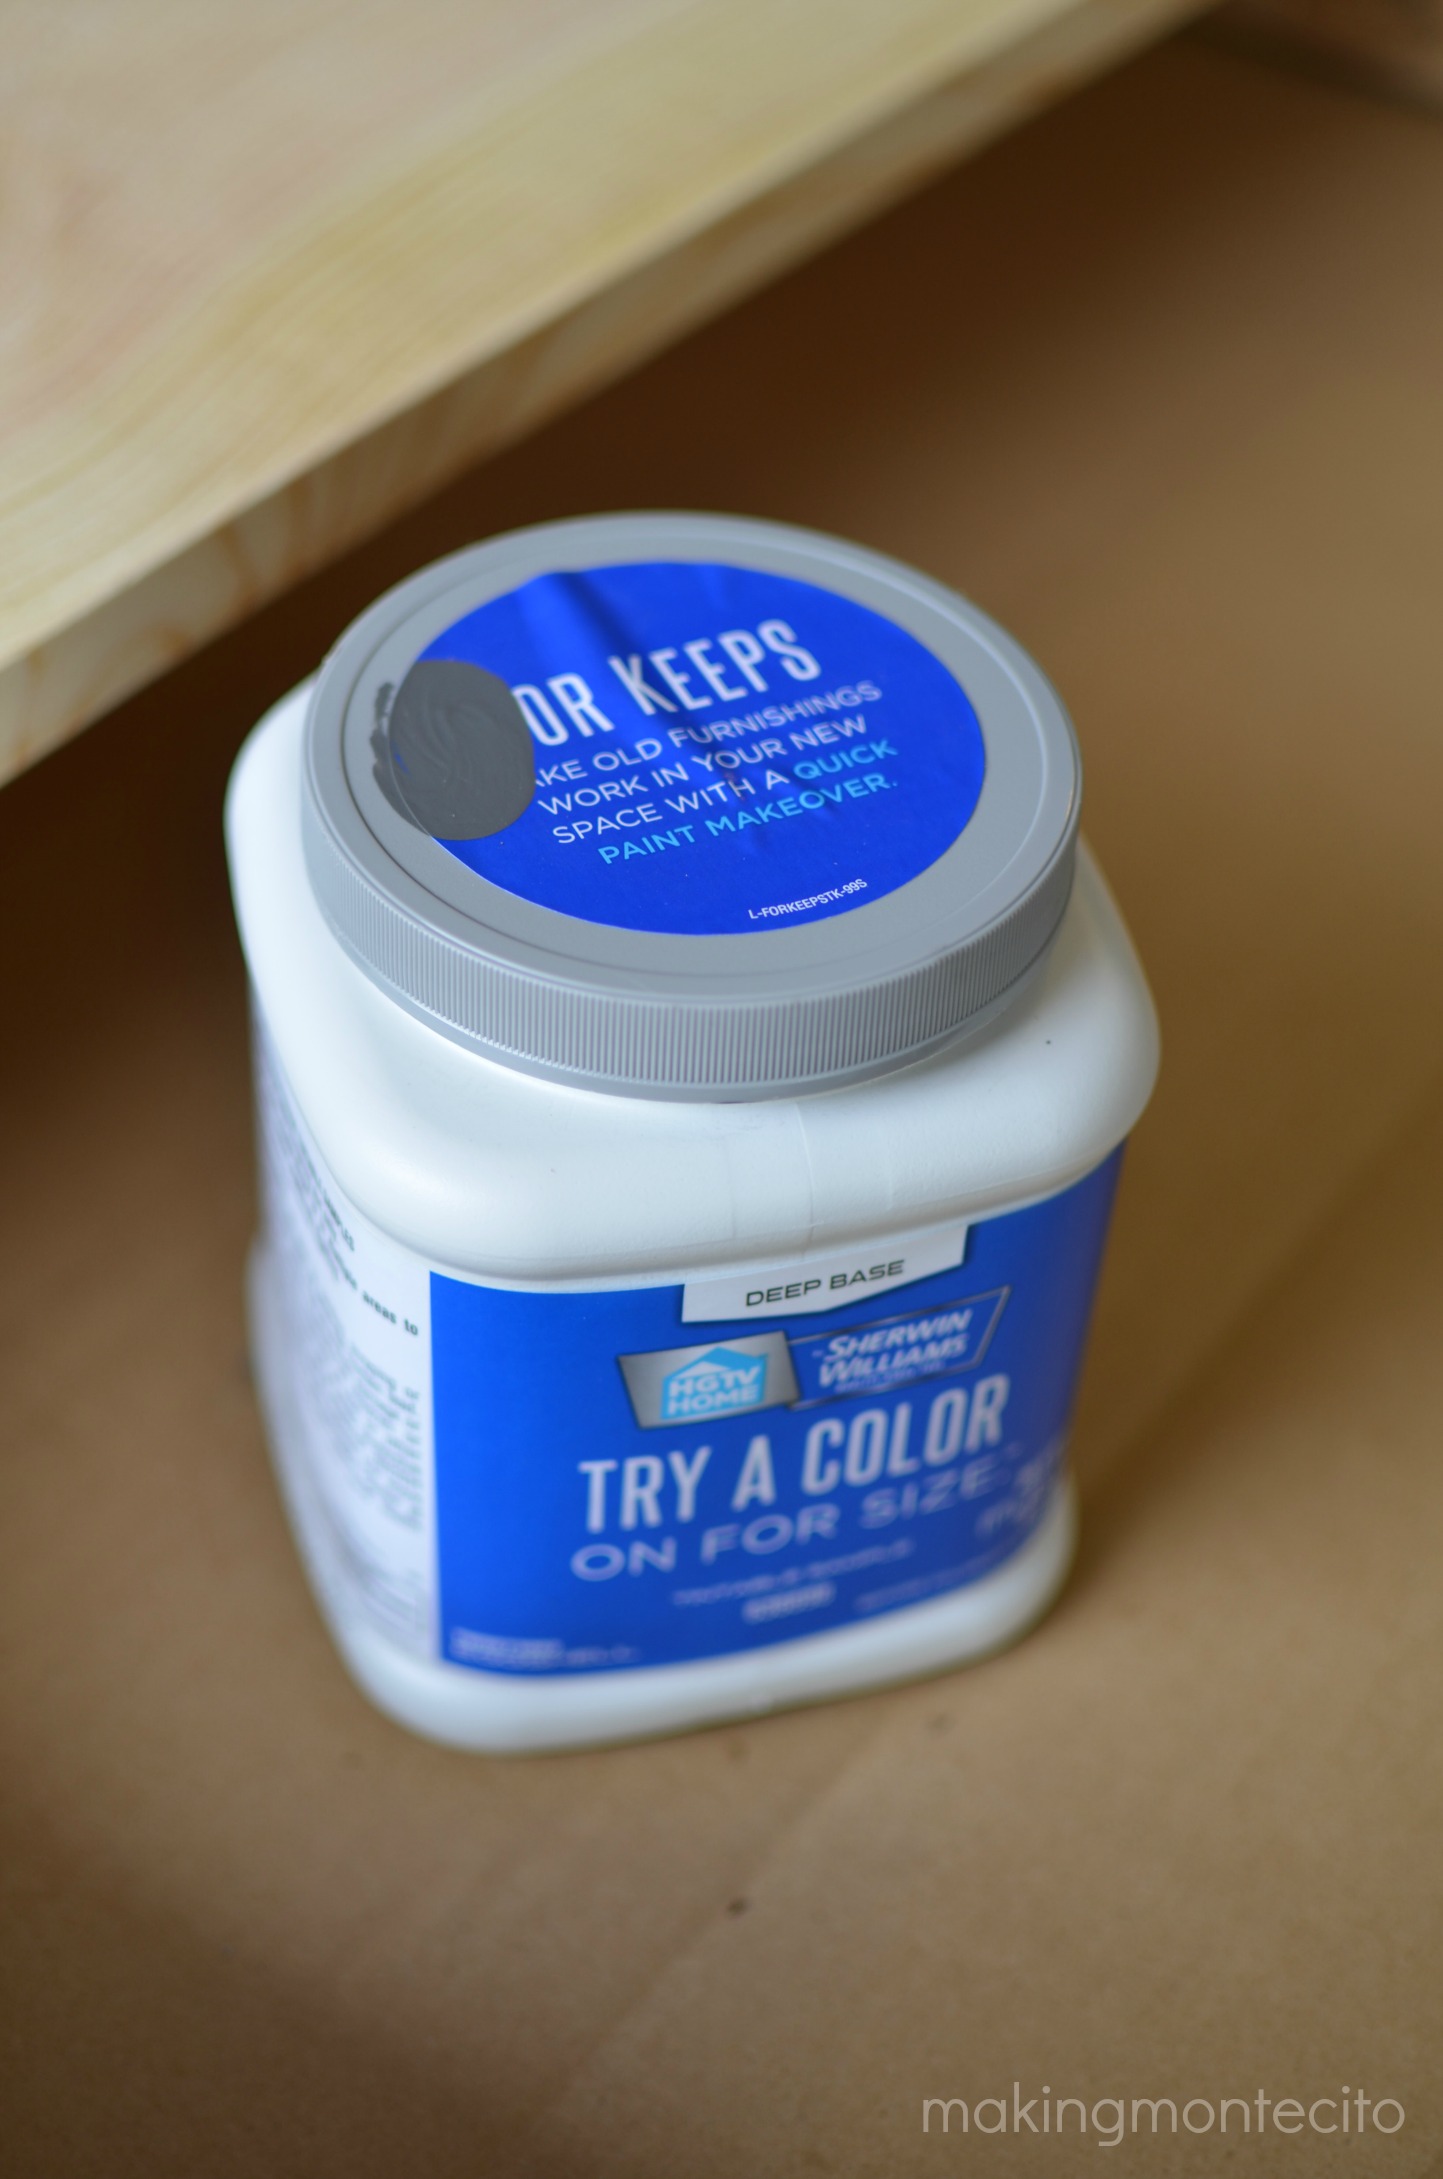
Next I painted them all with the Sherwin Williams color Peppercorn (SW7674). I’m telling you, I live on paint samples. I have a garage full of them! I got this one from Lowes. It’s just a couple of bucks and they’re perfect for small projects.
Next, I used my Kreg Jig and used 3 screws to attach each board to the others (so six total for this sign.) I then used my computer and typed out what I wanted my sign to say and printed it out.
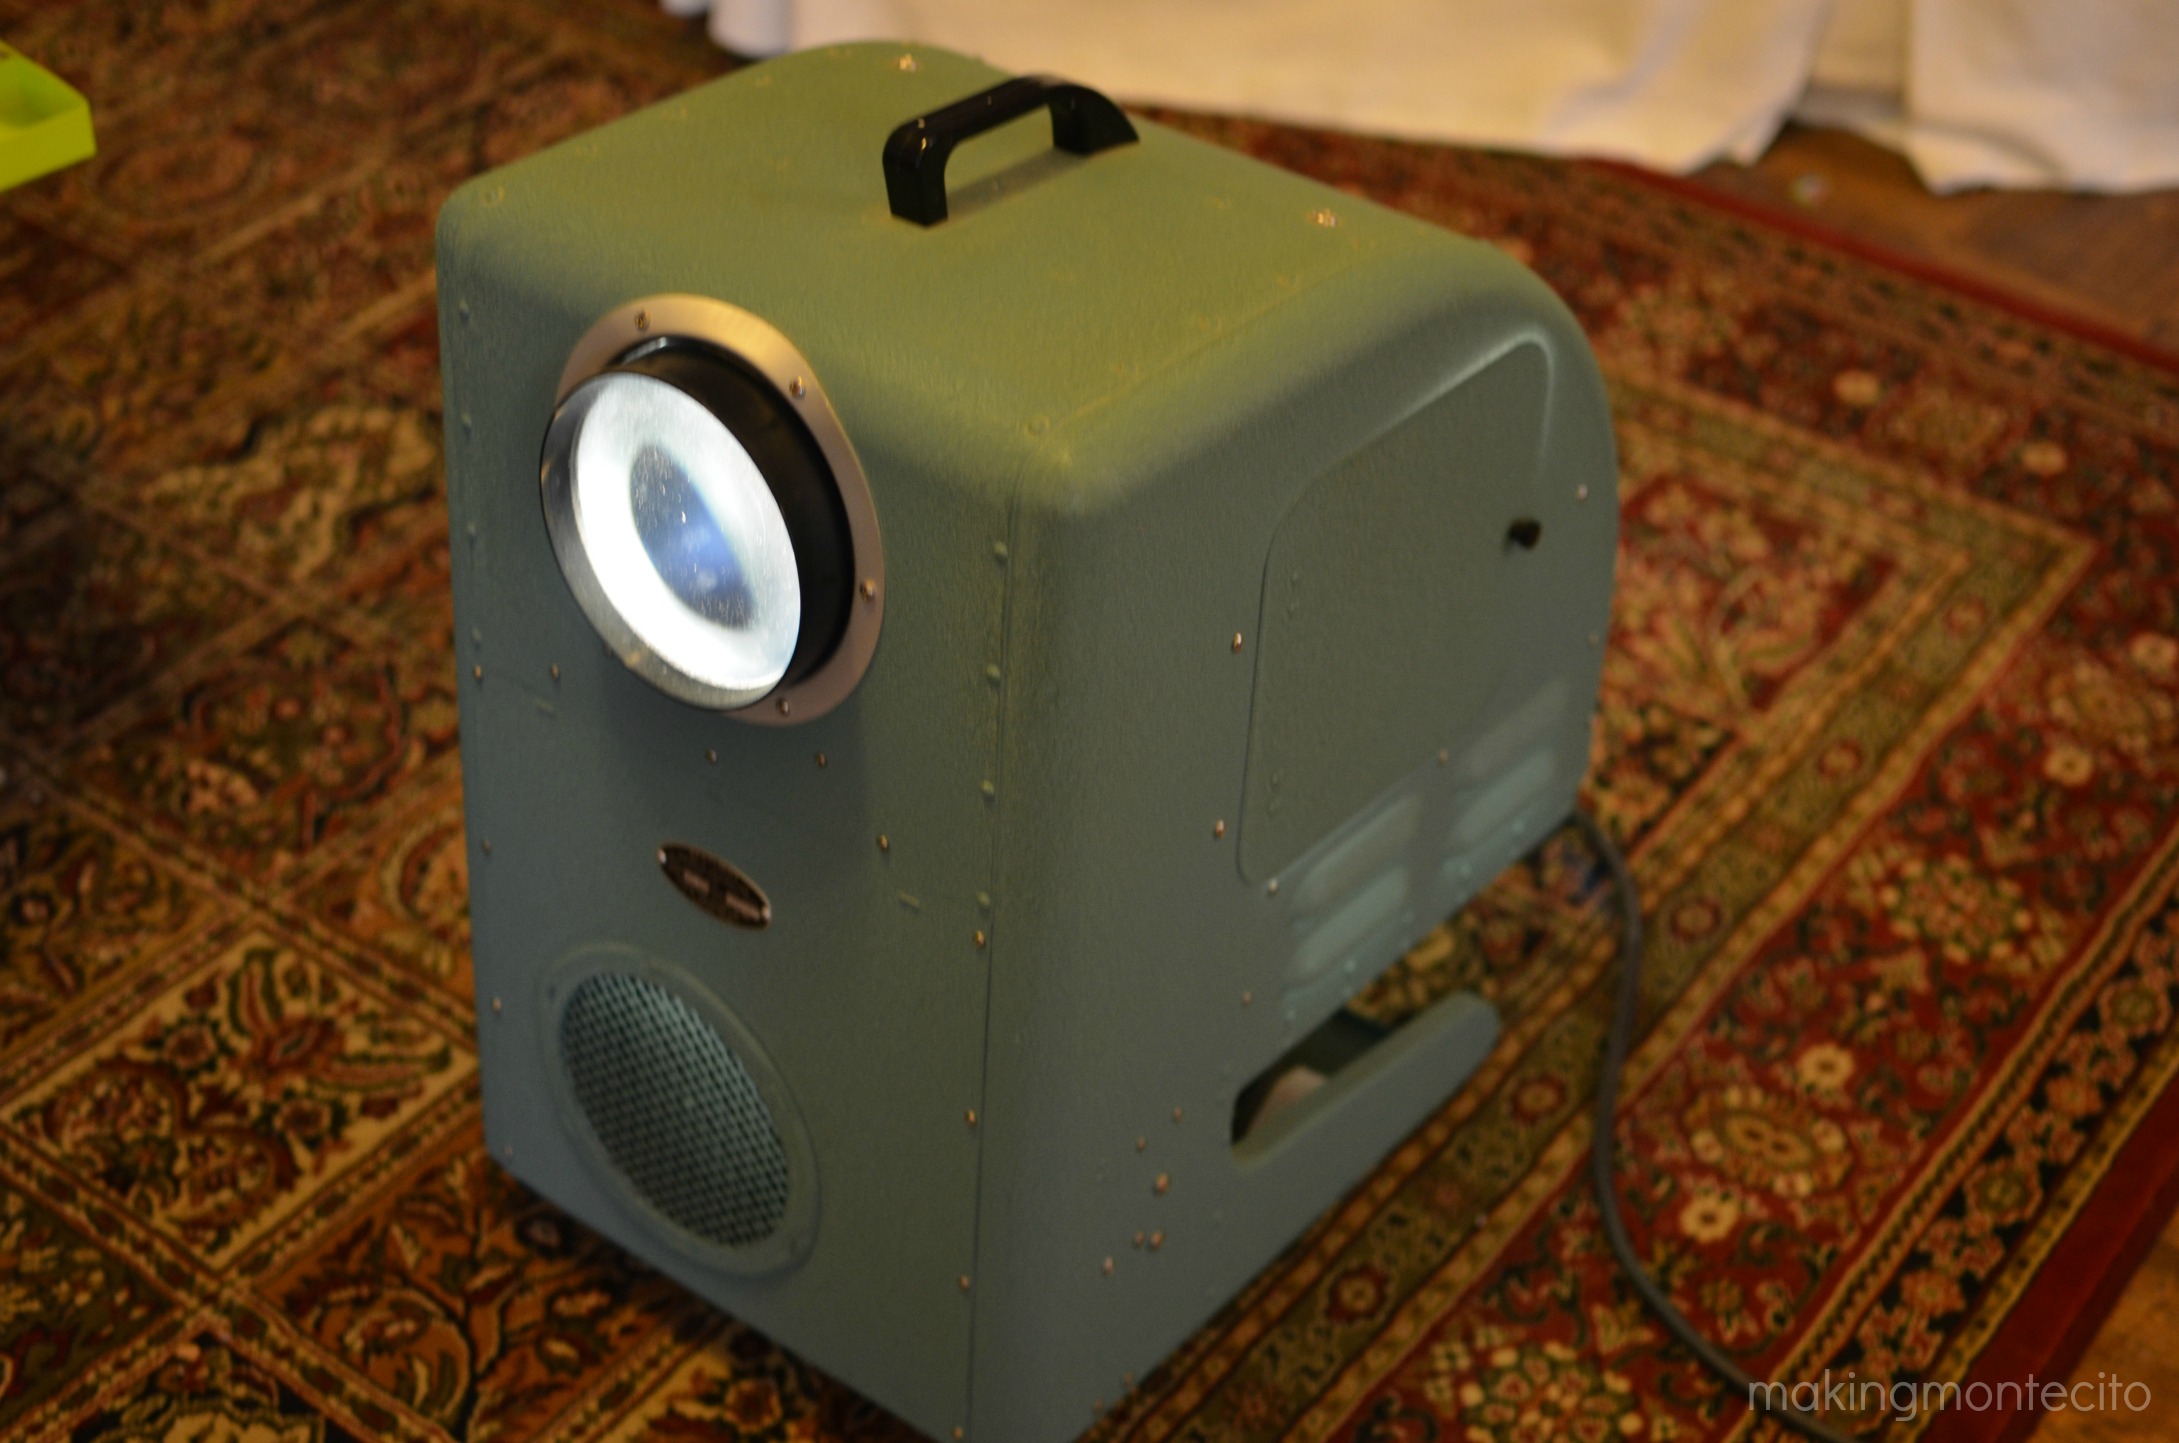
I used an actual old school opaque projector when I did this. Do you remember those from school (or am I just that old? I actually used one when I taught elementary about a hundred years ago.) Can you believe I actually have one of these in my attic?!
I saw it on Craigslist for a few bucks several years back and snatched it up. They actually make less bulky, inexpensive things like this now. One of these days I’ll get tired of hauling it out of my attic, but for now, it’s what I still use. (Note: I’ve also seen some awesome DIY versions of this using a box and an Iphone flashlight!)
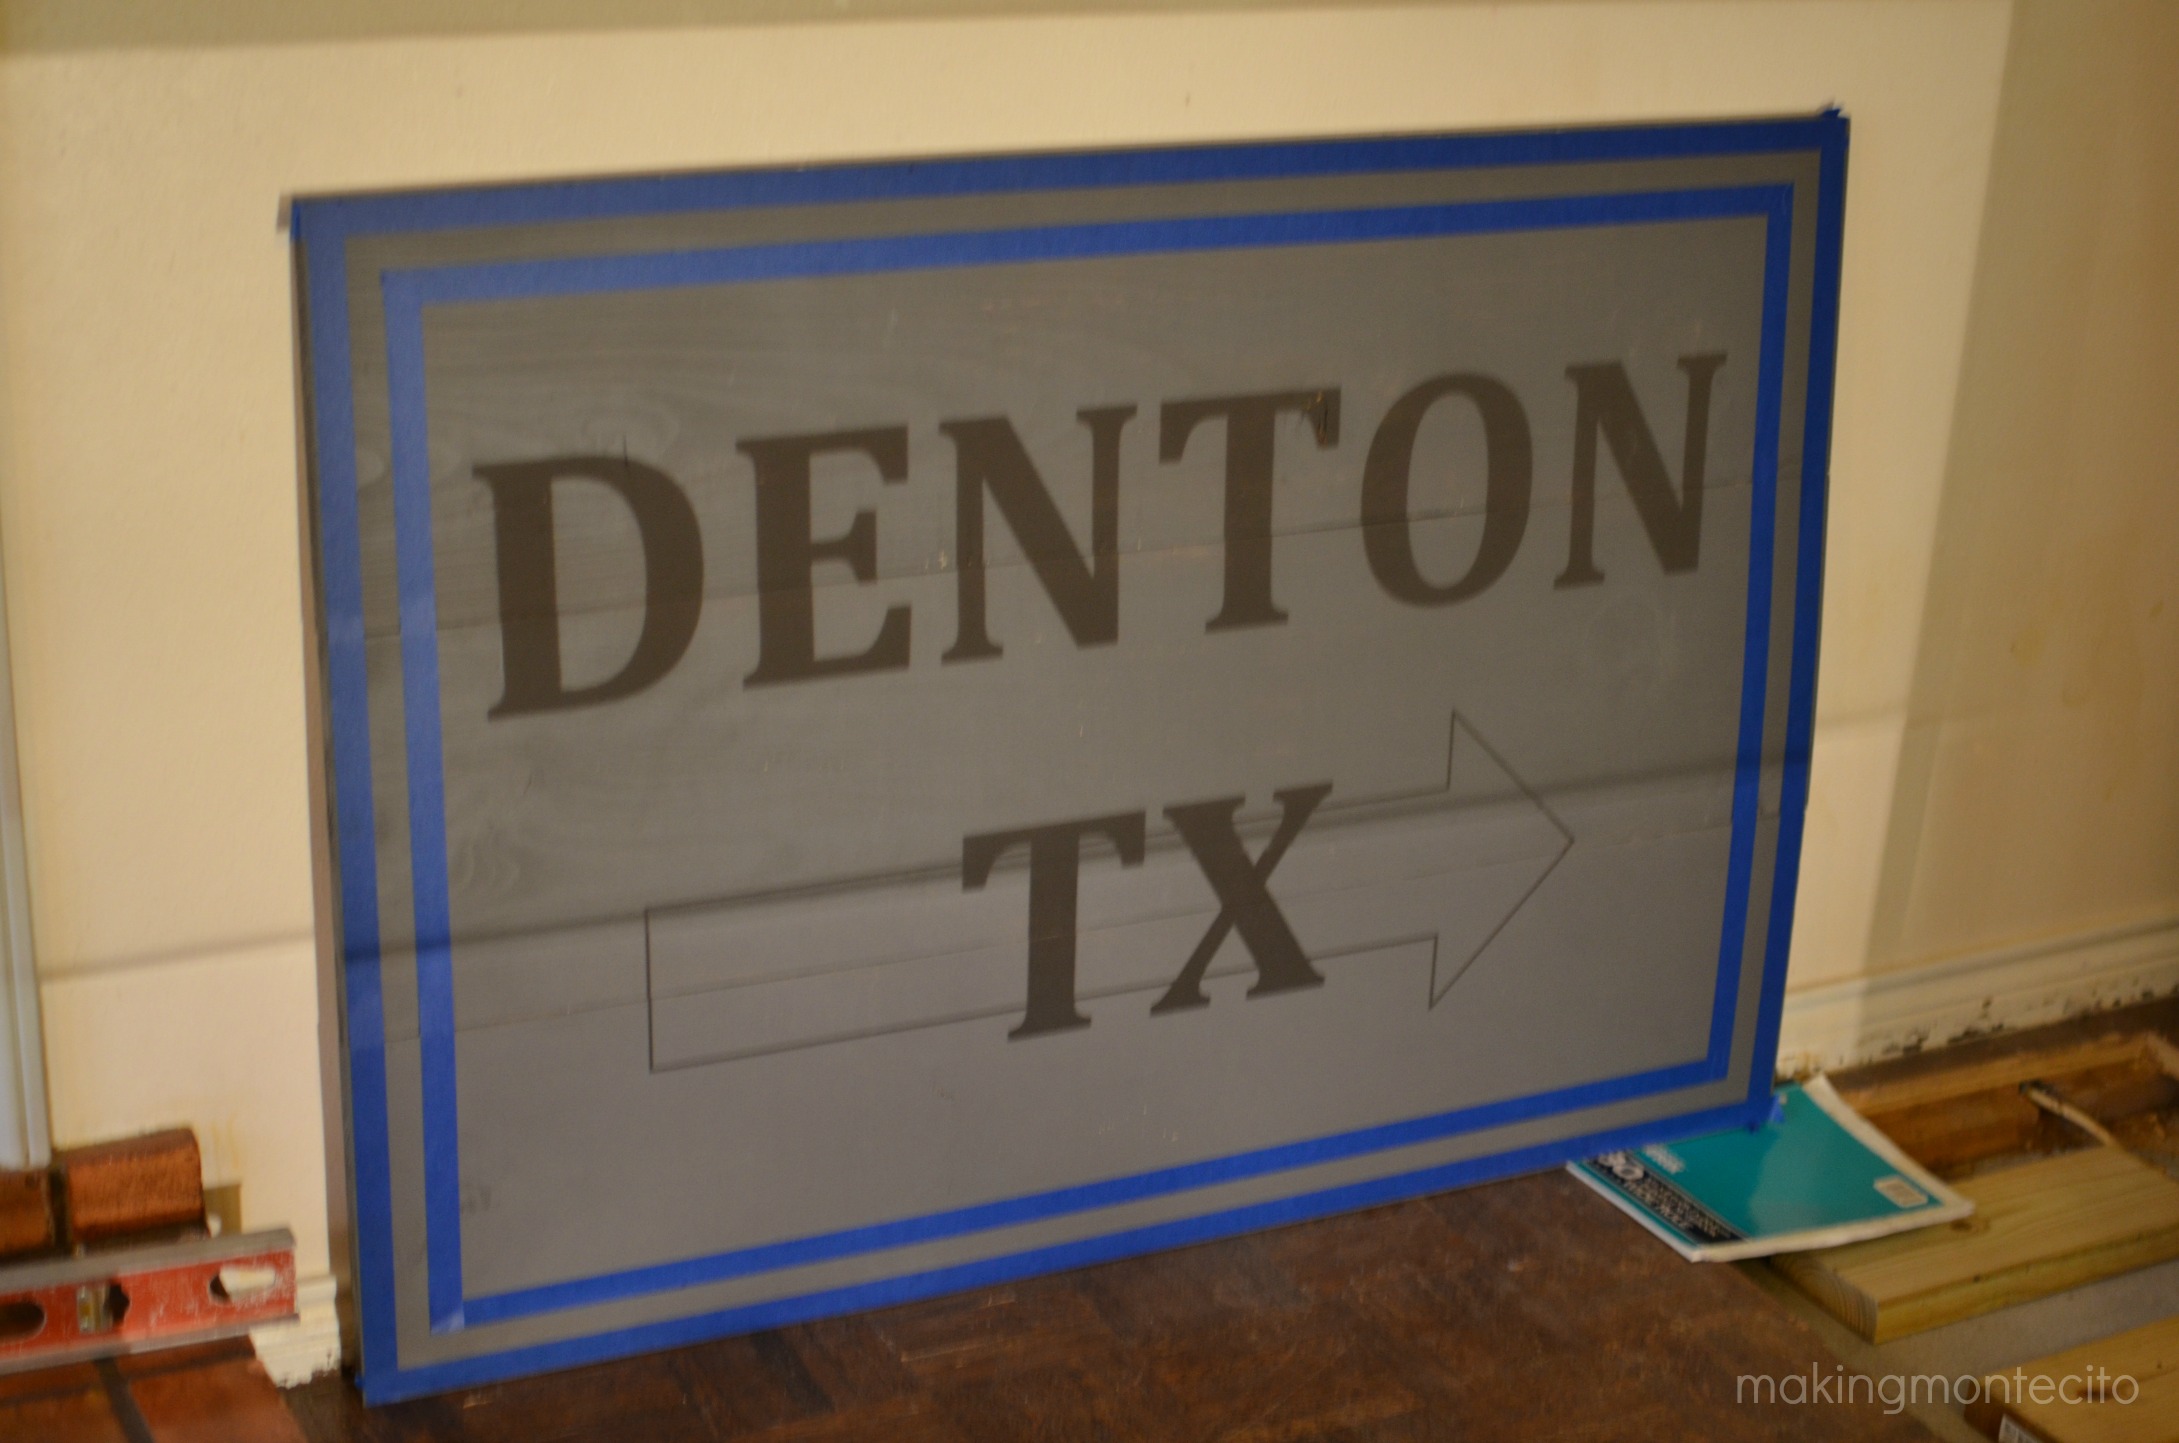
I taped off where I was going to paint my border and then did my best to center and level the sign and the words. You can see the fancy way I propped up the sign on the corner with my notebook. (You can also still see the hole in the floor from when we had the foundation worked on. New flooring is on the list, but will have to wait due to the unexpected sewer replacement. I’m hoping to at least redo the subfloor this summer so we can stop stepping in holes.)
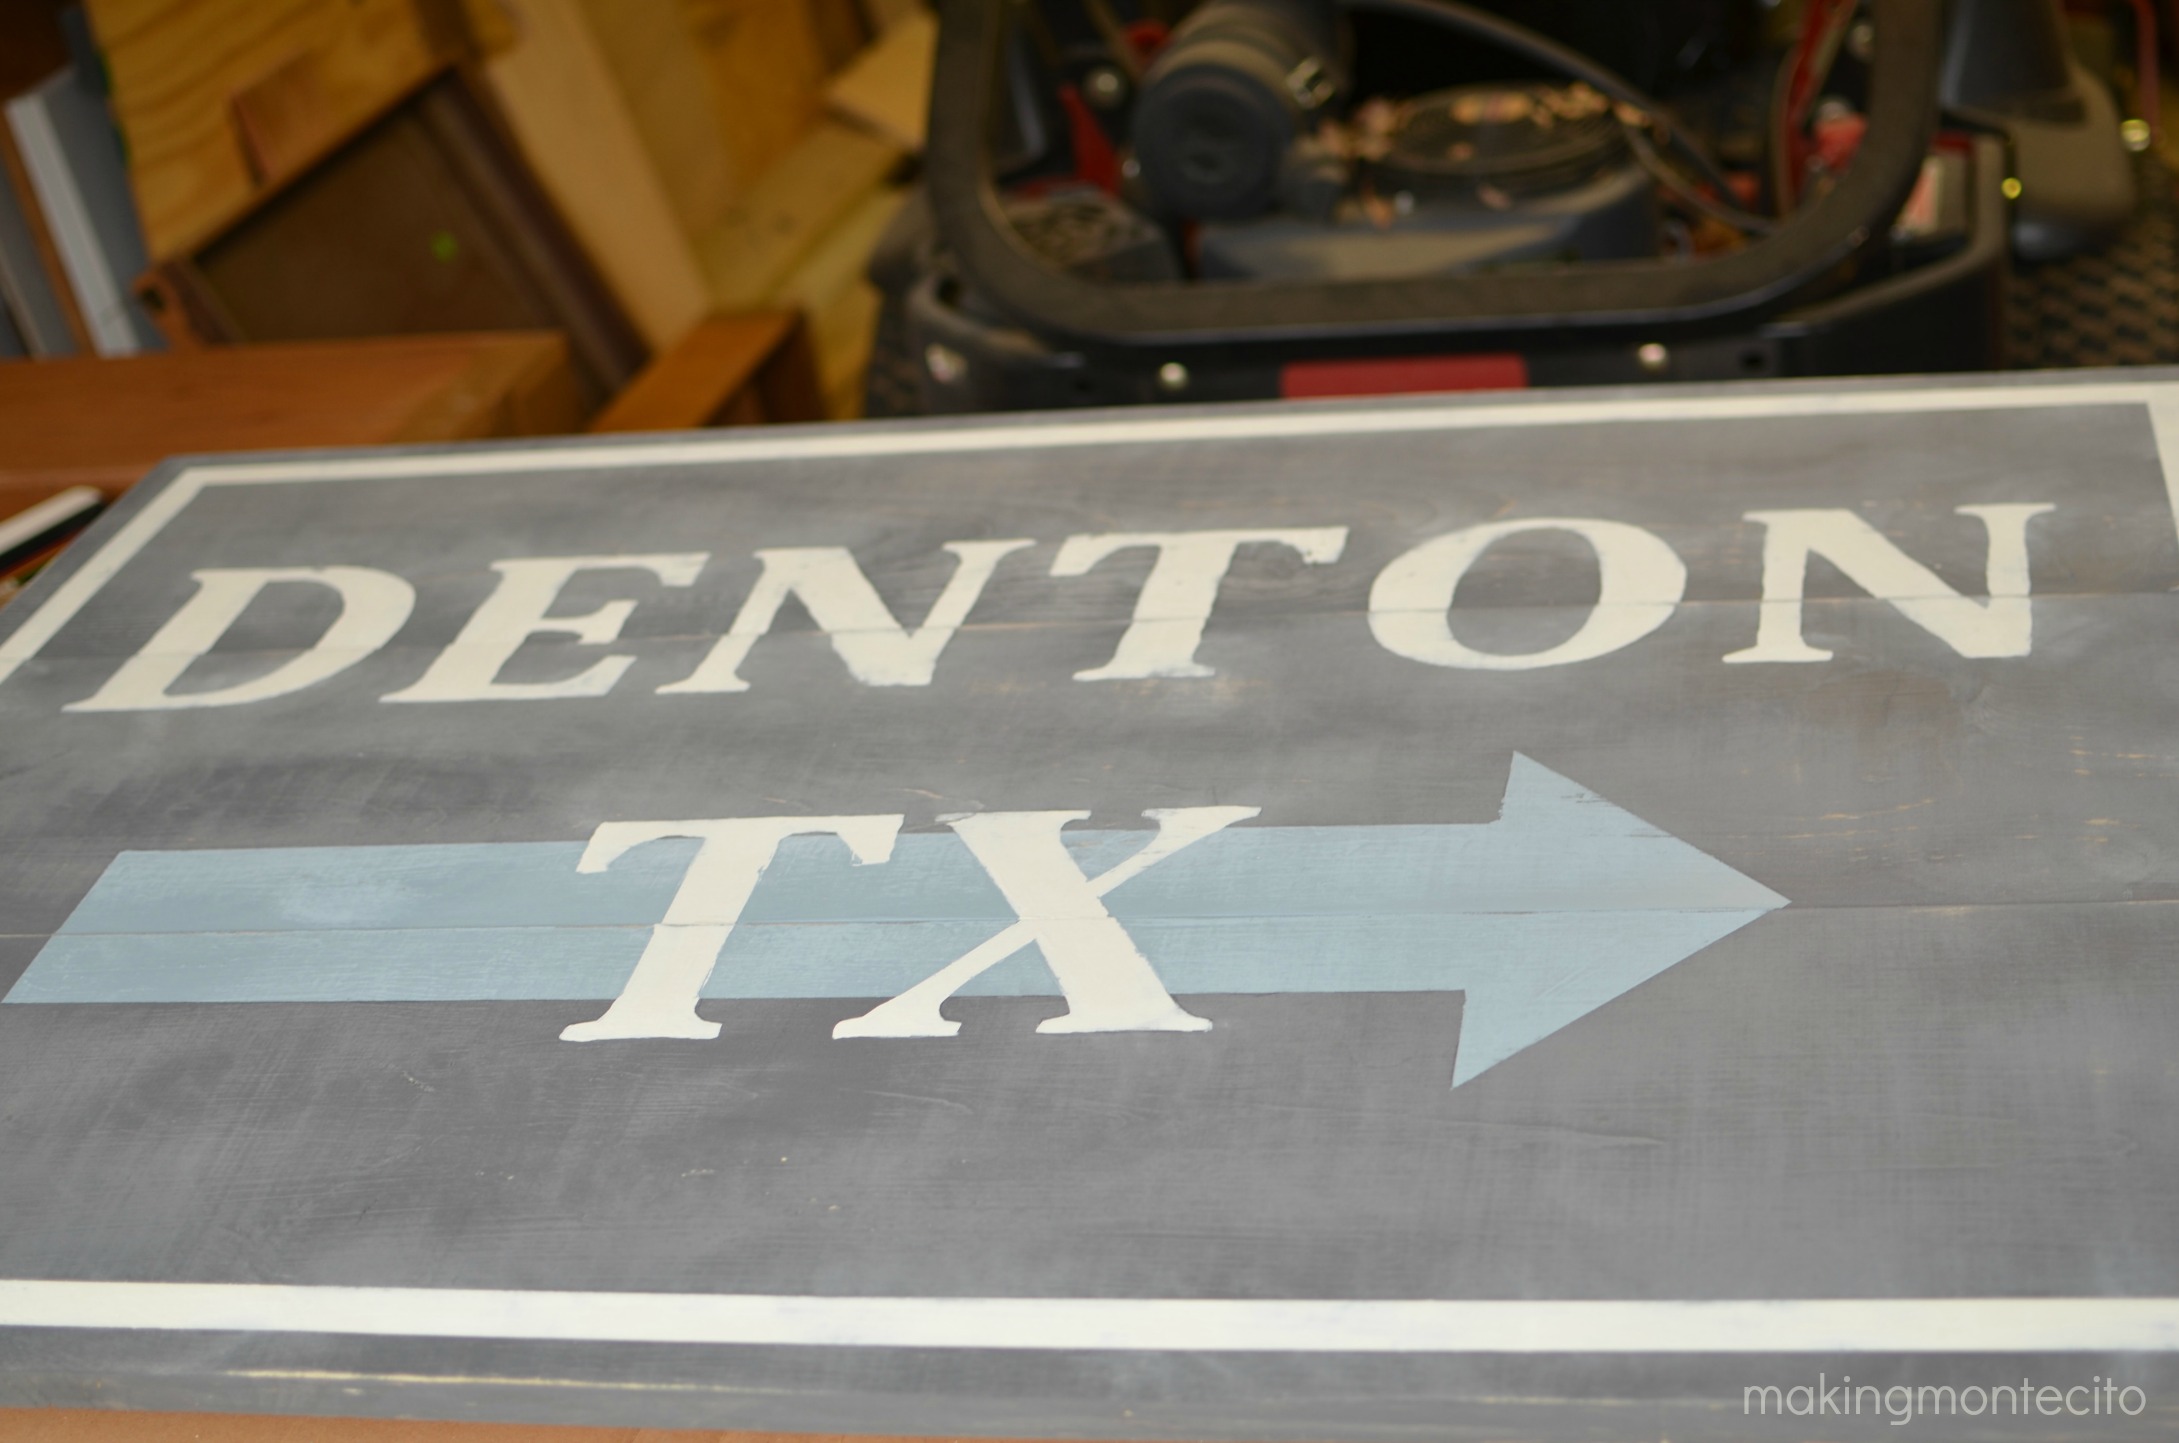
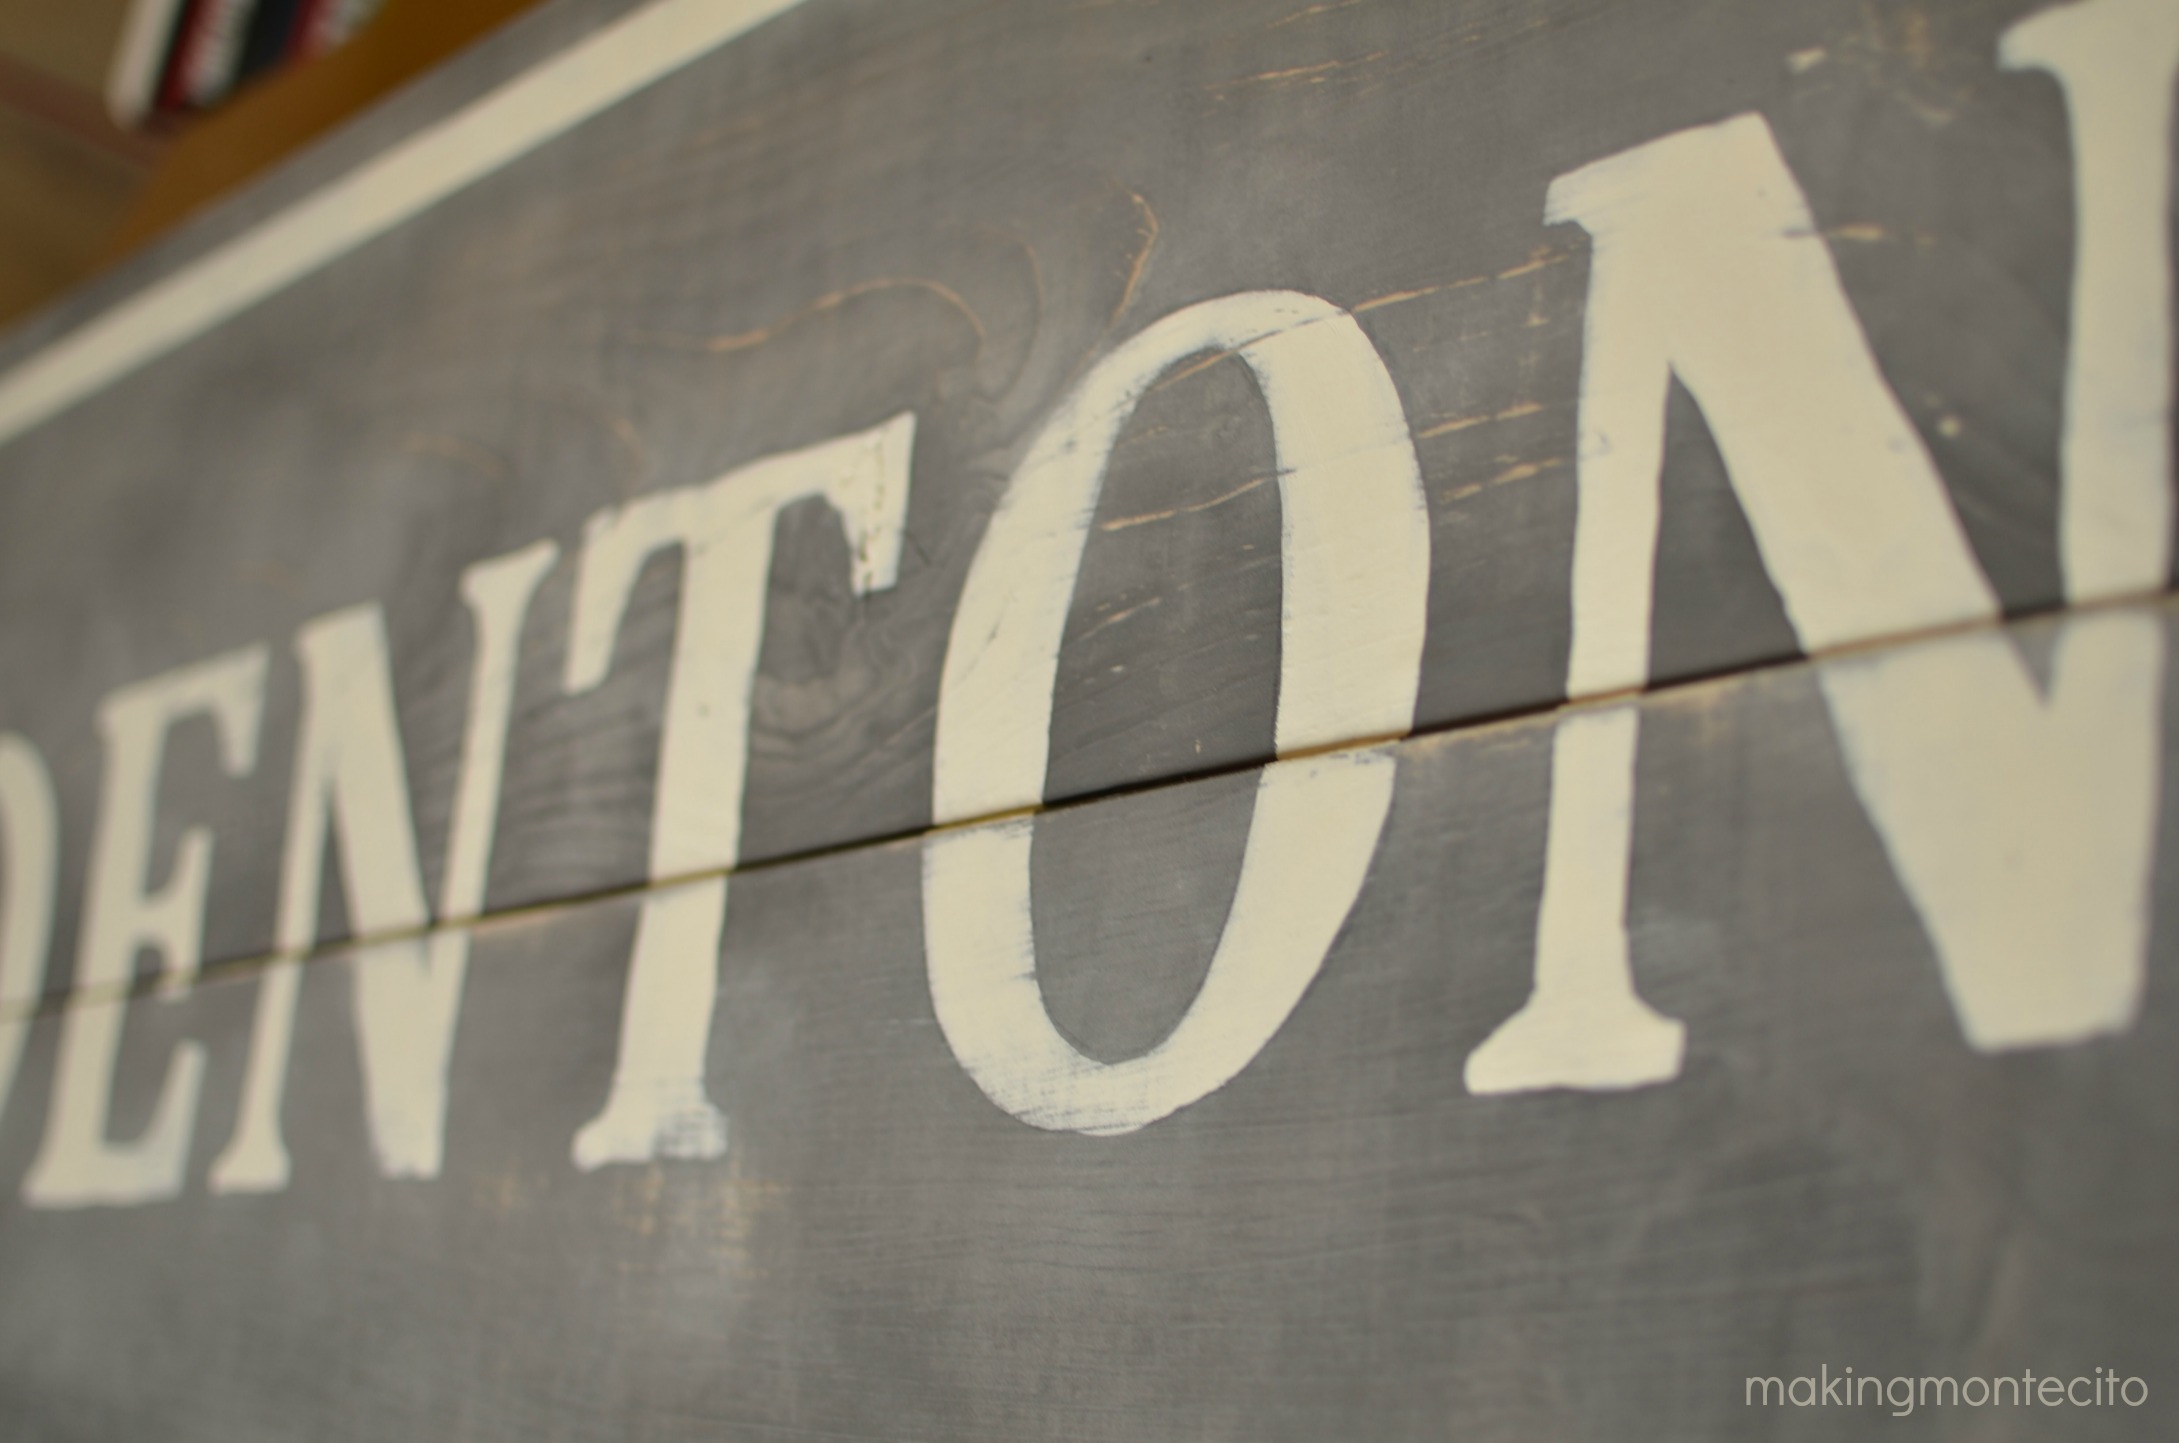
I traced my letters with a pencil and then painted the arrow first, and then the letters. The letters are shaky and not perfect, but that disappears when you sand it and distress it lightly. I used an orbital sander to just hit a few spots.
See how the letters start looking like an old sign and not just messy painting? I love it!
You could stop at this point right here, but I wanted a little more age to it, so I wiped on and immediately wiped off some walnut stain. It might be a little too yellowish for some, but I love it. And more importantly, Rob loved his birthday gift!
