April showers bring pool nightmares.
Since we live on this glorious Texas soil that insists on moving with each season, the skimmer basket attached to our pool has given way to the soils’ seasonal whims.
When we first moved in three years ago, we noticed that we were having to put water in the pool almost every day. It was ridiculous.
And then one day when I was cleaning out the skimmer basket, I noticed a big, Texas-sized crack going right through it.
Ugh. Leakage. No wonder.
After a little research I found this awesome 2-part epoxy pool putty. It completely did the trick and helped hold the water in. But while I knew it wasn’t a permanent fix, it kept me from topping off the pool everyday or spending about $1500 to fix it.
But then last spring arrived. And Mother Nature showed us what she was made of. It was raining everyday (which isn’t great for trying to maintain your pool) and the ground was saturated. Completely full-up.
NOW it wasn’t about what was getting out, but what was getting IN.
Mud.
Stinky, lake smelling, mud.
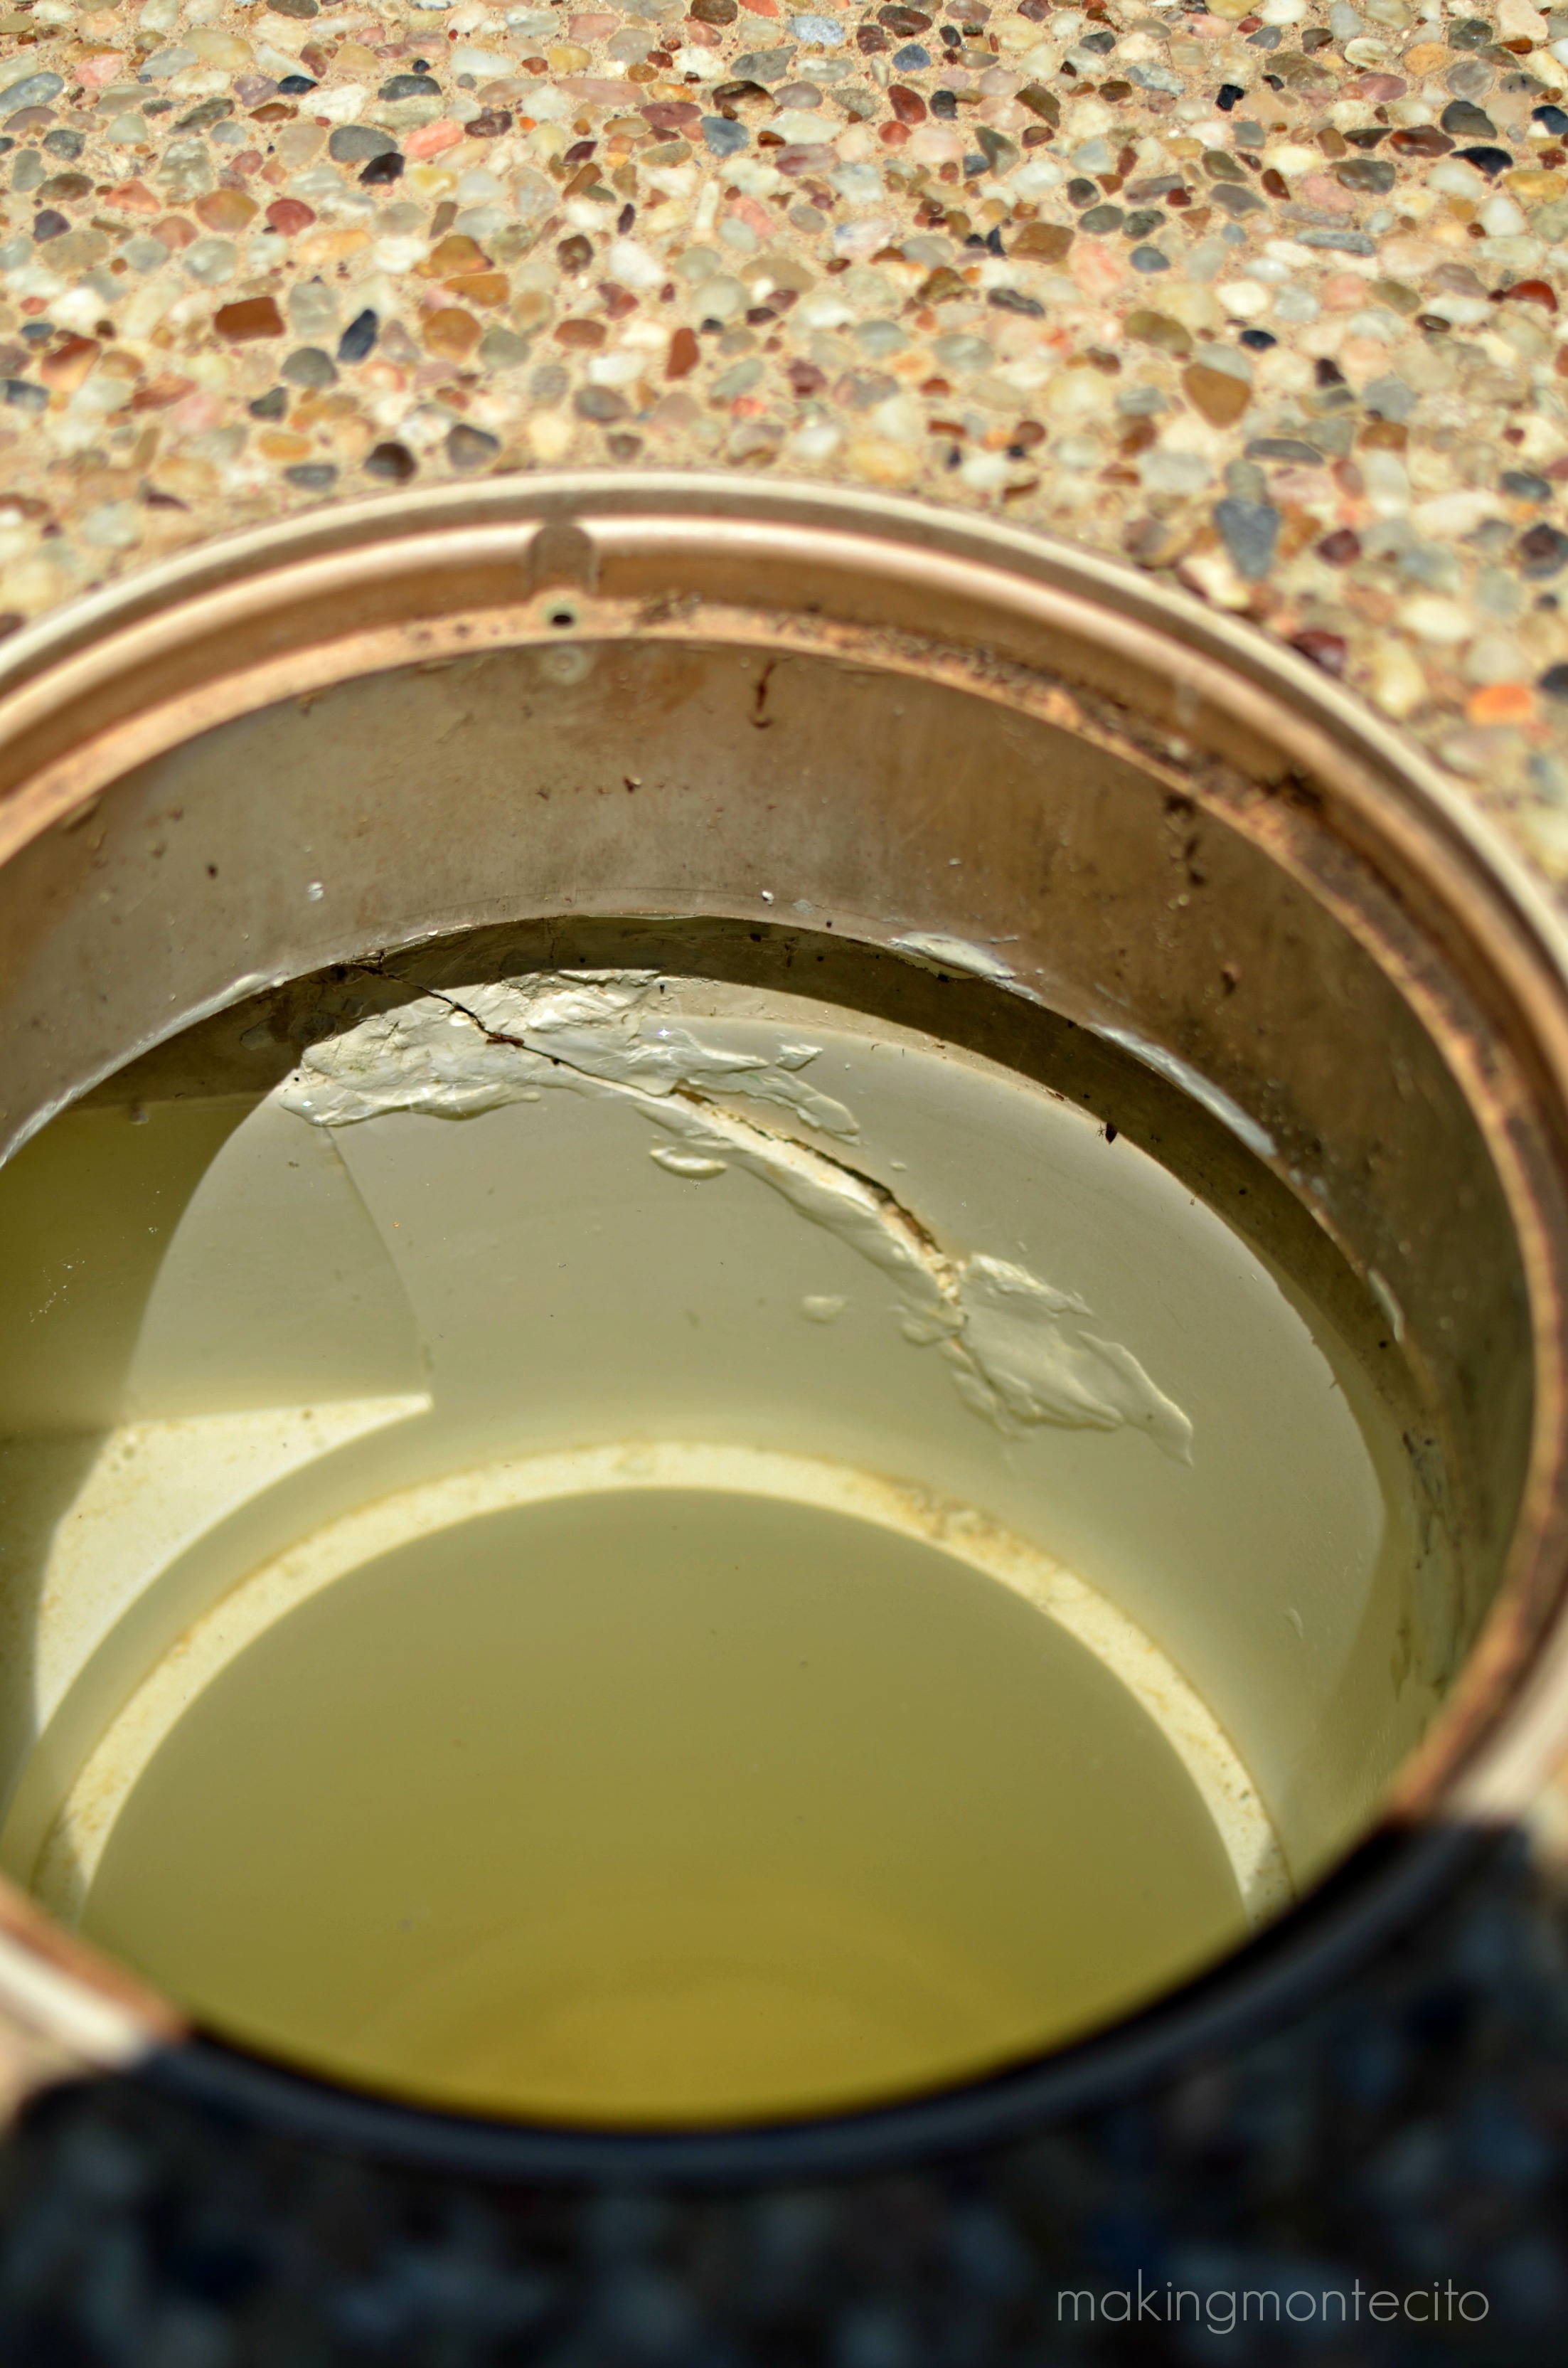
Oozing through the cracks in the skimmer. And the frogs in the neighborhood thought it was glorious. Me, not so much.
Back to my trusted friend, pool putty. That fix once again lasted through the summer and into the winter.
Now spring has sprung again, and with our current rains we’re back to lake water.
So if you choose to use this repair, just know you’ll probably need to scrape off and re-apply every year until you can fix your crack. I think just going in with the right expectations helps. And now that we’ve used it for three years, I can say with confidence, it’s about a 1-year fix.
I’m okay with less than $20/year for this fix until the pool comes up on the “Can No Longer Wait” list. Because that’s apparently how we’ve started prioritizing things now.
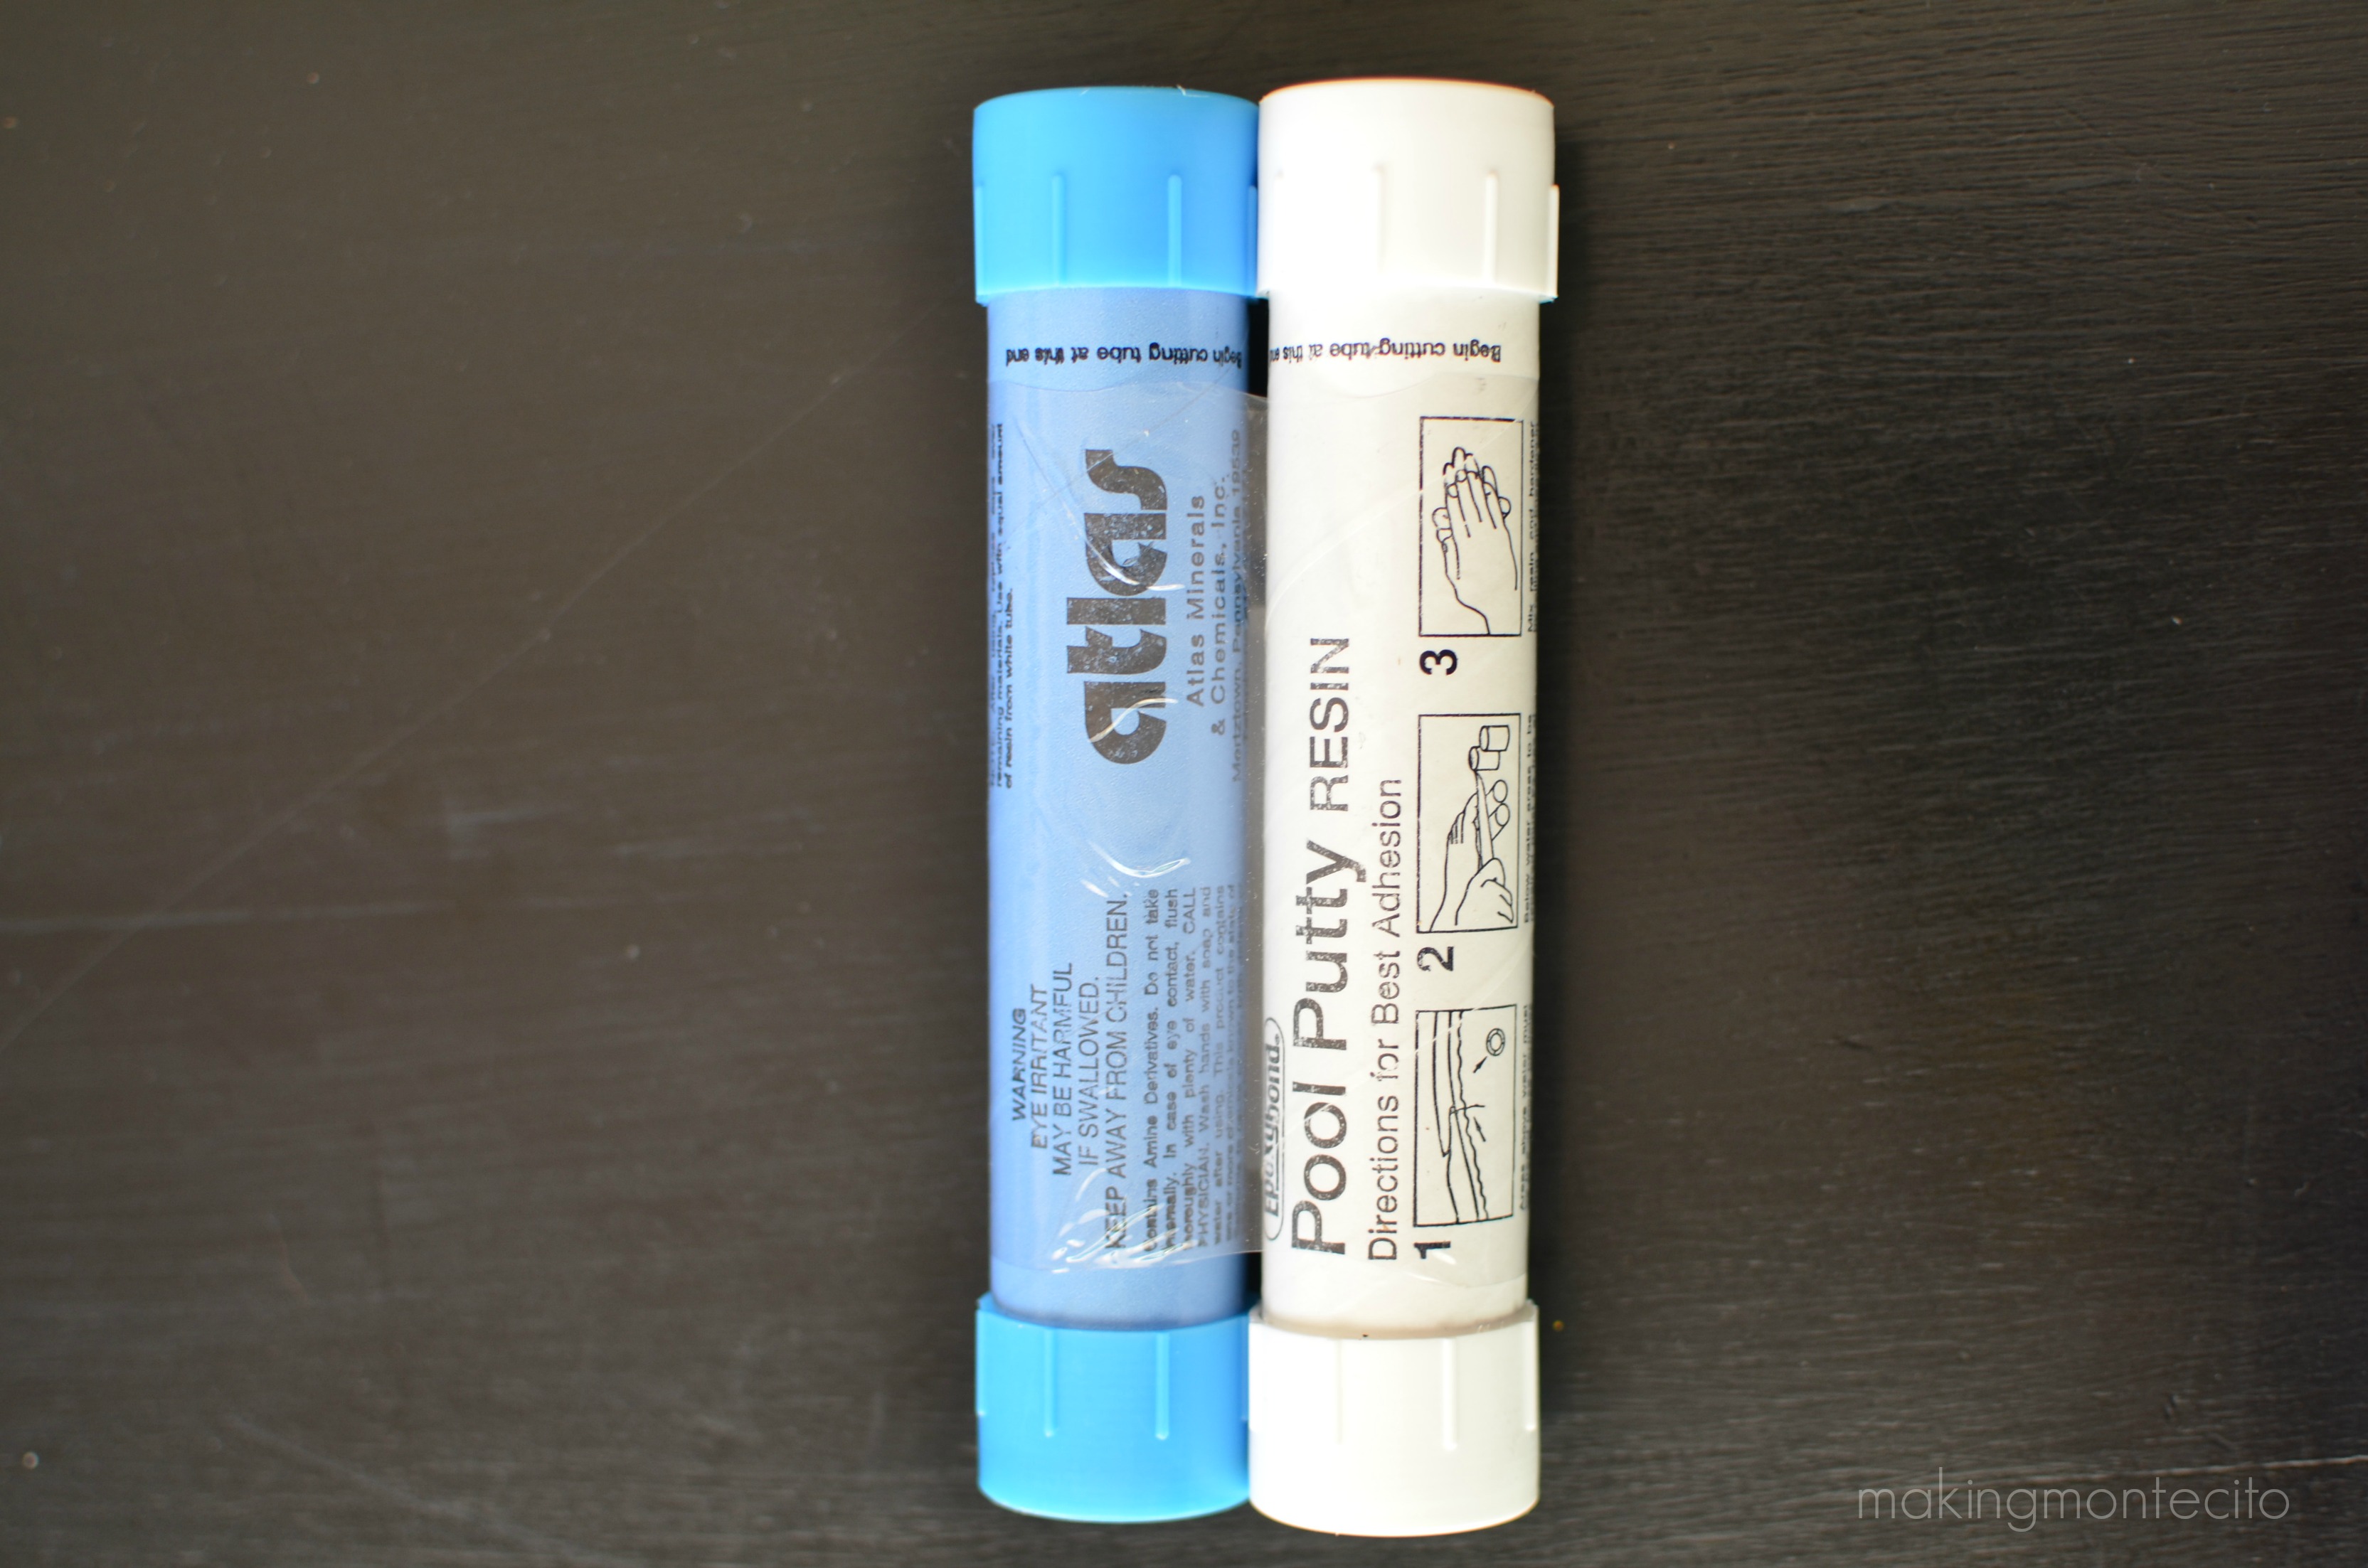
Here’s a link to the pool putty we bought. (affiliate link: Atlas Pool Putty Set )
And here are the directions from the sides of the containers. Because they’re very small, and as my kids like to say, I have old eyes. You’re welcome. 😛
Atlas Minerals & Chemicals, Inc.
Epoxy Bond
Underwater repairs:
Area to be repaired must be free from loose particles, slime and algae. ix equal amounts of resin and hardener thoroughly, above water, until putty is uniform in color. For best adhesion, press putty firmly into areas requiring repair.
Above water repairs:
Areas to be repaired must be thoroughly cleaned. Remove grease, loose particles and rust. For best adhesion, roughen surface with wire brush or sandpaper. Mix equal amounts of resin and hardener thoroughly until putty is uniform in color. For above water repairs, the putty can be contoured or smoothed by carefully rubbing with a wet sponge.
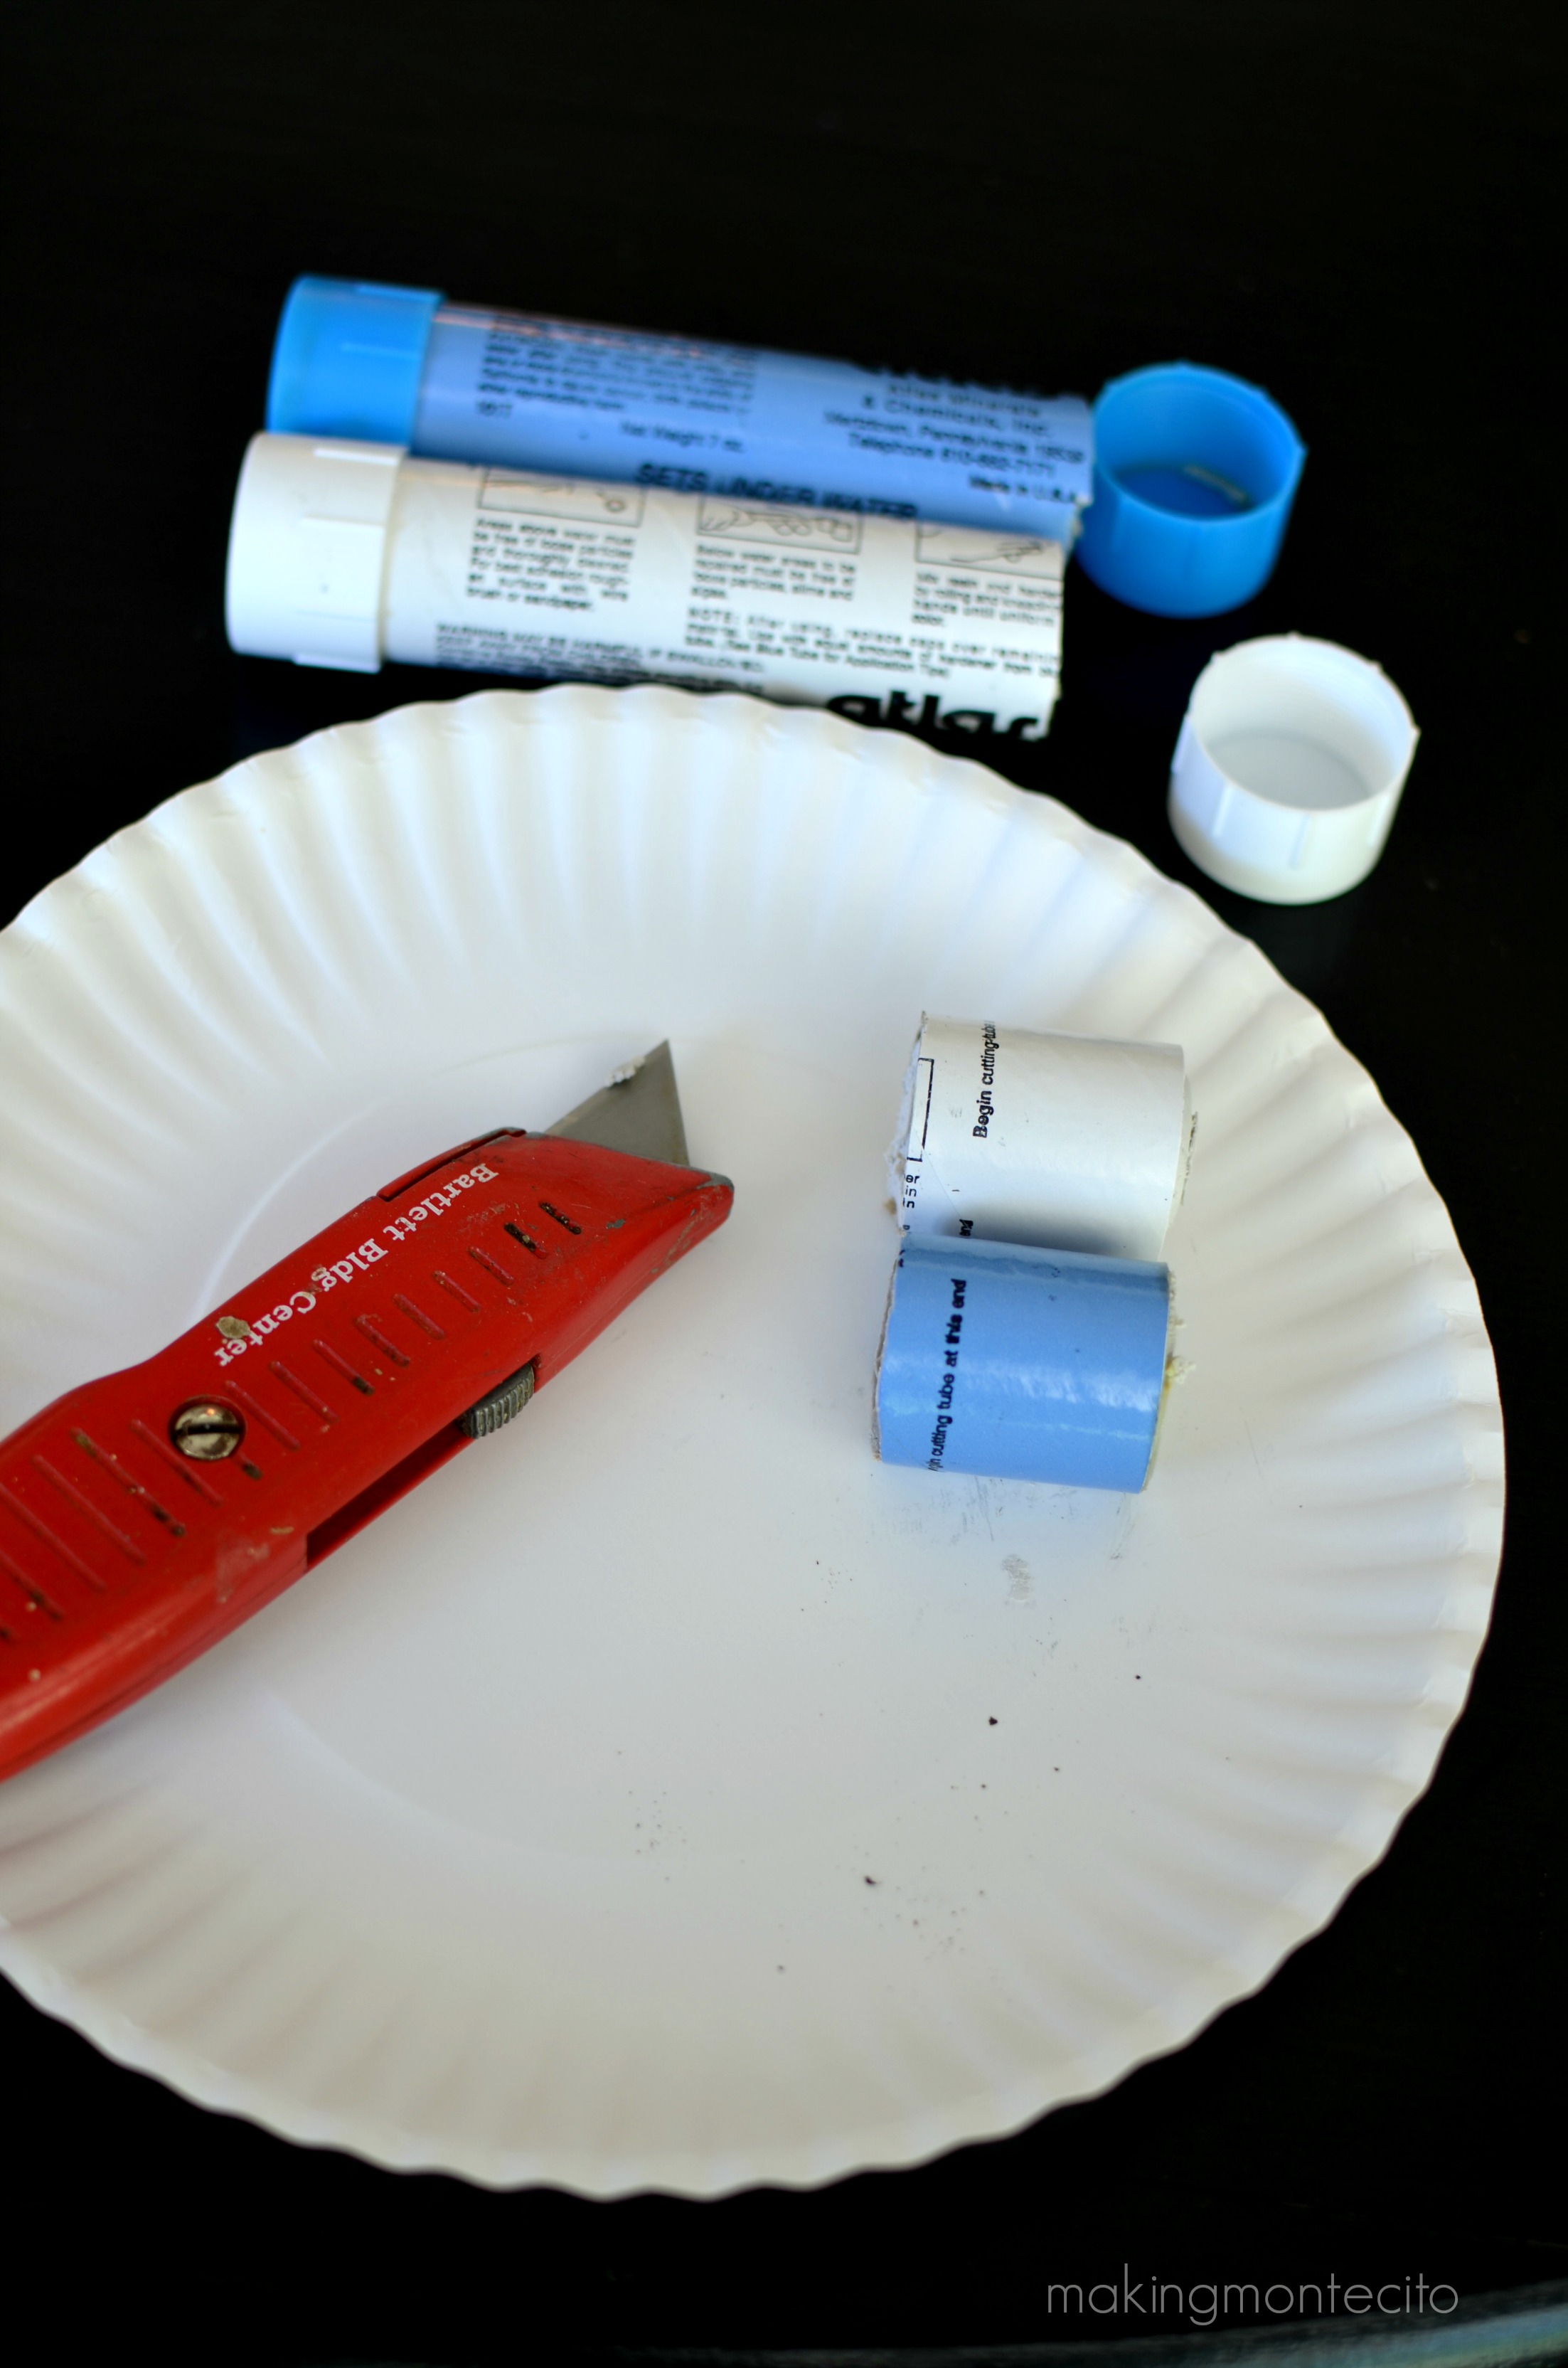
So basically, cut off equal parts
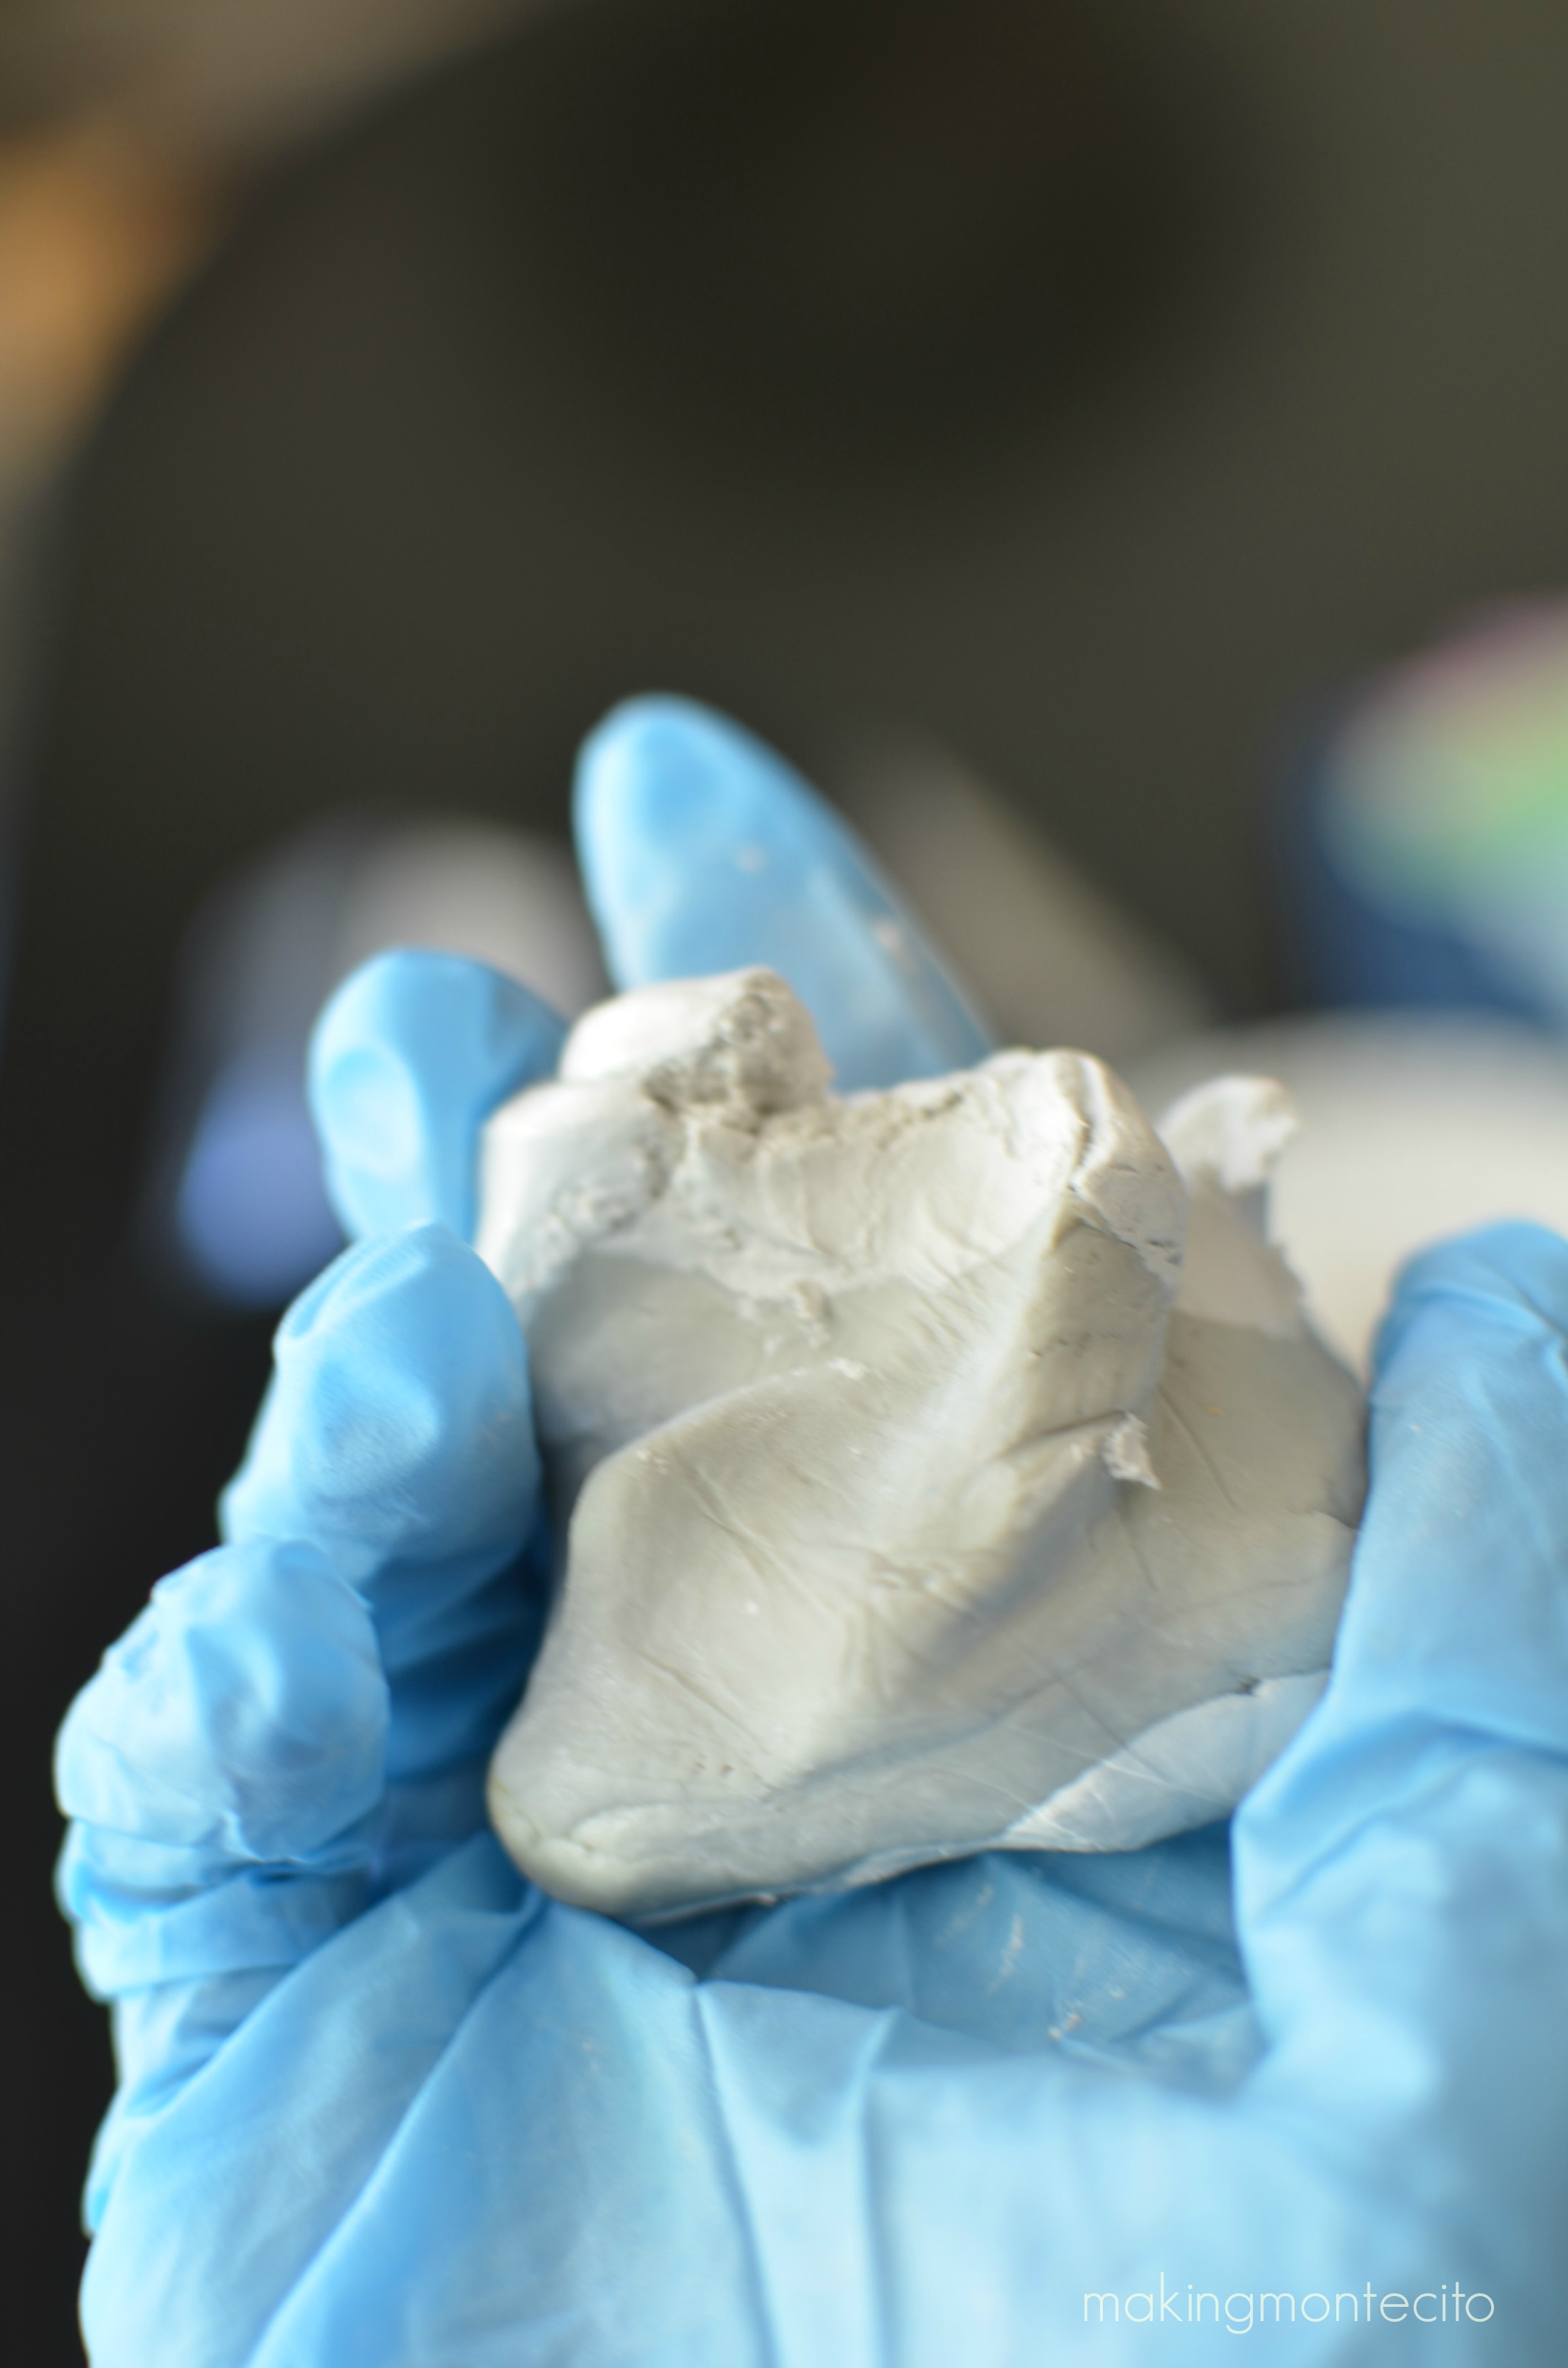
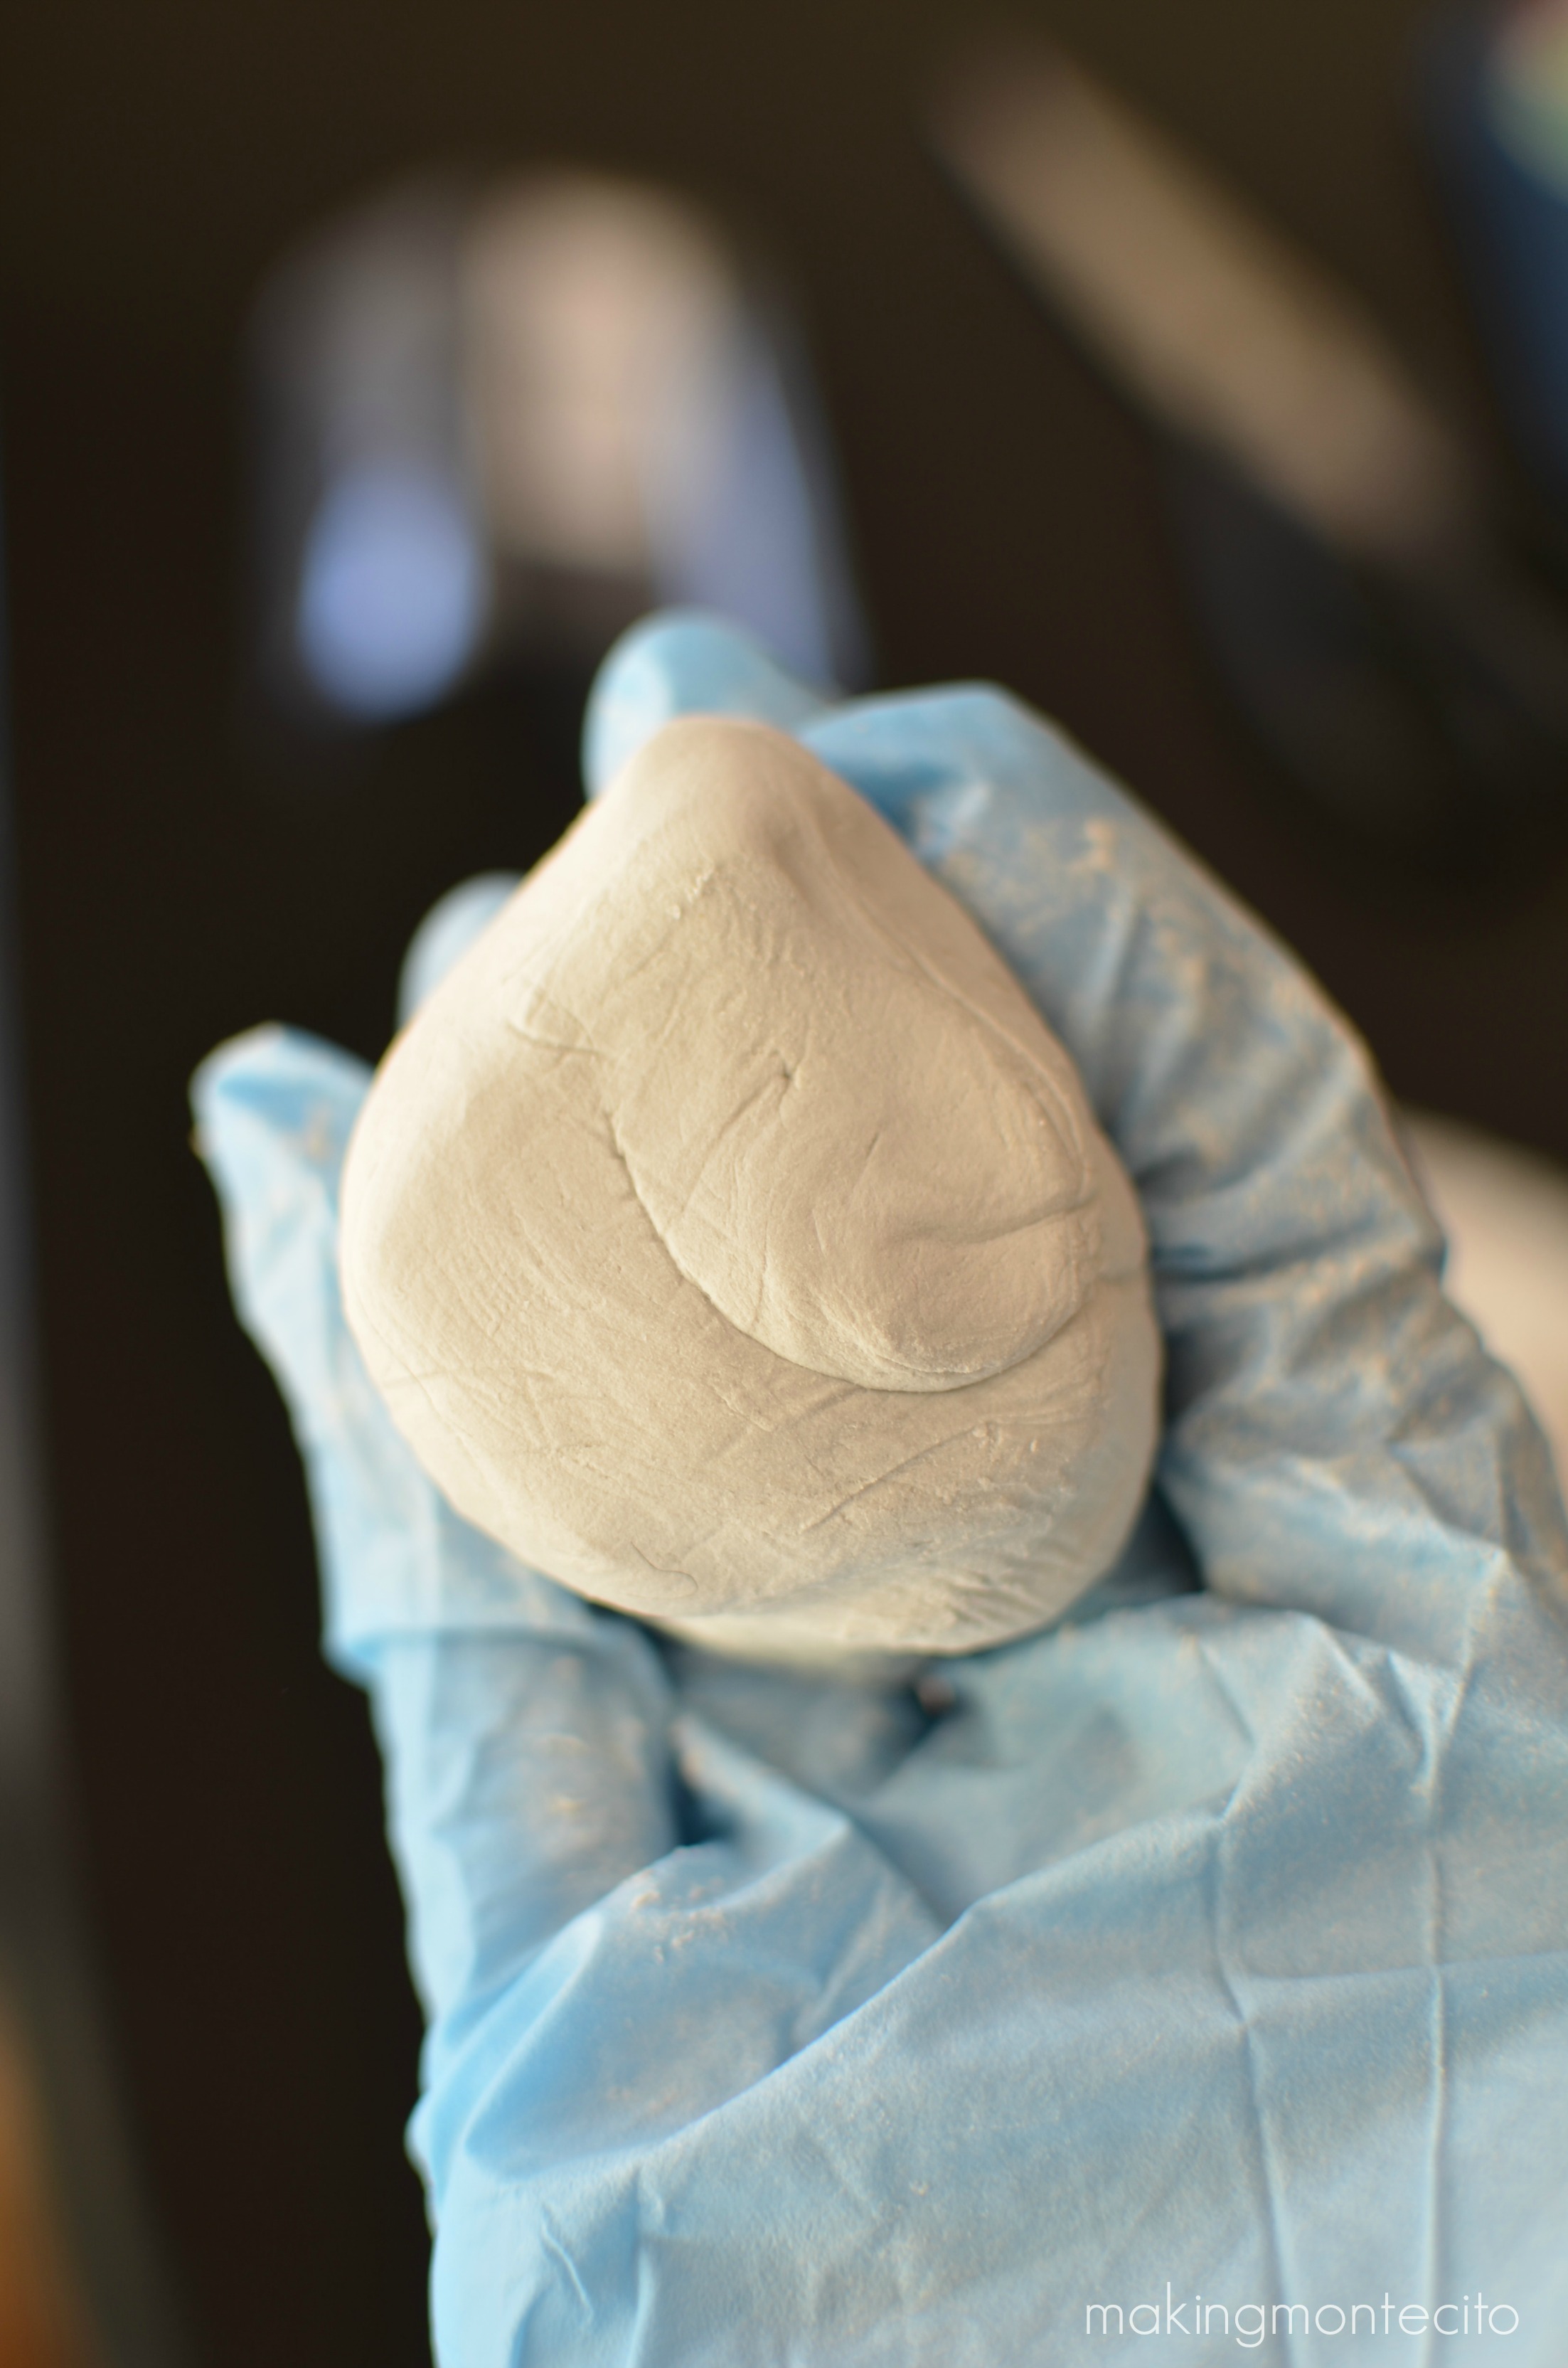
and smash together in your hand
until you achieve a uniform color. I highly recommend wearing gloves. It dries the heck out of your hands and probably isn’t very good for your skin.
Then working fairly quickly (it’s not going to dry immediately, but have your area ready to apply it), smash it onto/into the area you need to fix and smooth it out. This can be a skimmer basket or the pool itself. I made sure I had the pool pump turned off before I started. I turned it back on as soon as I was finished.
It already looks better.
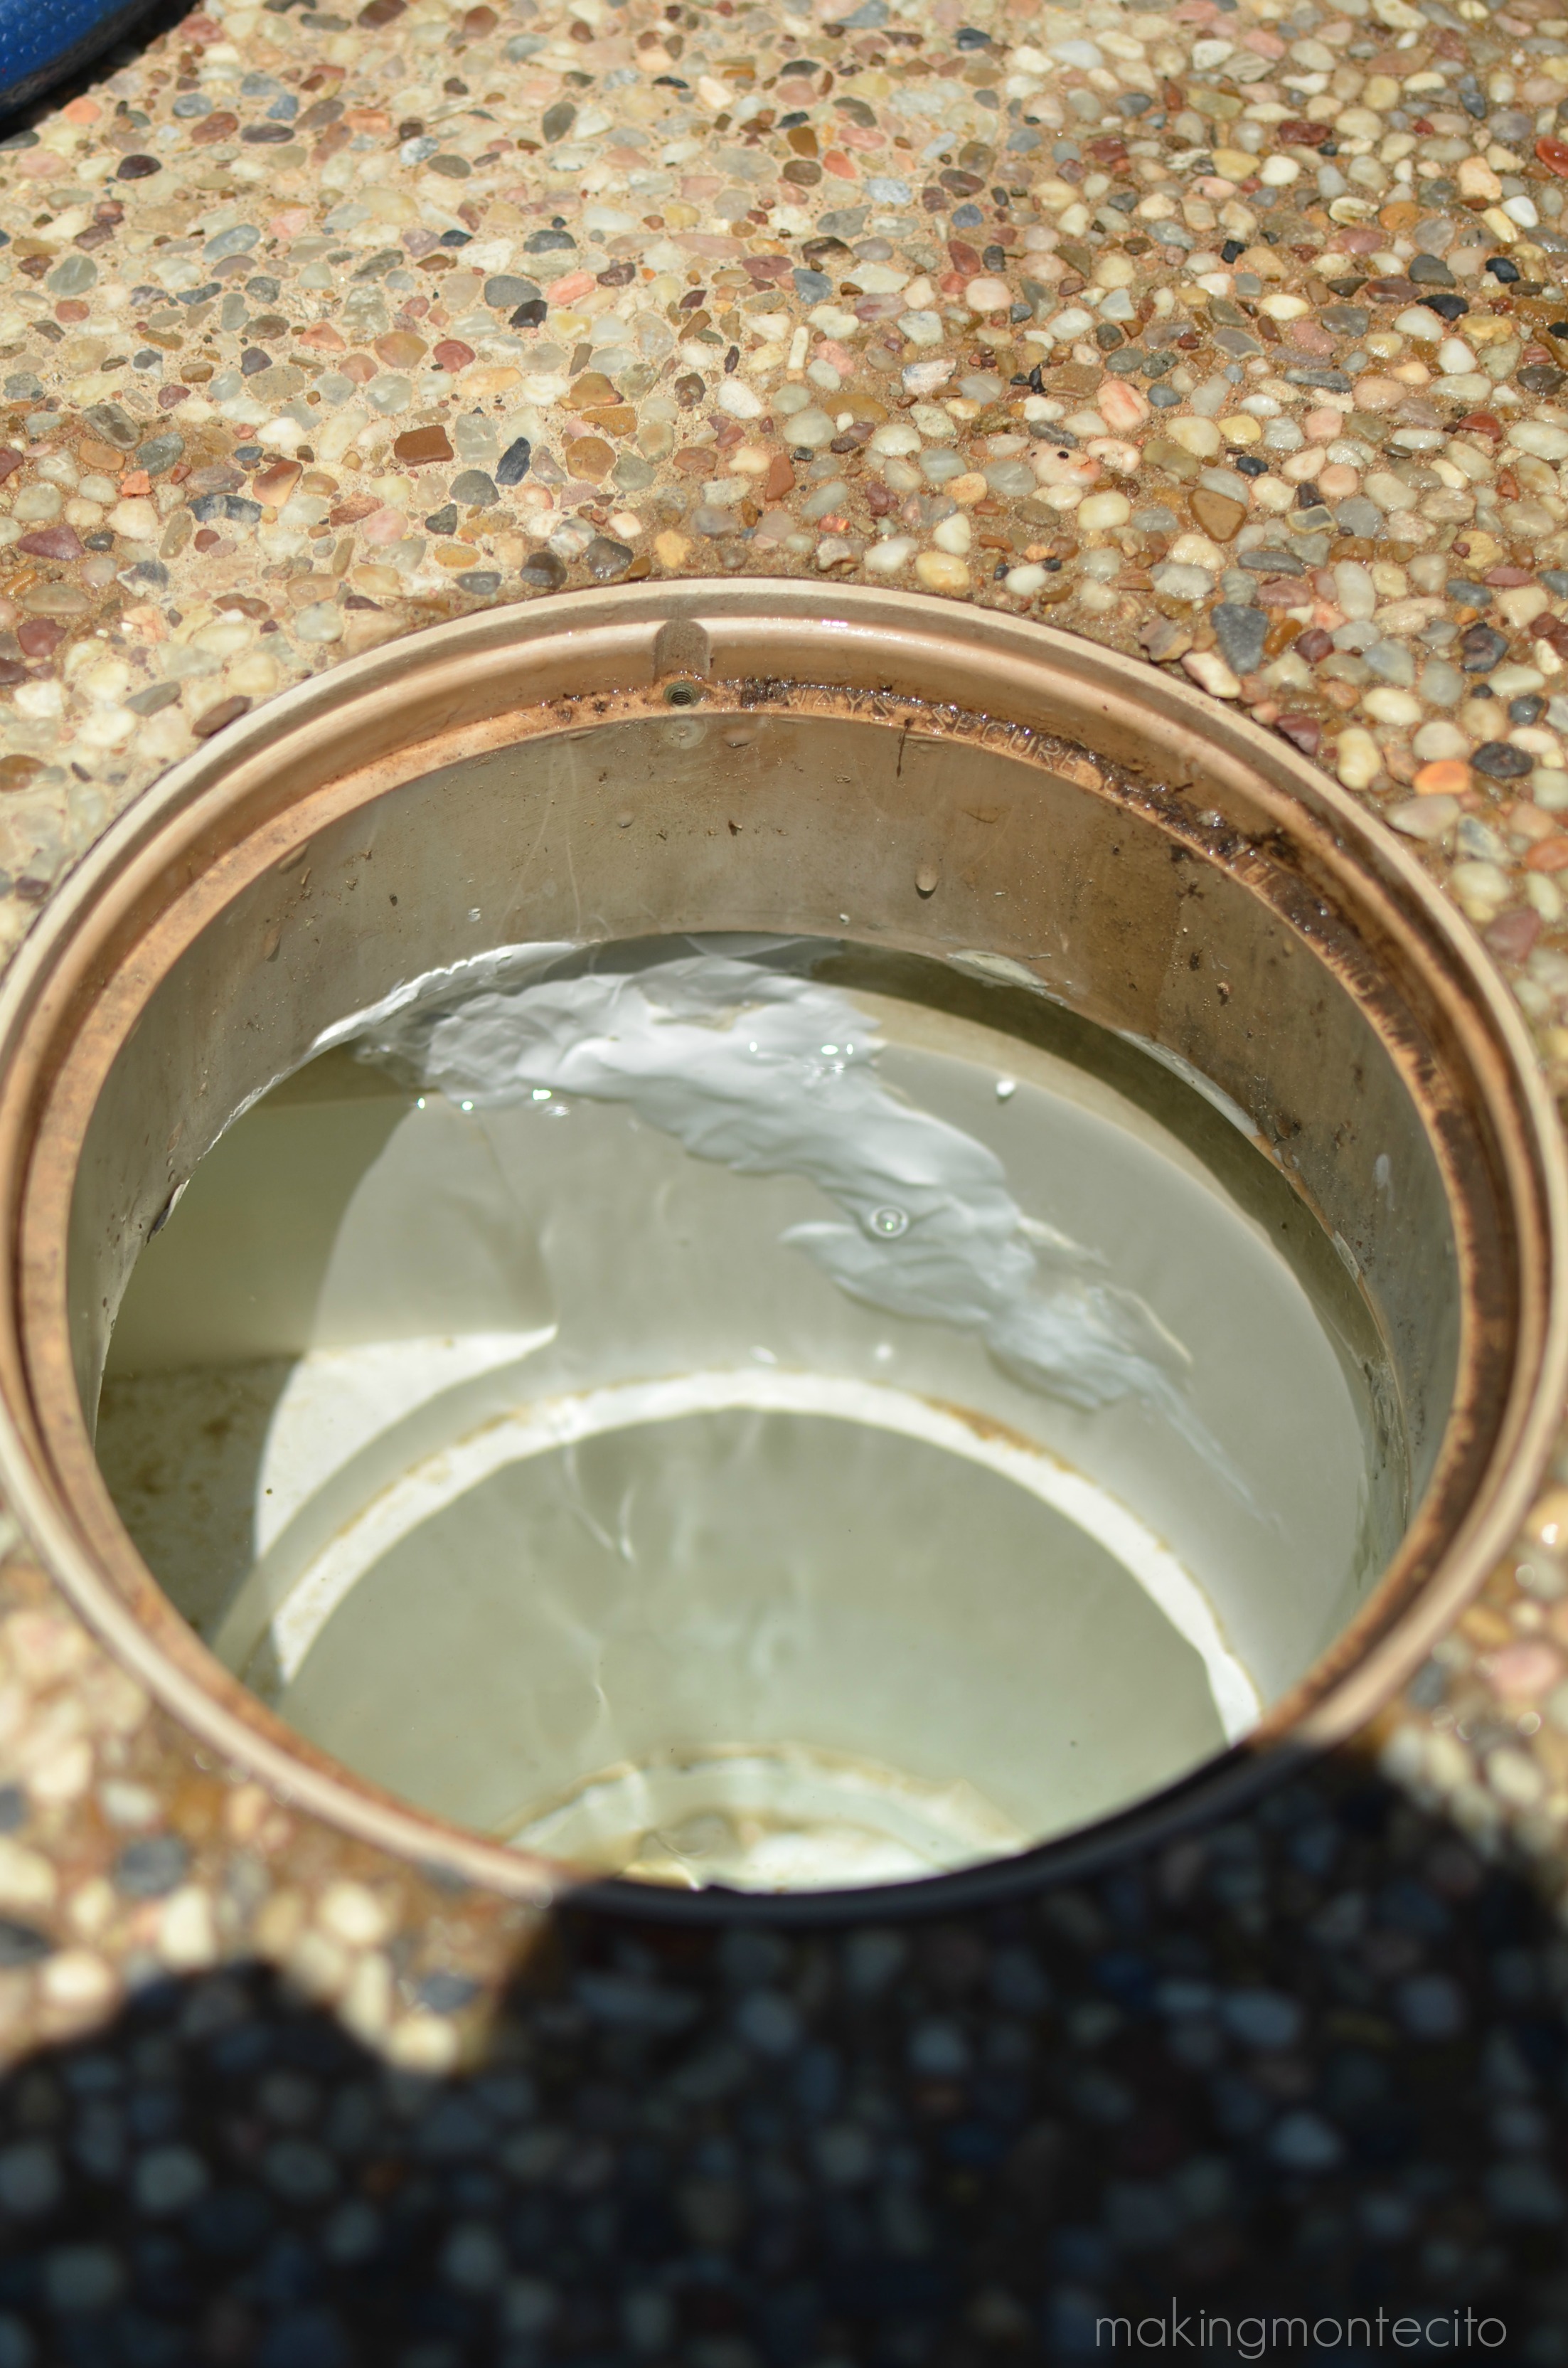
I’m hoping to be able to fix this next spring, but who knows. We may need to go another year with this fix before we can afford to actually have this fixed.
